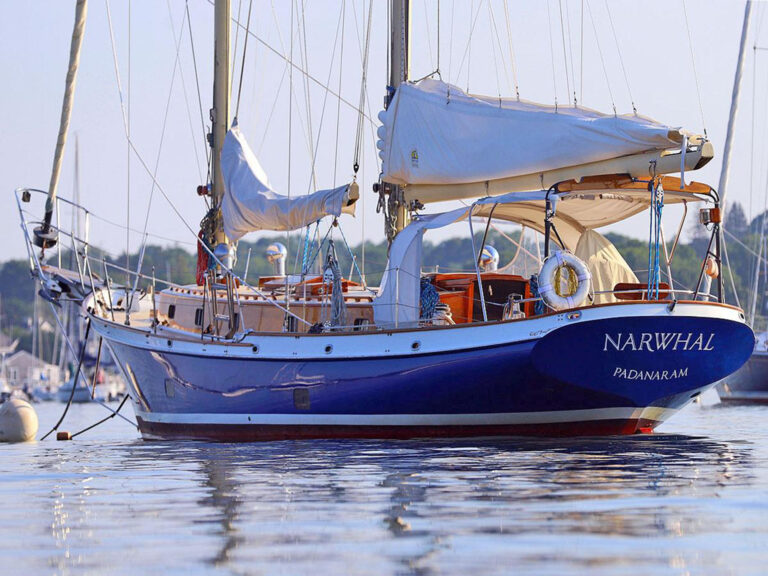
One of the most forlorn sights in the sailing world is the sad, conspicuous image of a yacht with sagging spreaders. You don’t need to be a seasoned circumnavigator to know the mast to which they’re attached may soon go overboard. In this case, the cause is probably a loose or broken connection between the shroud and the spreader tip. But if we want our spars to stand straight and true, the spreaders are just one component of the rig that deserves our regular attention. With that in mind, let’s examine the critical elements of the mast that require routine inspection and maintenance.
Spreaders
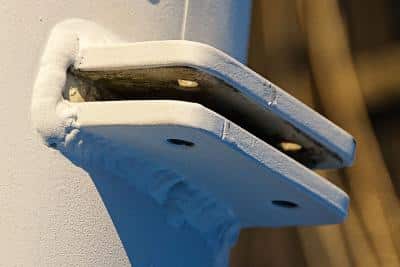
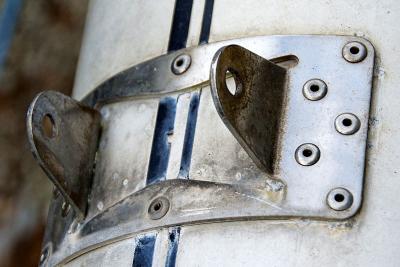
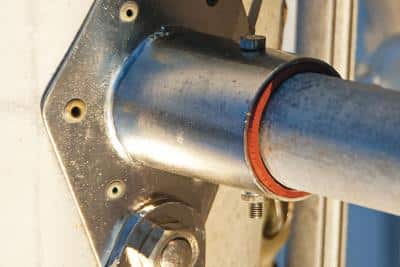
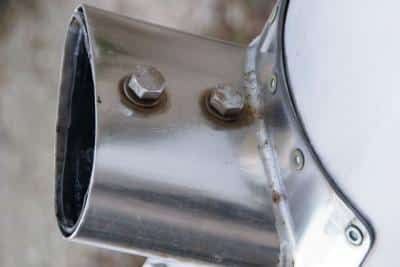
Mast spreaders and their bases are designed to support compression loads from the shrouds. To minimize the bending loads, the spreaders must be angled upward so that they bisect the angle of the shroud they’re supporting. This is an “eyeball” measurement. The fitting that holds the spreader root to the mast will determine how much adjustment is necessary. These roots may be bolted between two brackets welded across the mast. Or, the spreader root may slip over an insert that goes through the mast. Either way, these fittings are usually fabricated to match the rigging design. Consequently, the spreaders are fixed at close to the correct angle even before the wire shroud is installed.
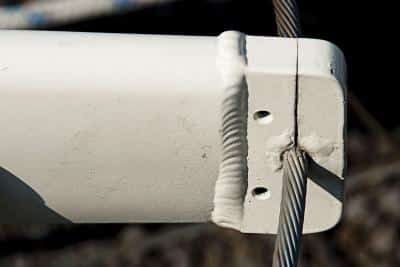
The major mast builders supply off-the-shelf cast-aluminum spreader bases to suit the various mast sections they market. Custom boats, however, may sport one-off stainless-steel fabrications made by the builder. These might be a couple of vertical gussets welded directly to the mast or to a stainless base that is then attached to the mast. The spreader is free to pivot on the mounting bolt until it bisects the shroud angle. Pivoting spreaders call for special attention and, when adjusted correctly, the spreader tip and the shroud must be very firmly attached to each other. Seizing wires that run around the shrouds and through holes at the end of the spreaders are one common method, or the spreader tips may incorporate clamps. Once the standing rigging is tuned and the turnbuckles are tightened, the spreader angle must again be checked. At this stage, use a rubber mallet to bang the spreader up or down a little. To ensure that the spreader won’t slip in the future — as when the leeward shrouds slacken and jerk in a seaway — I put wire clamps underneath the spreader tips.
A spreader under load transmits considerable force against the side of the mast. The root fitting should be wide enough to spread the load evenly to prevent the mast wall from collapsing. Some masts are fashioned of two spliced extrusions, so the inner sleeve doubles the spar’s wall thickness beneath the loaded spreader. In other applications, an internal compression tube through the mast supports the spreader base and receives the bolt for the shroud tangs.
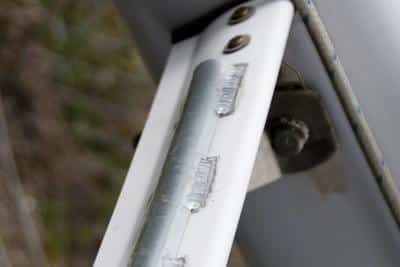
Occasionally, and unfortunately, the spreader extrusions delivered with the mast may bow under the compression exerted by a taut shroud, which is exactly what happened on our Mason 44. To strengthen the spreaders, I removed them and had halves of an aluminum pipe welded on their upper faces.
Mast Tangs
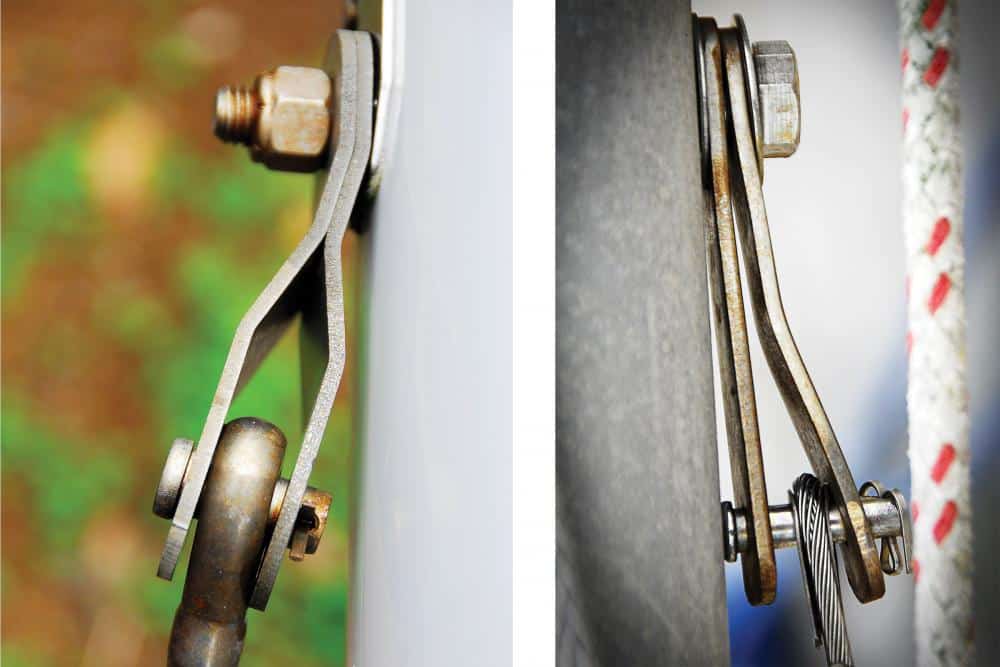
Modern masts have either oval or flattened oval cross sections. These spars are quite strong fore and aft but very sensitive to side loading. The shrouds hold the mast in column, and are connected to the extrusion through tangs. After making sure that the standing rigging is in good condition — with wires of the correct diameters and their terminals free of hairline cracks — take a closer look at the tangs. Traditionally, a tang consists of two stainless straps spread open to accommodate the thickness of an eye terminal. Both straps must be loaded evenly. Some metalworkers make their job easier by shaping/bending only one strap and leaving the other piece flat. Consequently, because only one of the sections handles the entire load, at some point it will succumb to fatigue.
Some mast tangs consist of a single fixture fashioned of thicker stainless coupled with a fork-shaped terminal; these should not be employed on a boat destined for blue-water voyages.
Should a shroud break, a length of 7×16 wire, or Dyneema or Vectran braid, can be used for a jury rig (both should be carried in the emergency rigging kit and are available online from several sources, including the supplier Colligo Marine). In such instances, an eye or loop for attachment can be made with wire clamps or Nicopress sleeves or, for the synthetic lines, Brummel splices or even knots.
If a rigging wire that ends in a T-terminal or stem ball fails, emergency repairs would be challenging if not impossible. Only special, short stem-ball eyes and
T-rings would allow the attachment of an emergency shroud (and they would have to be compatible with the slots and backing plates on your mast). For example, older Gibb terminals would not lock into Navtec backing plates. That’s why, for extended cruising, I feel it’s best to stick with the traditional hardware.
Masthead
Due to the complex loads involved when flying a large headsail in big seas, the headstay is responsible for the most serious wear to the masthead. Since violent, snapping loads come from all directions, toggles are required at both ends of each sail-bearing stay. When motoring into head seas, the weight of a furled sail may induce even more stress on the masthead fittings.
Different spar builders address masthead designs in a variety of ways. My favorite is a separate aluminum assembly that includes the gussets that house bolts for the head stay and backstay, and for the halyard sheaves; as well as the attachment points for the topping lift and spinnaker halyards. This assembly fits into a slot at the top of the mast and is then bolted through. The best part is that the entire fitting can be easily removed for repairs and maintenance while the mast remains stepped.
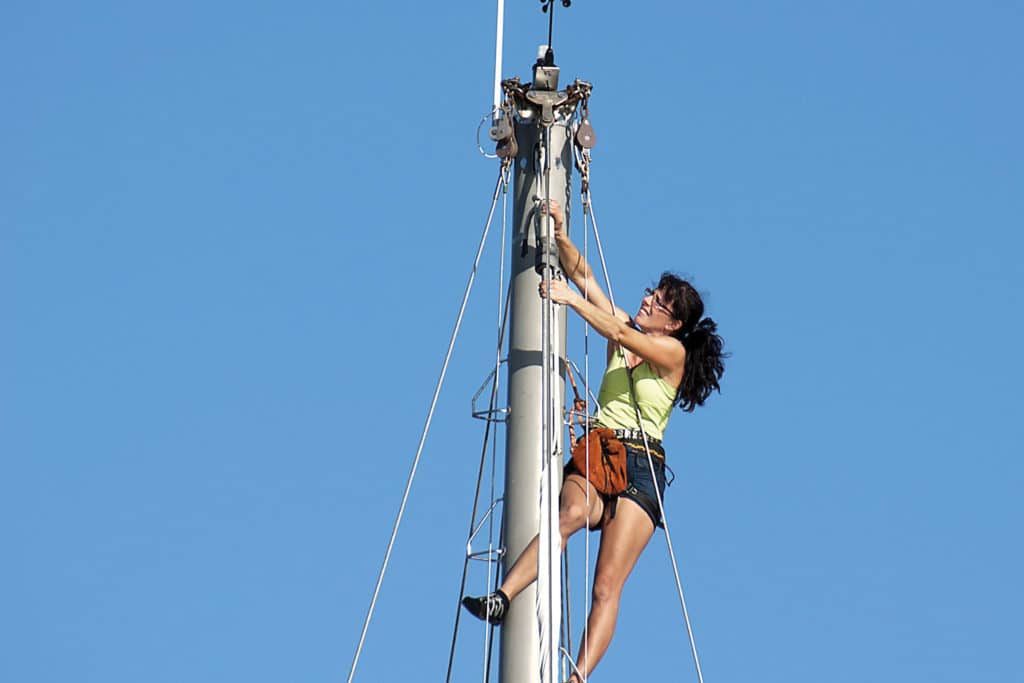
Granted, such assemblies add weight aloft. So, in an attempt to reduce weight, other spar builders weld the gussets for the backstay and head stay bolts directly to the top of the mast. However, as we discovered, the pursuit of weight savings can go too far. Our 60-foot-long spar was capped by flimsy ⅛-inch gussets welded to the mast; these supported the headstay and backstay bolts. This was fine until the bolt carrying the headstay began to chew through the aluminum. Given enough time (and miles), the headstay would’ve come crashing down. We had to unstep the mast in order to double the gussets with heavier material: ⅜-inch-thick 6065 T 6511 aluminum. An experienced welder with a portable rig finished the job. Now, with ½-inch gussets supporting the headstay and backstay, we feel more confident heading out for cruises to Greenland and the high latitudes. For less demanding sailing, a seasonal inspection trip up the mast should avert potential catastrophe.
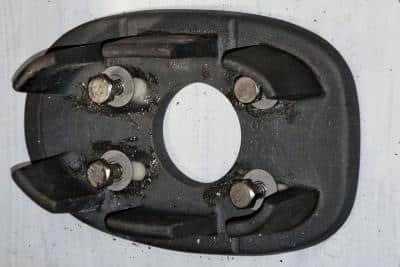
Mast Step
Mast steps bear the brunt of all the compression forces on the spar. Take a good look at yours. On a deck-stepped mast, the deck itself may sag under load (you can check by placing a straightedge across the area near the mast base). If that happens, the standing rigging will slacken somewhat in hard sailing conditions; the mast, in turn, may lose the support it needs to stay in column and in one piece.
On our boat, the keel-stepped mast is mounted on what looked like a massive fiberglass base. But it wasn’t strong enough; the aluminum mast-step casting produced a slight depression. Once the mast was pulled, after removing the aluminum casting I faired the sagging area with epoxy mixed with glass fibers. Then I glassed a ⅝-inch-thick piece of prefab fiberglass plate to stiffen the top of the base.
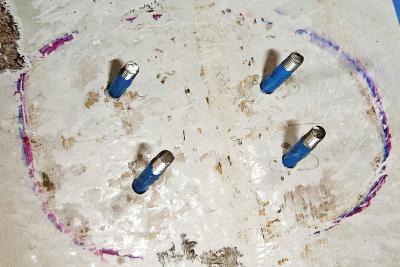
The aluminum mast step was fastened to the base with lag bolts. Naturally, once the repairs were completed, this fitting would have to be bolted in exactly the same place. So, before covering the bolt holes with glass, I inserted into them pieces of threaded rod wrapped in masking tape and smeared with Vaseline. After the epoxy cured, once the rods were removed, the original fastener holes were accessible. Next, I mounted the aluminum fitting on that piece of prefab glass I intended to install and drilled the bolt holes with a drill press. The guiding pieces of the rod went back in, once again covered in Vaseline. Then I installed the prefab piece of glass onto the original base, covered with thickened epoxy resin. After removing the rod guides, I bolted down the aluminum mast step using the original holes.
Thanks to halyard slots and mast partners that occasionally leak, the area surrounding any mast step gets very wet. Make sure that the water inside the mast can drain out and into the bilge. To do this, file out ½-inch-diameter limber holes in the butt of the mast. Otherwise, the mast butt may start crumbling from corrosion. On a badly corroded mast butt you’ll have to cut off the rotten part and then reinforce it by beefing up the mast step.
This article first appeared in the March 2014 issue of Cruising World. After spending last summer cruising the coast of Labrador aboard their Mason 44, Frances B, Tom and Nancy Zydler will return north this year to explore Greenland.
Mast Check 1
Spreader Connection
Spreader Connection 2
Spreader Connection 3
Spreader Connection 4
Spreader Check
Wire Stay
Mast Tangs
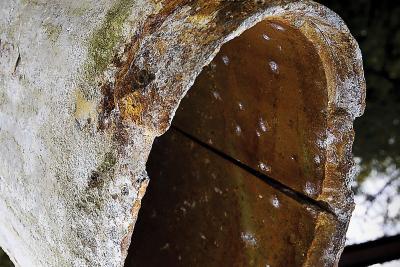
Mast Corrosion

Mast Step Repair
Mast Step Repair 2