A Good Rowing Dinghy in Panama
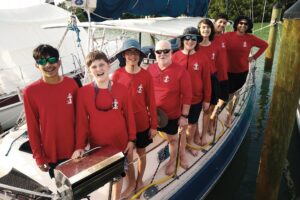
I once saw a statistic, for what it’s worth, that said cruisers spend 95 percent of their time at anchor. It might more accurately have said that their boats spend all that time at anchor. The cruisers themselves — at least in our case — spend a good deal of that 95 percent on shore, or getting there and back. It’s a rare day that we don’t all pile into the dinghy to go do some shopping, or laundry, or to explore a beach or around the next headland. Given that, it’s easy to see that one of the most valuable pieces of cruising equipment is the tender. When not under way, it gets almost constant use, and cruising would be impossible for us without one. So choosing the right dinghy warrants careful consideration. There isn’t one type or size that’s best for all sailors; each cruiser’s options will be decided by varying doses of preference and circumstance.
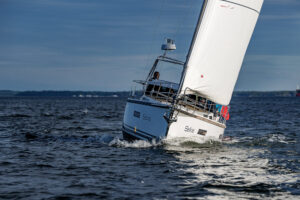
Now let’s be real: For going long distances fast, or making way against a powerful current, a good RIB with a 15-horsepower outboard can’t be beat. But there are those who can’t afford a RIB or an outboard engine, or would have no place to stow them. Some like having the option of a sailing rig, or enjoy rowing to keep in shape. I happen to fall into all of the above categories, besides having an unreasonable fear that any inflatable dinghy I buy will promptly be punctured or become unglued. So we carry a 9-foot homemade fiberglass rowing dinghy on Ganymede‘s cabin top. It’s a compromise, but one we feel was the best of all options for us. A hard rowing dinghy certainly isn’t for everyone, but for those who might be considering it, I’d like to offer a few tips to successfully cruising with one.

| |Need to send a quick text? Sculling from an oarlock socket on the transom allows you to propel the dinghy with one arm.|
First, and most important, get a dinghy that is designed to be rowed. In general, almost any hard dinghy is easier to row than a soft one. Inflatables are notoriously difficult to row, and my hat is off to all the hardy cruisers we’ve seen out there laboriously paddling away in a roll-up-bottom inflatable, or in a bigger RIB with tiny, flimsy aluminum and plastic oars. Which segues nicely into my second tip: Make sure to get a good pair of oars.
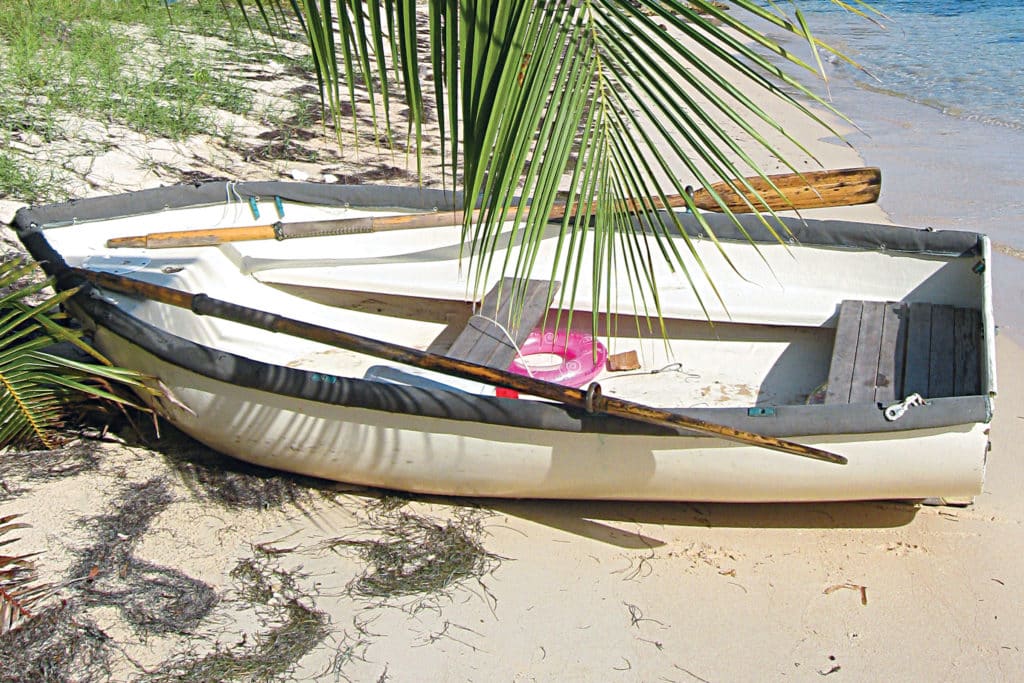
There is a formula for proper oar length I can’t exactly remember that involves the half-beam of the boat multiplied by the height of your oldest child and divided by the number of all the angels that can dance on the head of a pin. Something like that. But after many miles of rowing in seven different styles and sizes of hard dinghies, I’ve developed my own formula: The oars should be the longest and most solid you can afford. Within reason, of course — if the oars can’t stow inside the dinghy they’re probably too long, or else the dinghy is too short. We use a pair of 8-foot solid wood oars for our 9-foot dinghy, and for an 8-footer we once had, 7½ feet was the magic number. Whether they should be heavy is a matter of preference, but I’ve found that heavy oars help me to row more smoothly, since they tend to dampen any jerking motion on my part.

| |Style points aside, mastering the art of sculling a boat will allow you to maneuver from a standing position, which is handy when the seat is wet.|
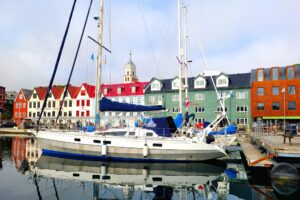
Another tip is to watch where you anchor. Obviously closer to the dinghy dock is usually better, but in tidal areas it’s good to note whether the ebb runs faster than the flood (often the case with estuaries), and park your yacht accordingly. In places with tidal currents of 4 or more knots, shore visits require careful timing. If you go ashore as the ebb is starting to run, you may have to wait six hours before the tide is slack enough or the flood is flowing before you can return. If you do that enough days in a row, you’ll find yourself getting most wonderfully in tune with the tide cycle, and that much closer to nature. Getting the tidal cycle dialed-in is also of immense use when gunkholing or planning a departure in the mother boat.
If you’re fortunate enough to anchor directly opposite the dinghy dock, you can get across regardless of current by an age-old technique called ferrying. It involves holding the dinghy’s bow at about a 45- to 60-degree angle to the current and rowing gently, but not as if to make headway against it. If the proper angle is maintained, the dinghy will simply travel across the current without losing any ground. I’ll refrain from asserting that some sort of hydrodynamic hoodoo best illustrated by airplane wings is responsible for the phenomenon; I’ll only say that it works. If the bow points up too far, you’ll be rowing like the dickens to get nowhere, and if the boat turns broadside to the current it will begin to get swept downstream. But with practice, ferrying can become the most useful tool for getting safely across strong currents. Sometimes when going upstream it’s best to ferry across the swiftest part of the current and then proceed upstream in quieter water near the bank.

| |In some conditions, you may find that sculling from the bow is easier than from the stern; however, your arms may tire quickly.|
Few things are more salty-looking than sculling: To see a pipe-puffing man standing in a dinghy working an oar mysteriously over the stern seems the highest pinnacle of nautical alchemy. And even though the most skilled sculler will admit that it’s far less efficient than rowing with two oars, it has uses far beyond style points. For starters, it’s handy when maneuvering in channels too narrow to row in. If the dinghy is too full of cargo to allow for sitting, or the thwart seat is all wet, sculling can get your cargo ashore while keeping your backside dry. After many fruitless attempts at sculling with the oar in a standard cutout transom notch, I found it useful to install an oarlock socket on one side of the transom, making it far easier to keep the oar in place. Still, even after many months of practice it was hard to get moving efficiently, and that’s when I stumbled across an easier variation. I call it, for want of a better name, “front sculling.”
As the clever name suggests, it involves standing in the bow with an oar, but otherwise it’s different. Since there’s no socket, it takes two hands, which would be almost paddling except that the oar blade doesn’t come out of the water. Rather, it’s feathered while pushing forward, then turned sideways to pull the dinghy toward it. Once you get going, the motion is similar to the figure-8 pattern of classic sculling. Since the oar is not fixed in a socket or notch, there are more options. You can push the bow either way more easily, or slow down by holding the oar vertically in the water. One disadvantage is that both of your arms can get dog-tired instead of just one. It’s easiest, of course, with a lighter oar; for the long, heavy oars that bigger boats require, sculling is best done with the oar resting and pivoting in a socket aft.

| |With practice, you’ll find that you can scull the boat from nearly any position.|
A final admonition: rowing and sculling take practice. If your first efforts at rowing result only in splashy circles, give it time. The greatest factor in dinghy efficiency is technique, and the effort invested can pay off in the long run, not only in money saved on outboard fuel and maintenance costs, but in keeping you fit for all the other physically demanding seagoing duties of cruisers. It’s eye-catching to see a sailor ferrying across a swift current, standing in the sternsheets sculling, and if people are going to be watching, you might as well look in good trim.