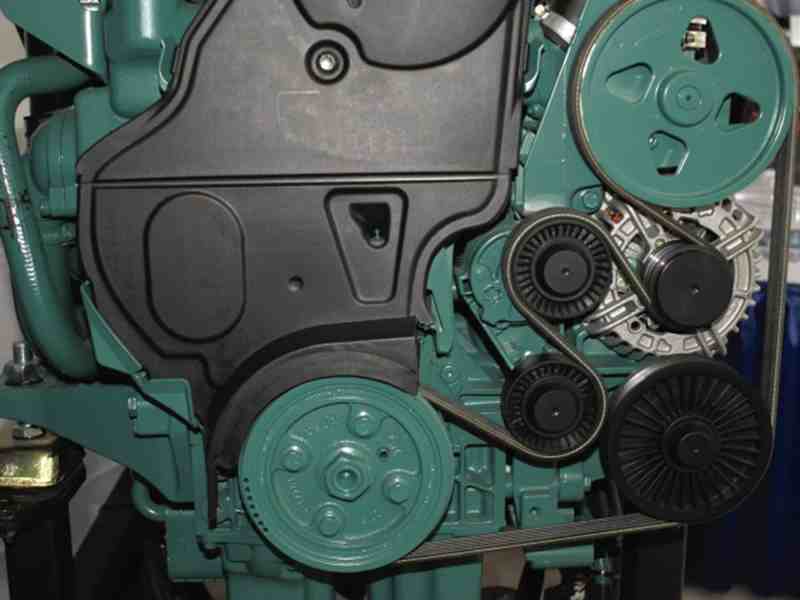
I clearly recall, from my days as a young marine mechanic, the first time I encountered a marine engine equipped with serpentine belts. The arrangement replaced the previous three V-belts with a single, ribbonlike grooved serpentine model. It had automatic tension to boot. It represented the very essence of simplicity: a game-changer with a clear increase in reliability.
The flat design of serpentine belts, with its increased contact area, results in greater load-carrying ability with less likelihood of slippage at lower tension levels. Where available, they’re always worth having. There are conversion kits for some engines; these are used primarily when installing high-output alternators.
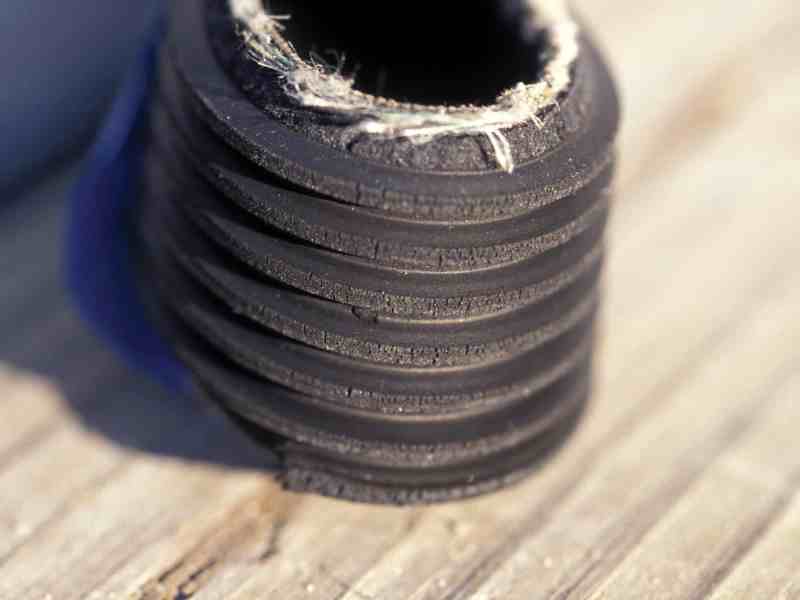
Alas, as good as serpentine belts are, they too wear out. Look for cracks in the ribbed side, especially where the belt’s smooth side passes over an idler pulley. That setup will often spread and highlight cracks on the opposite side.
Last month, I discussed belt slippage and tension-related issues as common problems. The next-most-common issue related to belts centers on alignment.
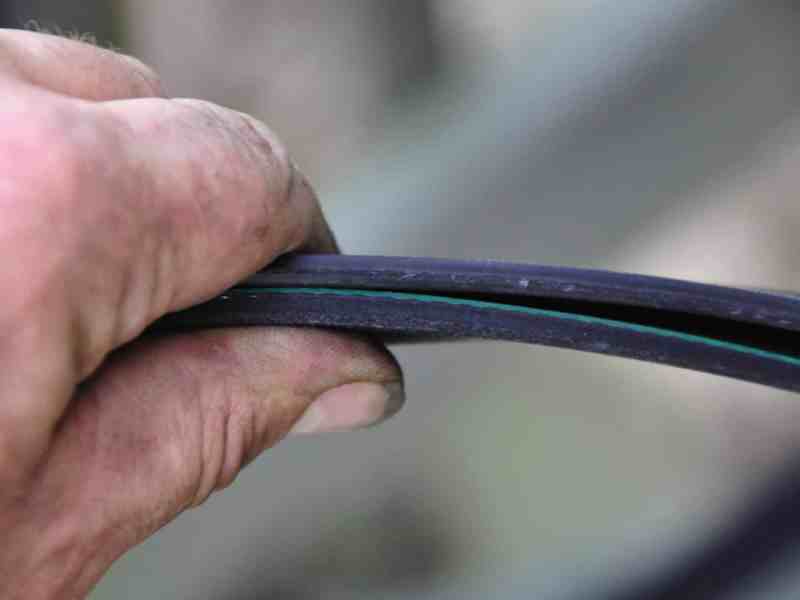
It is critically important for belts, both V and serpentine, to turn over pulleys that are parallel and in the same plane as each other. The greater the load, the more important this configuration becomes. Misalignment can lead to belt wear and failure, and it often occurs with aftermarket installations—in particular, with the installation of high-output alternators whose frame or pulley designs are different from the original equipment. While a laser can confirm pulley alignment, it is often possible to sight over the pulleys and belt to make this determination. If a gap can be observed between the edge of the belt and the pulley rim, and if the gap is larger on one side than the other, then there is likely a misalignment.
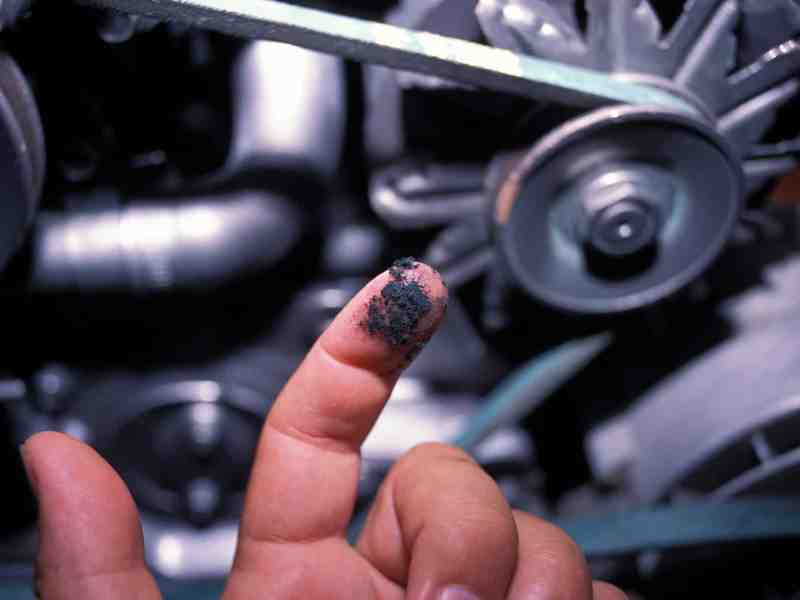
Production of belt dust can also indicate an alignment issue. In the case of serpentine belts, exposure of the white filament on one side of the belt is also an indicator of an alignment issue, or a worn tensioner pulley. None of these telltale signs should be ignored because all can lead to belt failure.
When changing belts, check all pulleys—both driven (alternators, water pumps) and idler—for free, easy movement. Any irregularity, or “crunchiness,” is cause for concern. Idler and alternator pulleys should spin freely, while water-pump pulleys will have some resistance; they should spin with minimal effort. Surfaces over which belts turn should be free of rust, nicks and other irregularities, all of which could lead to belt damage or accelerated wear.
For serpentine belts that utilize an automatic tensioner, belt replacement requires compression of a powerful spring within the tensioning device. This is a task that every skipper should know how to carry out—with haste, if necessary.
Most tensioners have a square hole designed to accept a standard half-inch socket drive. Depending on the size of the tensioner, it might be possible to compress the spring with the socket-wrench handle alone. In some cases, a longer handle, a breaker bar or a section of pipe might be necessary. Because the tensioner’s spring is powerful, use extreme caution when compressing and releasing it; never place your fingers between the belt and pulley, and always wear safety glasses. The job is more easily accomplished with two people, but be prepared to go it alone if necessary. Lashing the handle of the ratchet is one trick I use to keep the tensioner compressed while I install the belt.
The route that some belts take can be circuitous. If the belt breaks, it might not be immediately obvious how it should be rove. To avoid that scenario, make a diagram or take a photo (and print it) as a visual aid, should replacement be necessary.
Ideally, if you replace belts every two years or so, you should never find yourself in a position where you are making an unplanned replacement.
Steve D’Antonio offers services for boat owners and buyers through Steve D’Antonio Marine Consulting.


