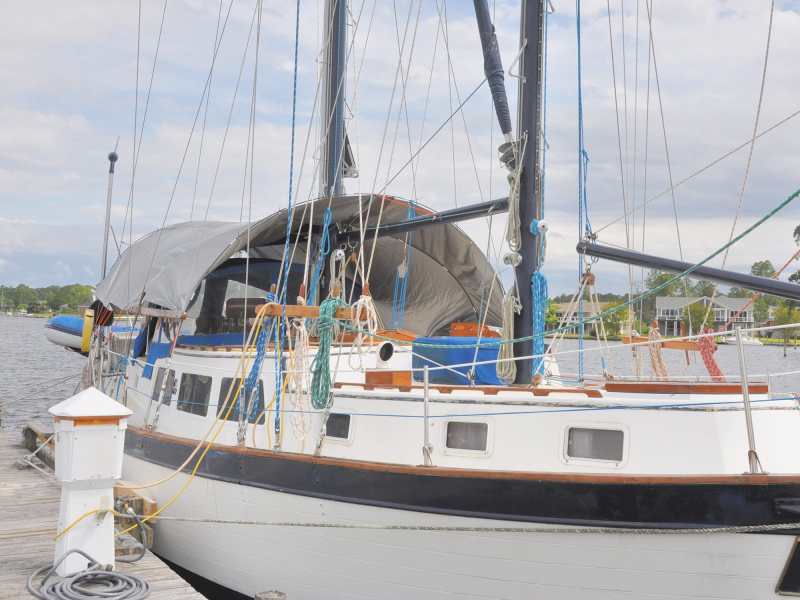
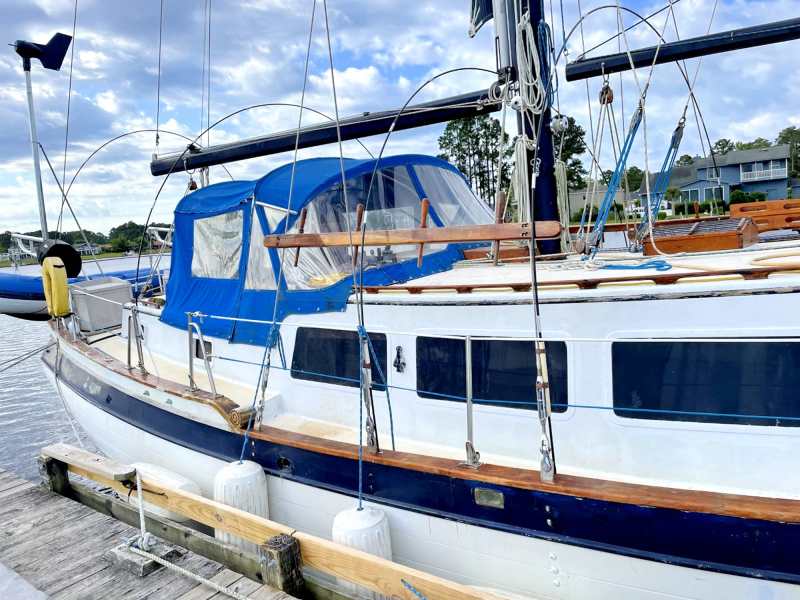
If a sailboat lies unattended even for a short time, its decks and canvas can quickly become grubby from bird droppings and windblown dust. I have counted 50 of the little darlings perched along the triatic stay on my schooner Britannia, all having a merry chirp while doing other things.
I spent a lot of time looking at intricate, expensive devices that are supposed to frighten birds off my boat, but it’s practically impossible to keep them off every part of the deck and rigging, where they sometimes land on vertical wires. I finally concluded that the cheapest, most effective solution is a simple awning.
There are multiple benefits to a good awning. I also wanted to protect the center-cockpit canvas Bimini top on Britannia, to shield it from the fierce Florida sun as much as from rain and bird droppings. And a good awning keeps the temperature down inside the boat—in Britannia’s case, by some 10 degrees Fahrenheit when it’s 90 degrees outside.
I shopped around all the local canvas-makers and sailmakers, and I received lots of advice about what material was best, along with a variety of cost estimates. These varied from “we’ll beat any price” to “get a second mortgage.” The average estimate was $1,480, which was well over my budget, so I considered making an awning myself.The simplest, cheapest way to make an awning is to buy a tarp, drape it over a boom, and then attach it to lifelines with bungee cords to form a simple tent. The main boom on Britannia passes directly over the cockpit, and most tarps have eyelets every 18 inches or so, which meant that threading bungee cord through them and then hooking the other end to the rails was simplicity itself.
However, after I installed my tent, I discovered that it had shortfalls. Tethering the tarp required quite a scramble to edge along the side decks and climb into the cockpit, especially with an armful of groceries. And the tarp rested on the boom and my Bimini top, causing chafe in strong winds. A third problem was that my tent looked, well, really cheap—mainly because it had cost me less than 50 bucks.
Awnings can also be stretched between horizontal poles attached to masts or rigging, a solution that generally overcomes the access problem. But they flap about alarmingly in even a slight breeze, and rainwater collects in a flat awning to the point where they can capsize. They also fail to shield the early morning and evening sun very well.
With all of that in mind, I thought about the wagons in old Western movies, and I wondered how to make a curved cover. Such an arrangement might also hold the tarp clear of the boom and Bimini top, reducing chafe and allowing wind to pass between them. The height should also give me more headroom along the side decks.
The supports on covered wagons were called bows, made of hickory wood. How could I make them and be able to stow them? I found the answer by looking at modern tents that use flexible aluminum rods to support a curved roof.
These tents use demountable rods that slot into one another to form a strong yet flexible continuous rod, held together with a bungee cord through their whole length. When not in use, they fold into a bundle only 28 inches long for easy stowage.
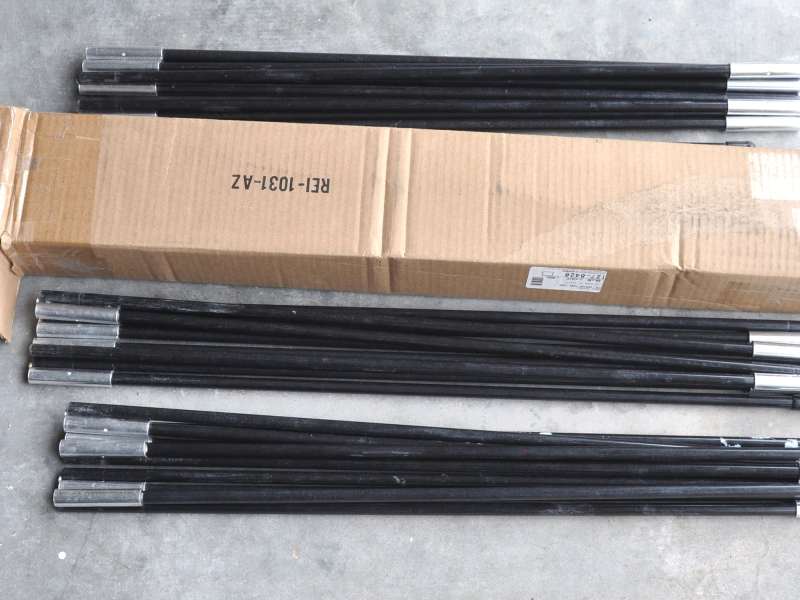
Britannia’s main boom is 15 feet long, so I guessed that I would need three bows to support the tarp over the boom, and another bow for an overhang forward of the mast. I measured the approximate lengths by curving a metal measuring tape from the toe rail to just above the boom, and then doubling the distance. I then ordered four rods from TentPole Technologies, which made all the lengths to my exact size. If a rod happens to be too long, it’s easy to remove one section and re-knot the bungee.
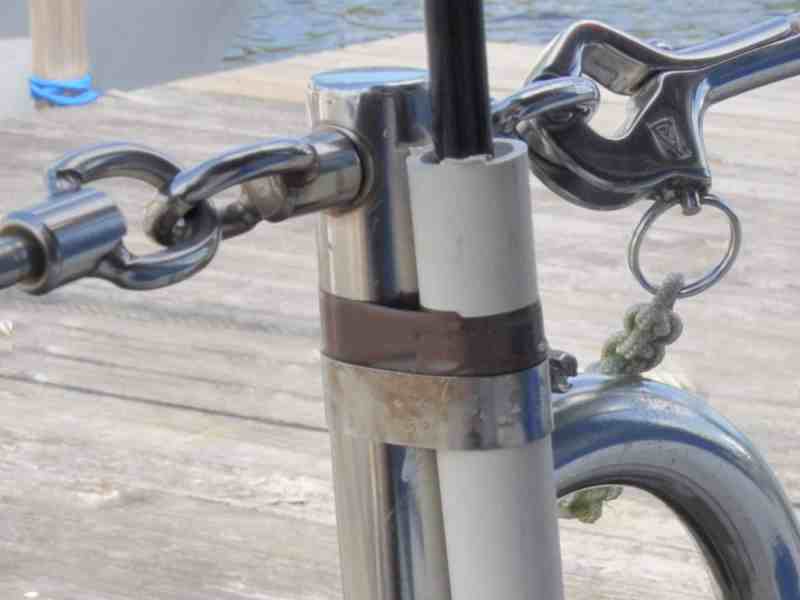
I anchored my bows to either side of the boat using ¾-inch plastic PVC tubing strapped to the stanchions with hose clamps. The bows dropped into the tubing and rested on the toe rail, forming four perfect arches.
Britannia’s beam at the mast is 13 feet, tapering to 10 feet at the stern. A tarp would need to be much wider than this to curve over the bows, so I measured the length of the front and rear bows. I tried for a point offering maximum coverage against rain and bird droppings, yet with enough clearance to walk through. From these measurements, I drew a sketch of the shape.
The nearest-size tarp I could find was about 19-by-17 feet with a heavy-duty weight. I choose one that is silver on the outside, to give maximum heat reflection. I then made a mistake in buying the cheapest, lightest-weight version of the tarp at 5 mm; it was too flimsy for a boat awning, and it soon wore through at the chafe points. The 12 mm thickness is much better and has survived some strong winds, and the bows easily support the extra weight of the heavier tarp.
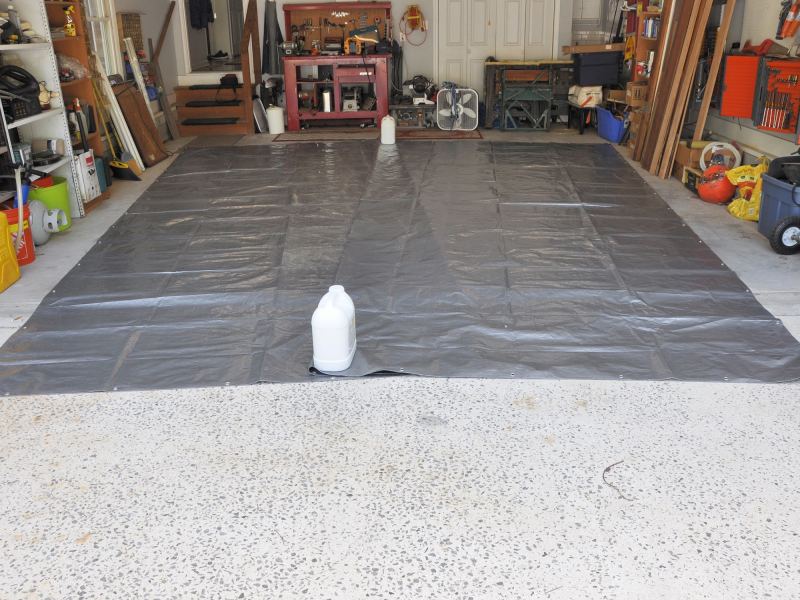
To cut the tarp to fit, I laid it out on my garage floor for tapering. Rather than just cutting it down the middle and gluing it, I overlapped the center folds and glued the overlap joints. This technique ensured that the joint remained waterproof, and strengthened the center section. The front needed only a little tapering, from 17 feet, 6 inches down to 16 feet, but the back was only 12 feet wide, which meant quite a large overlap joint.
After that, the messy part started, because I used sticky contact glue and a 4-inch roller. Because the wind will pass straight over this joint, it needs to be as strong as possible. The best option was to use a double-gluing procedure.
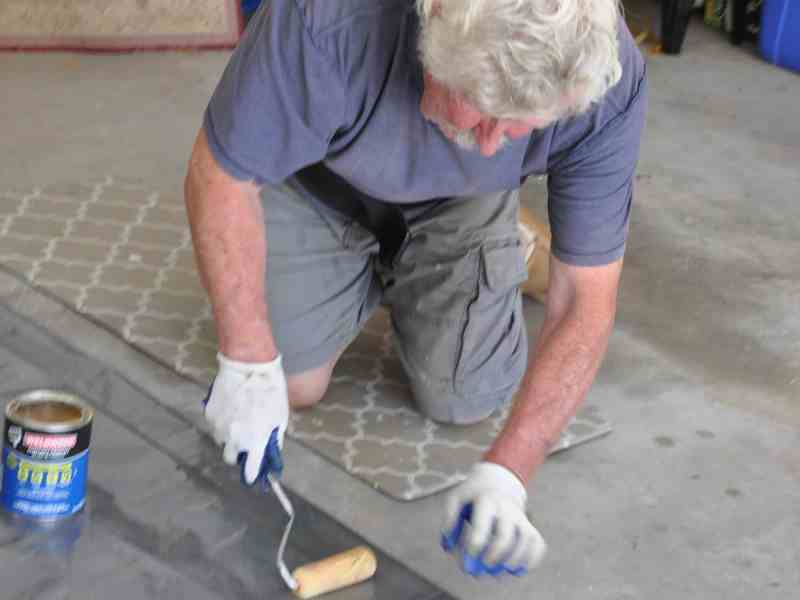
I first unfolded about 6 inches where the top joint was to be, and rolled a liberal amount of glue out to both edges, all the way along the fold. I allowed this glue to set overnight, so it was finger-dry. I then applied a second coat of glue to each side of the joint, waited the normal drying time of about 15 minutes, and pressed the fold together from the center to the front and rear of the joint. Working from the center ensured that there were no creases in the fold. I then placed wood strips over the joint and pressed it firmly together by walking on it.
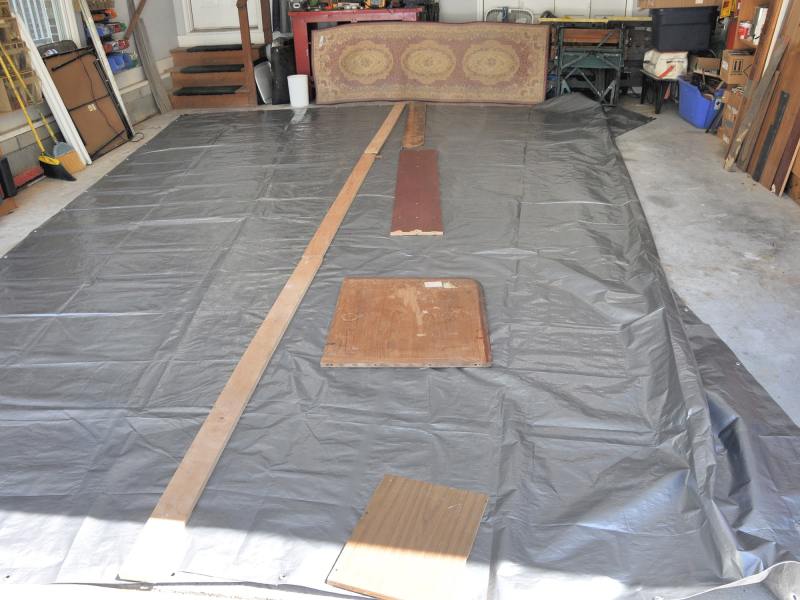
I left the joint overnight to set, then turned the tarp over and double-glued the other side of the fold the same way. The finished taper is a neat, strong, waterproof overlap joint down the center of the awning. Just for good measure, I ran a length of duct tape all the way along the joints.
Back at the boat, I installed the bows and draped the tarp over them, but because the awning extended forward of the mast by some 2 feet, I had to cut a hole to fit around the mast. This hole was later reinforced back in my garage, where I also installed a row of eyelets into the front joint and threaded them together with bungee cord. I wrapped a long bungee twice around the mast, making a secure joint. The awning also overhangs the aft hatch.
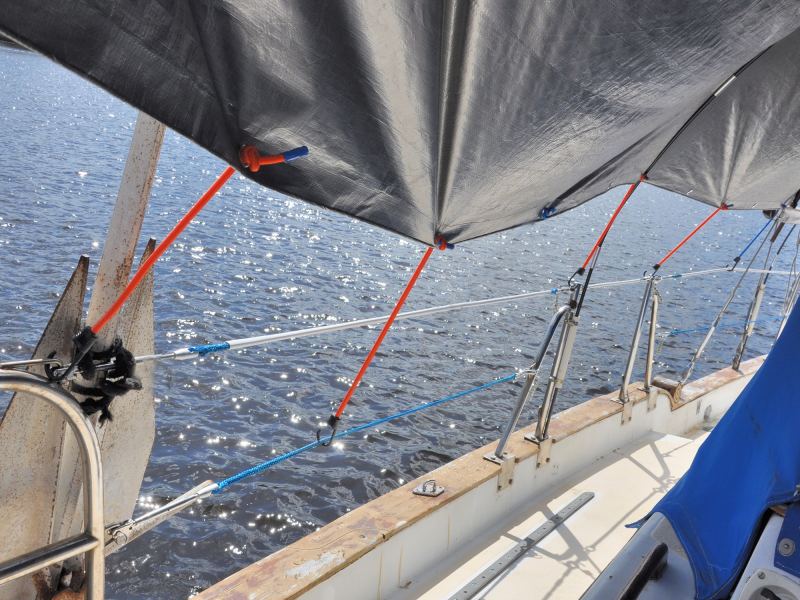
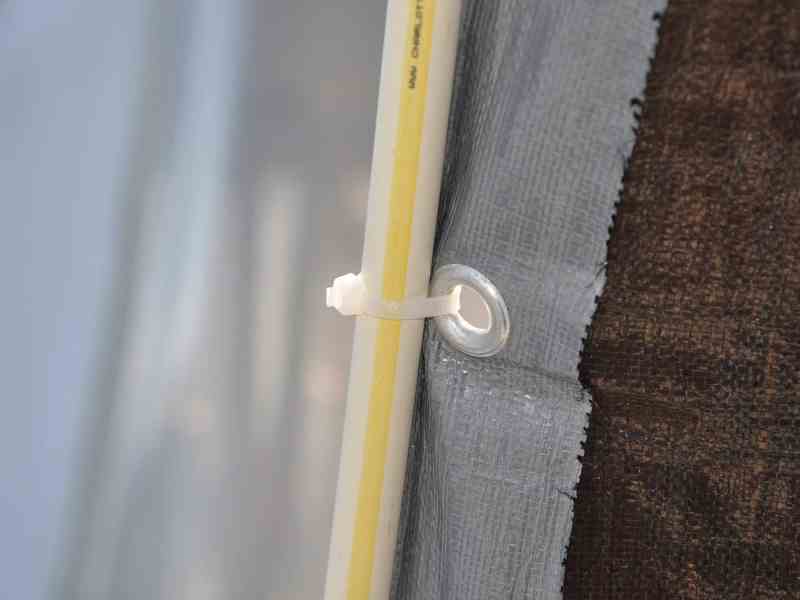
For hold-down tethers, I bought 5/16-inch bungee cord with pre-fitted hooks. It was easy to thread the cord through every second eyelet and secure it with a simple overhand knot. I did this along the length of the tarp on both sides. I then fastened the front and rear of the tarp to the bows with cable ties, through the eyelets and around the bows.
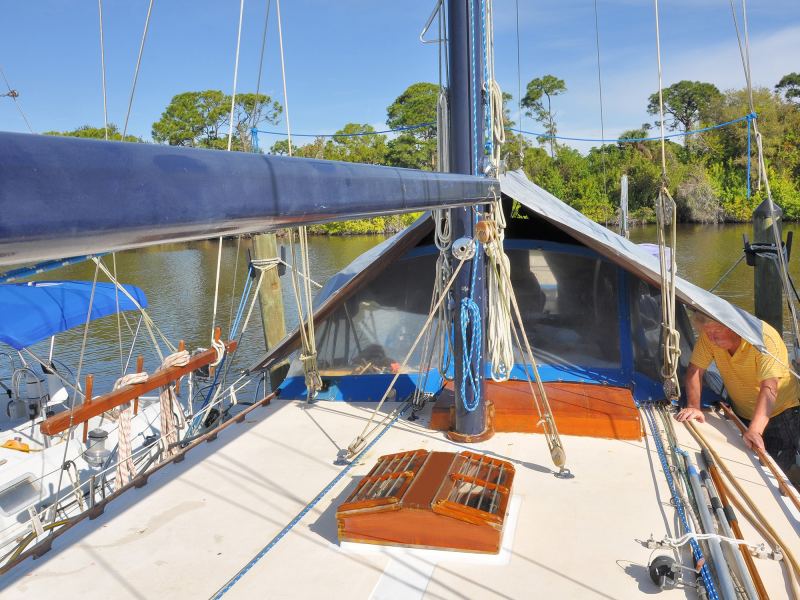
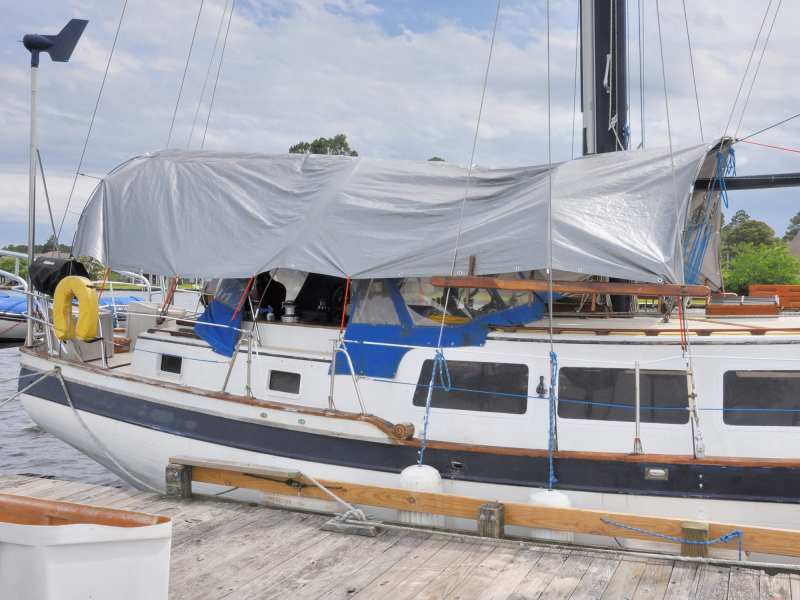
Positioning this large awning is quite easy for two people when there is no wind. We pulled it over the bows and then hooked the tethers to the lifelines on each side. I attached the front bow to the running backstays and the rear bow to the mainmast backstays. Even in a moderate wind, the awning hardly moves because the wind passes through and over the structure.
I had my covered wagon, which protects Britannia’s Bimini top from weather as effectively as any custom-made canvas cover. We can comfortably move along the side decks because of the increased height of the bows. Temperatures in the cockpit are significantly lower than without the awning, and rain just runs off, washing bird droppings with it.
Awnings on boats, even those made of expensive UV-resistant material, rarely last more than a few seasons. Replacing a tarp awning is a lot less expensive than ordering a custom canvas, and mine was ridiculously cheaper: $300, including the tarp, bows, tethers, rollers and glue.
I now think my effort qualifies as (almost) professional-looking, even if I do have to ignore the occasional snide remark about the Wild West. Envy is just another form of flattery.


