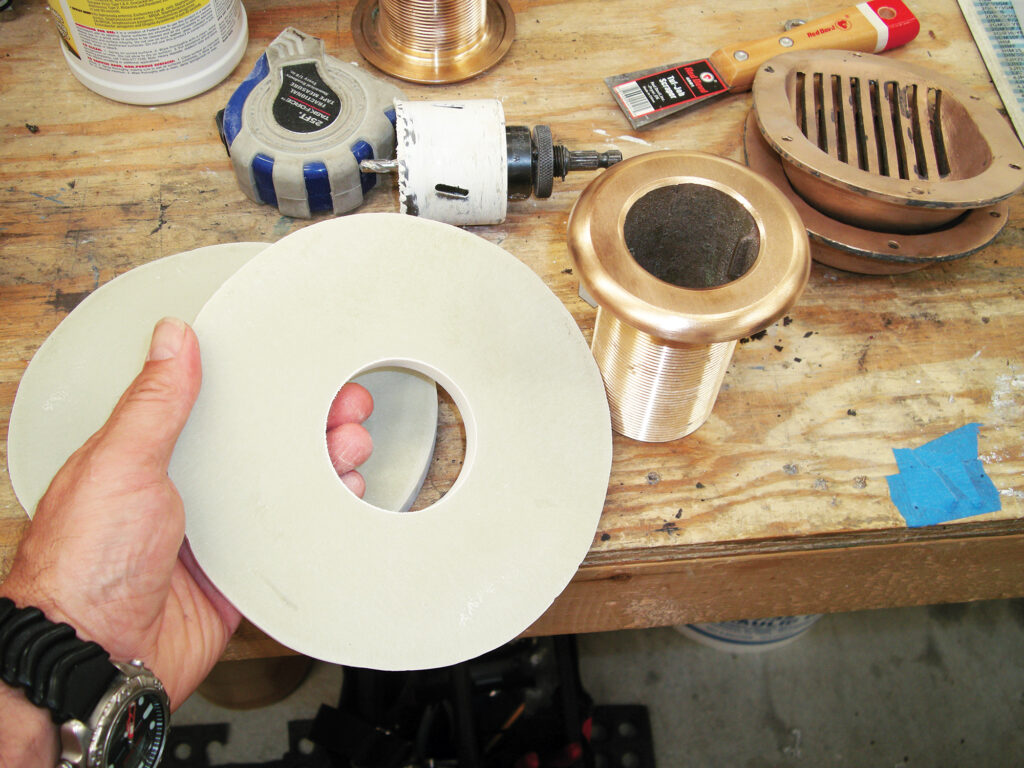
A through-hull is the plumbing component that passes through the hull. A seacock is the valve attached to the through-hull. Usually, a through-hull is visible only from the outside of the boat, while the seacock is visible only from inside the hull.
The American Boat & Yacht Council’s standards for seacocks dictate that every through-hull fitting below the heeled waterline (everything that is “wet” when heeling to the toe rail) must be equipped with a seacock. The one exception to this rule is that fittings above the resting waterline may substitute a seacock for reinforced hose. (I use SAE J2006 exhaust hose with wire reinforcement.)
Seacocks, like everything else on a boat, require regular inspection and service. Begin by locating every seacock and through-hull fitting aboard. Create a drawing or map, identifying each one and its application.
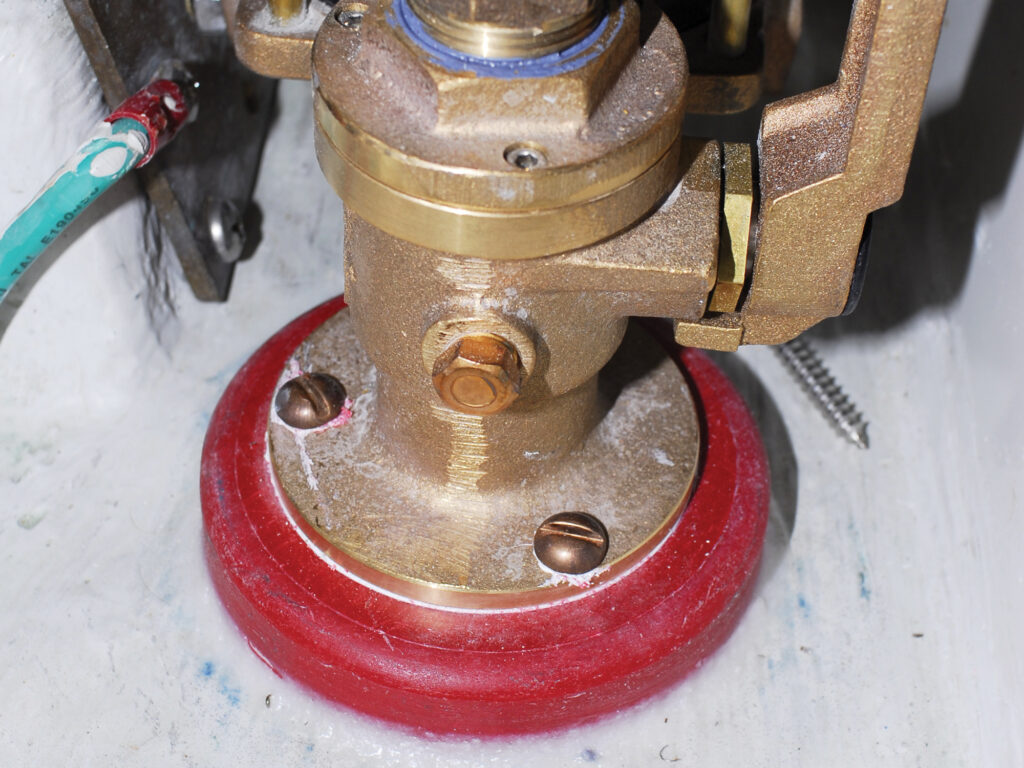
Once the map is complete, inspect each seacock for signs of leakage or corrosion. Green or verdigris is normal for bronze fittings. You should expect to see that. However, if it is the result of leakage, that is concerning.
Conversely, if any of the fittings appear to be pink, this is a sign of dezincification, a type of corrosion that is peculiar to brass. Brass is entirely unsuited to raw-water applications, and under no circumstances should it be used in this application. If you have nonmetallic seacocks, check those for cracks.
A properly installed seacock should be able to endure 500 pounds of static load for 30 seconds, applied to its most inboard rigidly attached fitting. It’s best to keep rigidly attached fittings to a minimum; ideally, this would be only a pipe-to-hose adapter, with all other fittings separated from the seacock by a section of hose. If any of yours look like they may not hold up to this test, then consider replacing them.
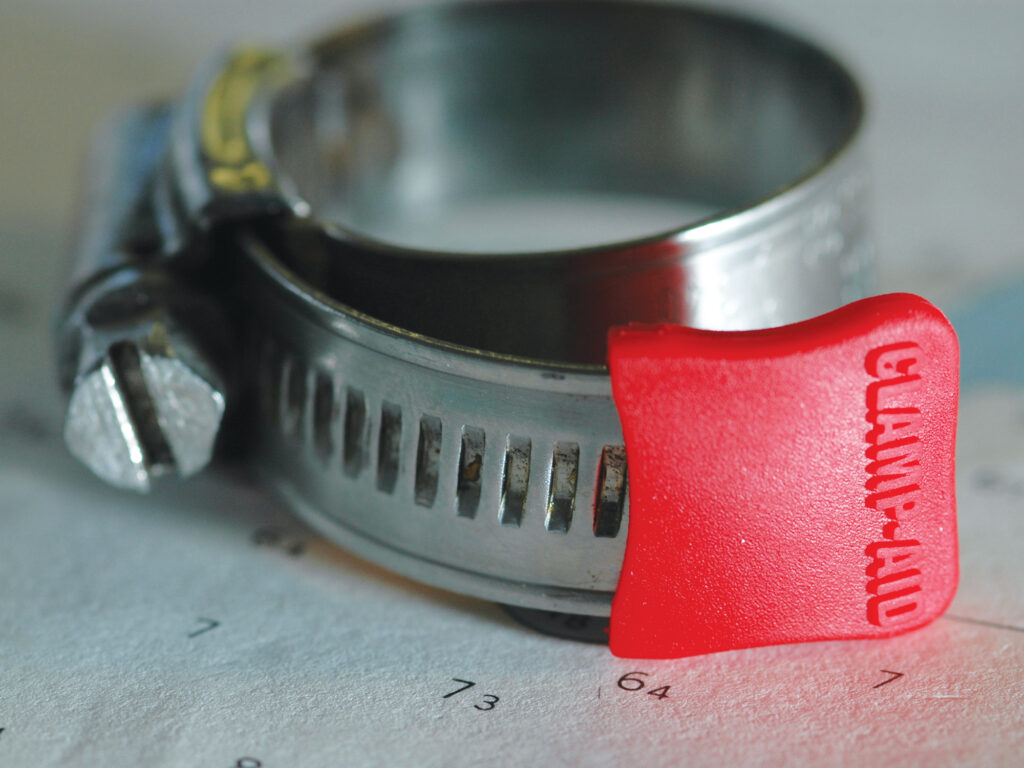
In addition to inspecting seacock hardware, you should also look closely at hose clamps and backing blocks. Hose clamps should be free of all corrosion. Any brown discoloration is too much. It warrants replacement.
While ABYC standards do not mandate dual clamps on seacock hoses, it’s prudent and cheap insurance to double up. Be sure to use the proper-length clamp. Long, excess tails are a laceration hazard. Even short tails can cause injuries in areas that are accessed regularly, such as under sinks and around engines. These tails should be bent down using needle-nose pliers, or they should be capped.
Backing blocks can be made from marine plywood (ideally, epoxy encapsulated), fiberglass flat stock known as GPO3, or epoxy stock known as G10. Backing blocks should not be made from solid timber, even if it is teak, as this is prone to cracking. They also should not be made from ultra-high molecular weight polyethylene or King StarBoard.
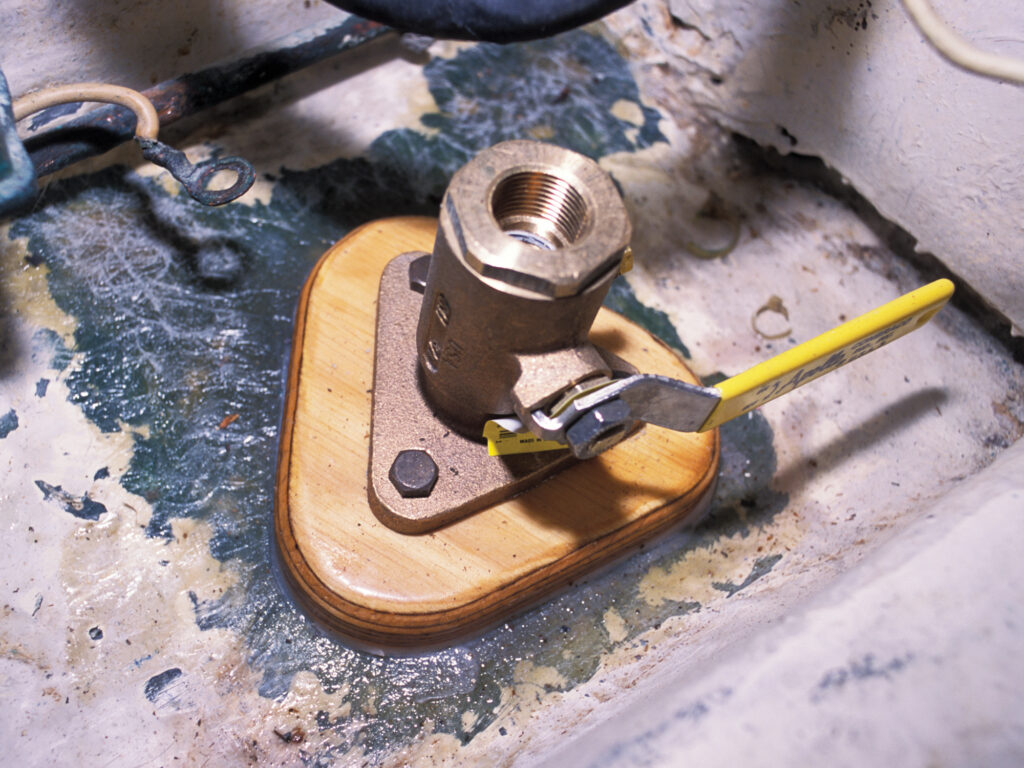
Make certain that every seacock handle rotates freely through its full 90 degrees of travel, but no farther. If any are seized or especially difficult to move, they will require further attention. Some types of seacocks can be disassembled for cleaning and lubrication, while others can’t. If yours are the latter, and assuming that the vessel is hauled out, you may have success by removing the hose from the seacock, and then spraying or pouring penetrating oil into the cavity. Let it set for a few hours before you try again.
At least one seacock manufacturer adds an extension to the handle for increased leverage. If you have one of these, then it’s safe to use this approach. For all others, you may do so knowing that if the valve stem or handle breaks, it will need to be replaced. If the valve is seized, it would need replacement in any event.
Finally, some seacocks are designed to accept a Zerk fitting, which allows the cavity between the ball and body of the valve to be filled with grease. This prevents water from filling the space, which in turn prevents corrosion and keeps the parts moving freely.
Steve D’Antonio offers services for boat owners and buyers through Steve D’Antonio Marine Consulting.