As I detailed in my recent article on replacing the lifelines on my 45-foot schooner, I learned much about Dyneema rope in the course of that project. Dyneema is considerably stronger, size-for-size, than double-braided rope, and stronger than stainless wire of the same thickness. For example, ¼-inch 12-strand single-braid Dyneema has an amazing tensile strength of between 8,000 and 12,000 pounds. By comparison, 7-by-7 3/16-inch wire has a working load of 3,700 pounds. Note: There are variations of Dyneema, and these figures vary from one maker to another. Still, the potential of substituting Dyneema for many lines on a sailboat has become a reality.
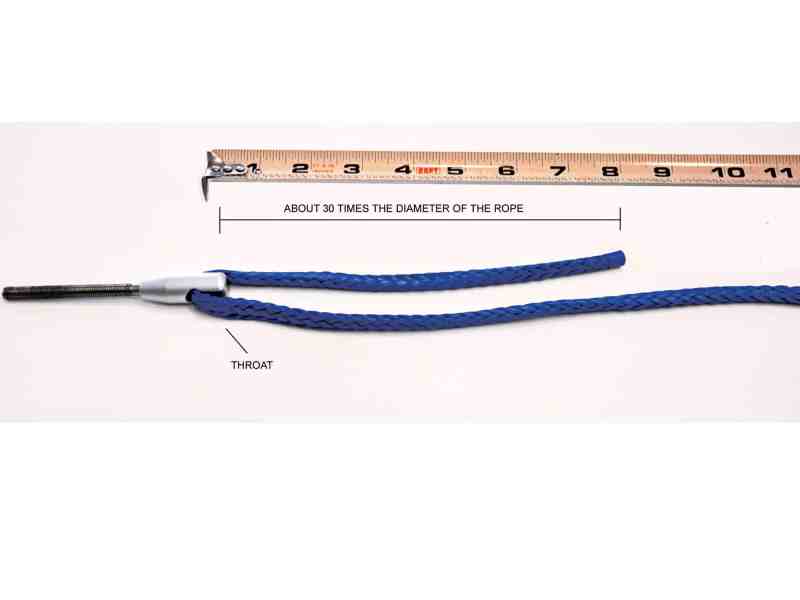
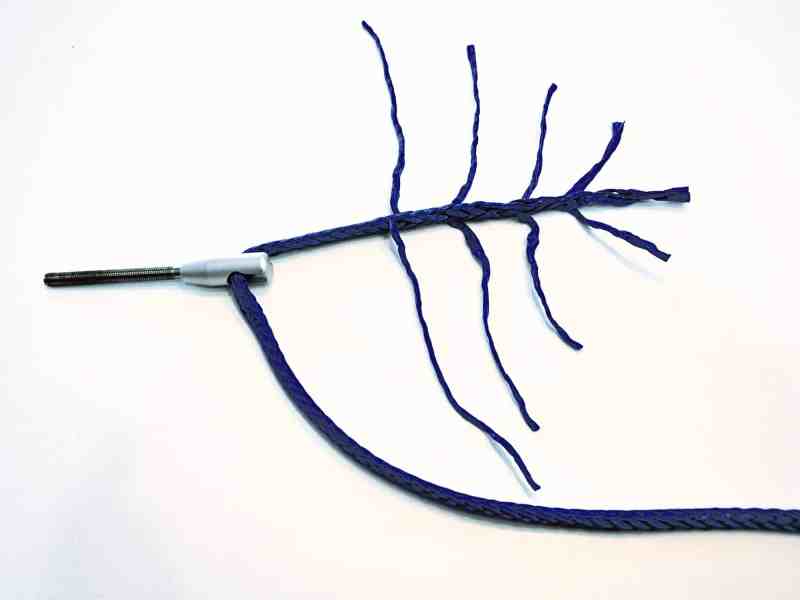
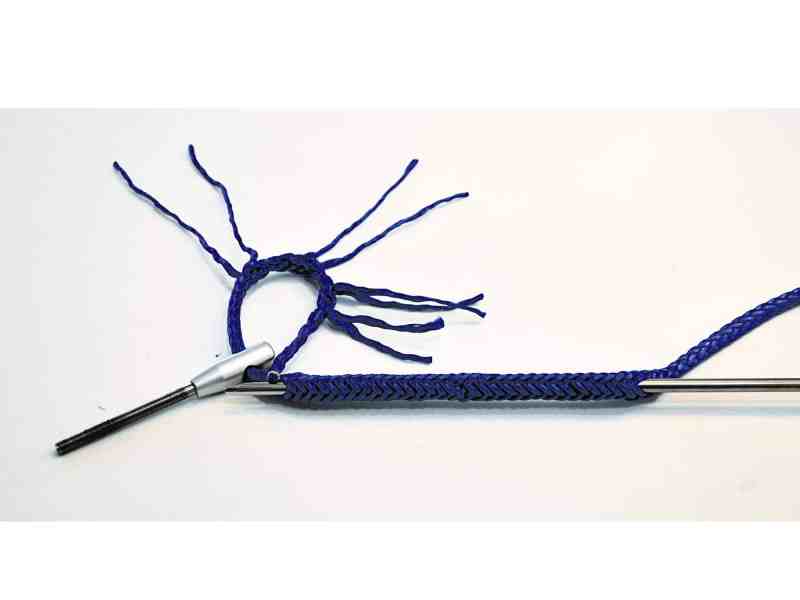
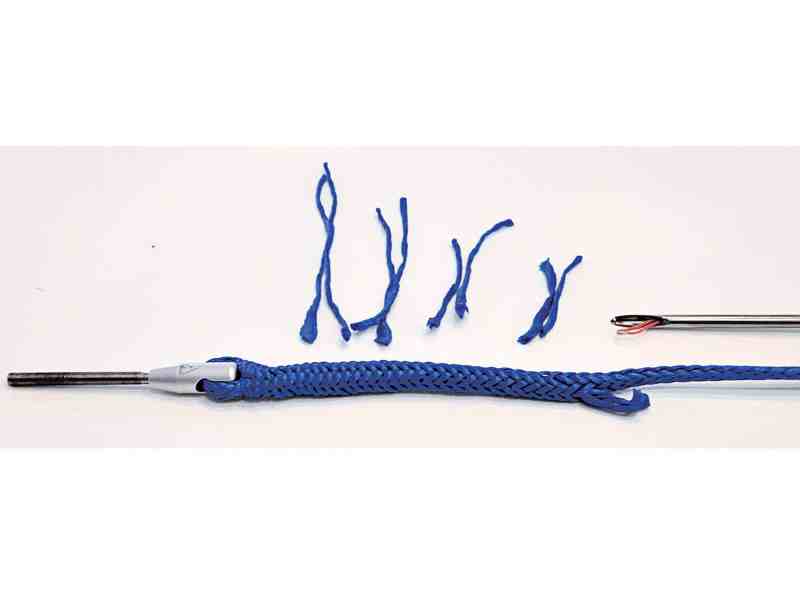
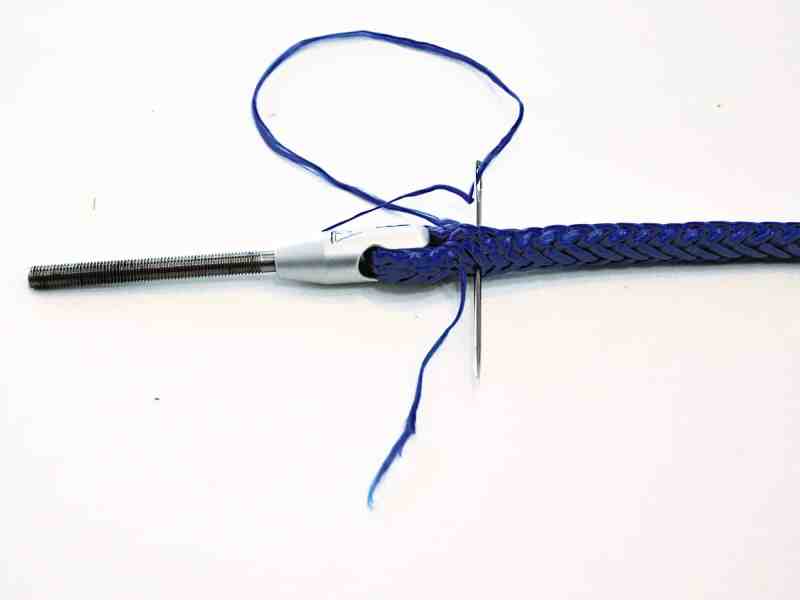
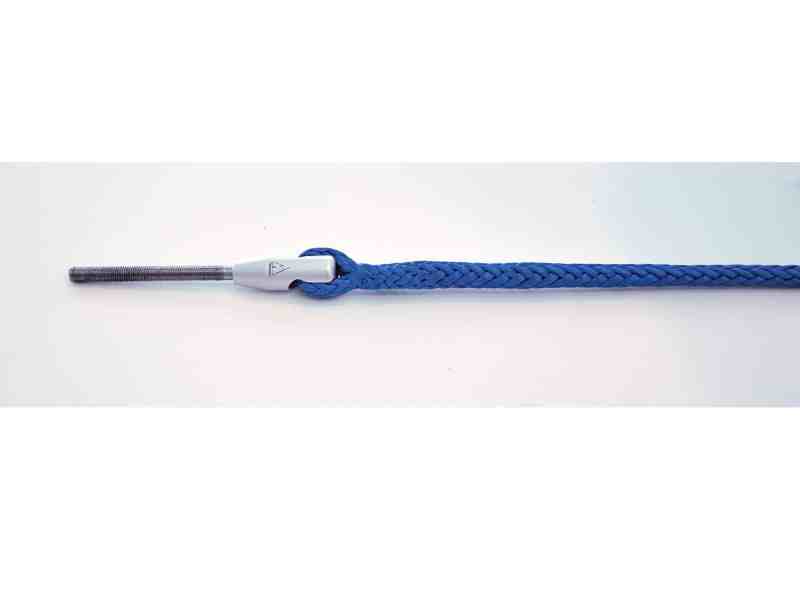
I discovered another significant benefit in using Dyneema: the ease with which an eye splice can be formed, unlike the complicated (at least for me) reverse-tuck procedure for splicing double braided line. Unlike double braid, 12-strand Dyneema is hollow, with no center core; to make an eye splice, the tail is first tapered by removing pairs of strands, then the end is buried deep inside the standing part and lock-stitched. This is an easy operation using a special 14-inch-long splicing wand from Brion Toss Yacht Riggers (briontoss.com). This fid enables the tapered rope end to be gripped by the wand and then pulled through the core, instead of pushing it in with a conventional fid and push bar.
You need a very sharp blade to cut Dyneema. Regular household scissors will not cut even a single strand. I have found that the best way to cut this rope is with a box cutter (Stanley knife) fitted with a new blade. Here’s how to do the splice:
It’s easy to become confused about the different manufacturers’ strength figures for Dyneema because they vary greatly with the construction and material. Once my splices were finished, I needed to know the strength of my new splices. After all, there’s not much point in having rope with a breaking strain of thousands of pounds if you don’t know what the weakest point is at either end.
Miami Cordage has a government-inspected and -calibrated rope-testing bed, about 40 feet long, on which they test the strengths of ropes for US Navy and Coast Guard vessels. Miami Cordage CEO Jason Hoffman kindly agreed to test one of my lifeline splices to destruction.
I made an eye splice on both ends of some spare ¼-inch-diameter Dyneema. This rope was attached to the machine, and I watched as it stretched the line well past 2,000 pounds. Finally, at an incredible 7,596 pounds, the actual rope snapped, yet both my splices held! That’s over 3 tons, and I have an official certificate to prove it. No wonder racing sailors love their Dyneema. Now, so do I.
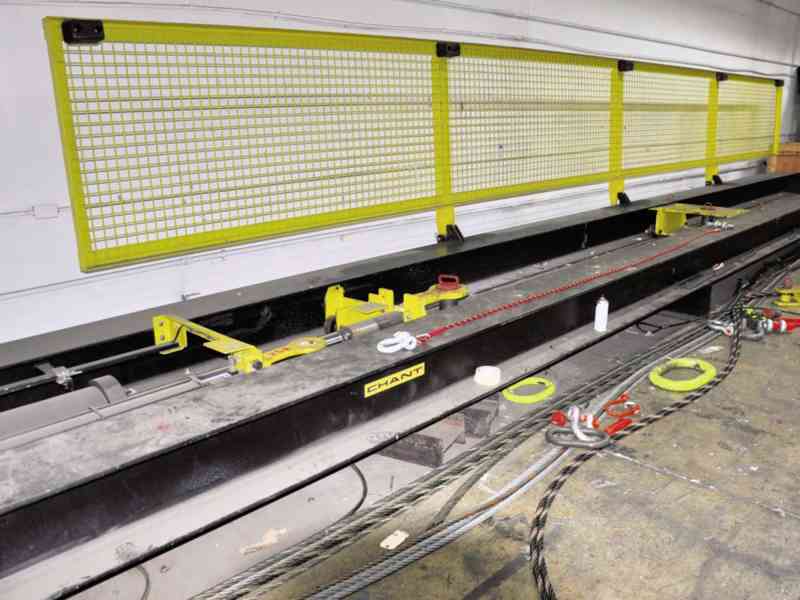
The test bed for all of Roger Hughes’ constant improvements is his 1977 Downeaster 45 schooner, Britannia.


