As live-aboard cruisers sailing an average of 12,000 miles per year, our lives depended upon the condition of our Shannon 37 and her gear. When we first left on our circumnavigation, we had very little sailing experience and almost no experience with the boat; Silk had never been sailed offshore. On early passages we constantly faced crises that required emergency repairs, usually in the worst of conditions. A new problem often was viewed with despair and sometimes ignored in the hope that it would go away.
In contrast, by the end of our trip, most of our maintenance was preventive. We had found permanent solutions to our early difficulties and had developed a maintenance schedule that kept things in tip-top shape. Even so, we were always looking for trouble, and a new problem became a solvable challenge rather than a frustrating puzzle. Our attitude could be summed up as “find it, fix it, maintain it.”
Find It And Fix It
Good seamanship means always looking for trouble. When you drop a sail, look for signs of chafe. When you adjust the wind vane, notice whether the control lines are tight enough. When you retrieve something from a locker, feel whether it is the least bit damp.
Once you find something amiss, dont just treat the symptoms. Design a permanent cure so that you never have to deal with that symptom again. The ultimate goal when looking for trouble is to reduce non-preventive maintenance to zero.
What exactly were we looking for when we wandered around the boat, and what did we do when we found it?
Chafe: During the first six months of passage making, we never thought that we would get over the chafed-through topping lifts, the broken stitches on the mainsail and the split batten pockets. Even stainless steel can chafe — we had a stainless shackle on a spinnaker block chafe right through. But we kept reinforcing sails with sail tape, putting webbing on batten pockets and trying different blocks and lines on the topping lift. By our third passage, we had eliminated 90 percent of our chafe problems (see “Theres The Rub” by Tom Neale, July 95).
Electrical corrosion: Corrosion is every bit as insidious as chafe, but can be much harder to uncover. Nearly all marine electrical problems are due to corroded connections or improper wire. Whether you solder or crimp, the motion of the boat and the corrosion from sea air will ultimately undo your best work. However, you can slow this process dramatically by using multistrand, tinned wire with a proper ratchet crimper rather than the common automotive “masher/crusher,” and by sealing the crimp with silicone caulk or heat-shrink tubing. Secure all wires firmly with wire ties, spray all connections with one of the various anti-corrosives and make sure that no leaks or spray reach any bus bar or switch panel.
Water and mold: Water in the boat anywhere, anytime, whether salt or fresh, should be taken as an immediate challenge. Mold in lockers should not be treated as one of the inconveniences of the live-aboard life but as a solvable riddle. If you find fresh water in the bilges, chances are that you have a loose hose clamp or cracked plastic fitting somewhere nearby. If you find salt water, the situation is more complex, but usually comes down to one of three things:
Stuffing box: Check your stuffing box and tighten it if it is dripping at more than one drip every five to eight seconds when the shaft is turning. A drip per second could fill the shallow bilge in our centerboard boat within a day. If you tighten it one week and it is leaking again the next, either you need to repack the stuffing box or your engine is out of alignment.
AdvertisementPlug for chain hawser: If you are on passage and taking green water over the bow, check your chain hawsers. Many times we heard cruisers lamenting that they had forgotten to plug their hawsers and had a stream of water coming through the bilges with every wave. We carried a specially made teak plug that would expand and stop any water from coming below. But if we forgot it or if the weather got rough on a day sail, we found that several plastic bags stuffed into the hawser would cut the water flow considerably.
Deck leaks: If it isnt your stuffing box or chain hawser, then the chances are that you have a deck leak somewhere. This also holds if you have a locker that gets damp or moldy on a regular basis. These can be tricky to locate, because water always seems to migrate as far from the point of entry as possible. However, leaking fittings often will rust around the edges above deck and weep rust belowdeck. While deck leaks are a fact of life at sea, there are some ways to minimize them. We found that sandwiching a nitril or neoprene pad between layers of caulk and placing them under the chain plates permanently eliminated those leaks. For a complete discussion on repairing leaky hatches, see “Down The Hatch,” by Ralph Naranjo, Feb. 96.
Safety: Lifelines and jack lines are as prone to corrosion and deterioration as anything else aboard a boat, but a failure with one of these is far more critical. Check the cotter pins and turnbuckles in your lifelines regularly. If your jack lines are of nylon webbing, replace them every 12 months; UV will degrade them. To increase strength and reduce stretch, we used hollow webbing with Spectra cord threaded down the middle.
Advertisement
Maintain It
Good seamanship carries through to your regular maintenance schedule. Finding a problem and permanently solving it always includes future preventive action. By the end of our circumnavigation, 90 percent of the maintenance we did was preventive in nature, which managed to eliminate most unpleasant little surprises. The maintenance tables weve included in this article provide schedules for engine-hour and time-based activities.
We changed our oil every 50 hours, but most experts will comment that this frequency is excessive; even our Yanmar manual recommended every 150 hours. However, neither of us knew anything about diesel engines when we left, so our approach to the engine was to feed it very clean fuel, oil, air and water, and we ended up having no major problems. Those we did have and those most of our friends had were almost inevitably fuel-related. For that reason, we recommend:
When possible, buy your diesel from automotive pumps rather than fuel docks. The turnover is higher, so the fuel is generally much cleaner and it is well worth the trouble of getting it to your boat.
Where this is impractical, use a Baja filter before putting any even slightly questionable fuel in your tank. Although this slows the fueling process considerably, it is the best way to protect your engine from the possibility of bad diesel.
If your fuel system does not include a Raycor filter, install one and change it regularly. Ours saved our engine more than once, not just from water in the fuel, but once when a wave forced salt water down the breather for the diesel tank.
For convenience, often we would time the annual and biannual tasks to coincide with a haul out. Other specific tips include:
Zincs: Marinas often have stray electrical charges that can destroy your zincs in no time. Whenever we spent an extended period of time in a marina, we would find a good anchorage where we could dive and check our zincs before heading out on passage. Consider one of the various AC isolation systems if you have an ongoing problem with electrolysis.
Plastic plumbing fittings: Over the course of three years almost all of the plastic plumbing fittings on the boat broke, including one above-waterline plastic thru-hull. As they did so, we replaced them with bronze. Carry spares of some sort if your boat has many plastic fittings.
Standing rigging: The most common areas of rig failure are at the terminal ends or any welds. The masthead crane, in particular, is subject to violent and extreme shock loads. Regularly inspect these areas closely, preferably with a magnifying glass. Avoid taping rigging whenever possible. Tape traps salt water and speeds corrosion. Where taping or otherwise covering rigging cannot be avoided, inspect beneath the tape regularly. After we finished our trip, we found that one spreader end had badly corroded under the tape (see Ralph Naranjos “Rigging The Outcome,” May 96).
Mast track: Racers know that regularly lubricating the mast track greatly eases sail handling. While most cruisers dont care that much about how quickly a sail goes up, extra lubrication will save you time and effort when you bring a sail down, and it may just allow you to get the sail off in extreme conditions when you cannot turn head to wind. A small amount of simple liquid soap applied to slides works well as a lubricant for short periods.
Re-bedding deck fittings: Clean-up is much easier if you tape off the area around the fitting you plan to caulk. After you have finished, remove the tape and carefully clean up the area with solvent. For silicone, use acetone; for polyurethane, use rubbing alcohol; and for polysulfide, use mineral spirits.
After passage: To make a quick recovery after a passage and to find any unpleasant surprises as early as possible, flush bilges from end to end with fresh water and some sort of mild soap. Open and air all lockers for at least 24 hours. Rinse all exterior stainless with fresh water, including your wind vane and wheel-based autopilot. In general, it pays to rinse the exterior with fresh water as often as practical on any boat to minimize the corrosive effect of salt air and water.
Time-Based Maintenance Schedule
Every Month
- Electrical: Check battery fluid. Check all major charging system connections, battery terminals and bus bars for corrosion or loose wires.
- Engine: Check and tighten engine belts.
Every Quarter
- Refrigeration: Check refrigerant pressure; recharge if necessary.
- Standard Rigging: Check rig tuning, fittings, gooseneck and all stainless welds (including wind vane). Go up mast and thoroughly inspect masthead crane, spreaders, spreader lights and masthead instruments.
- Self-Steering: Check control lines and end-for-end if wear is evident
- Hull: Dive and check zincs, prop, thru-hulls and bottom paint. Use mild liquid abrasive to clean rust off all exterior stainless.
Once a year
- Hull: Inspect prop for pitting, corrosion. Grease folding prop if applicable. Inspect rudderstock and bearings. Clean and grease winches. Varnish cabin sole. Inspect and rebed deck fittings as needed.
- Plumbing: Replace seals in saltwater hand/foot pumps. Inspect, open and close all seacocks to ensure they are not frozen.
- Refrigeration: Flush refrigerator condenser with muriatic acid if in the tropics. Replace refrigerator zinc.
- Ground Tackle: Replace length markings on chain and rope rode.
- Running Rigging: Inspect every halyard and sheet over its entire length — replace or end-for-end as necessary. Sand and repaint propane tanks.
Every Two years
- Plumbing: Replace valves and seals in head. Replace seals and rebuild electric bilge, freshwater and deck wash-down pumps. Replace seals on freshwater hand/foot pumps.
- Ground Tackle: Re-galvanize anchors and chain.
Every Three Years
Standing Rigging: Pull mast and inspect mast base, mast step and all wiring in mast.
Every Four Years
Ground Tackle: Open and re-lubricate manual windlass. (Service electric windlass annually.)
Regular Engine Work
- Every 100 hours: Change oil; oil and fuel (Raycor) filters.
- Every 150 hours: Change transmission oil. Top up autopilot oil (for an in-decks pilot). Clean air filter.
- Every 500 hours: Check engine alignment. Replace cooling water impeller.
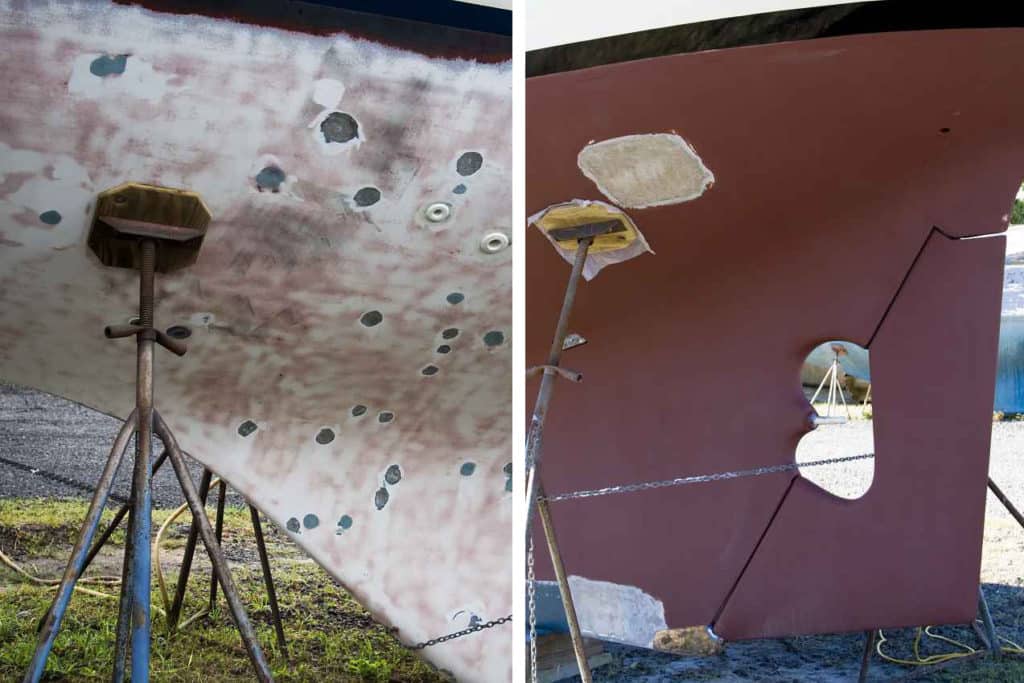
The annual haul out should be the time when you make sure that all the gear on the boat is working. Inspect everything and fix as much as you can afford to.
Dont underestimate the value of new bottom paint on your boats performance. You will pick up a knot in boat speed with a clean bottom, which can save you days on a long passage. At the same time, do not be too concerned by the gooseneck barnacles you will acquire during the course of most tropical passages. These require water flowing over them to live, so they will die and fall off within a few days of dropping your anchor.
Waxing the hull protects the gel coat and keeps barnacles from growing above the waterline when you are even slightly heeled day after day on passage. Wax can be applied easily from a dinghy.
On most boats, you can repack the stuffing box without hauling. Seal the outside of the stern tube by diving and wrapping a large piece of plastic wrap around the stern tube and shaft. Repack the stuffing box and then remove the wrap.
The cutless bearing should be replaced when you can move the prop shaft by hand anymore than one-eighth of an inch to either side (one-quarter inch in total).
Of course, the details to monitor onboard are endless, but these are the ones we found to cause the most frequent problems. Preventive maintenance on a live-aboard cruising boat is a much more demanding task than keeping up a boat used on weekends. Generally, it took about 10 hours of work a week for each of us, with two 40-hour weeks at haul-out time. In addition, we usually had one or two repairs each year, which in most cases could be put off until haul out. When hauled, you should thoroughly survey the boat. Among other things, check such essential systems as the rudder and its bearings, which should have minimal play; the keel bolts and keel itself for signs of damage or keel movement; and bulkhead tabbing to make sure there is no separation between it and the bulkheads.
Tools and Spares
Beyond the usual collection of screwdrivers, wrenches and pliers, you will need several other tools. These must be maintained carefully against corrosion:
- A small grinder, a small palm sander, and a portable drill with a reliable pump attachment. A multimeter is useful for electrical troubleshooting.
- A Nicopress kit, taps and dies for metal/wire/rigging work, plus a hacksaw.
- A comfortable, stable bosuns chair for working at the top of the mast for long periods of time.
- A small propane hot knife/soldering iron for electrical, line, and sail work.
- If you have a folding prop, you will need a grease-gun to grease the prop.
Good maintenance begins and ends with a seamanlike attitude. Your life depends on your boat and her gear, so if there is trouble out there, find it and fix it right the first time. Then maintain it, diligently. In the end, your preventive maintenance should stop most trouble before it starts. But dont ever stop looking!
*Beth Leonard and Evans Starzinger embarked upon a three-year, 30,000-mile circumnavigation in 1992, climbimg the learning curve on a stormy shakedown passage from Newport, Rhode Island, to Bermuda on the first leg of their trip. Since their return after a successful round-the-world cruise, they call Southport, Connecticut, home. *
This article first appeared in Cruising World in 1996.


