Fuel Filter Gauge
You’re making a night entrance to an inlet in 30 knots of breeze and 6- to 8-foot short seas after powering into prevailing conditions for hours, when the engine begins to lose power. You bang your fist on the wheel and cross your fingers that the diesel won’t shut down. Alas, the motor shudders to a stop and the drift toward the rocks begins. I’ve been there, and there’s a good chance that you have too, if you’ve spent time on the water using an auxiliary engine.
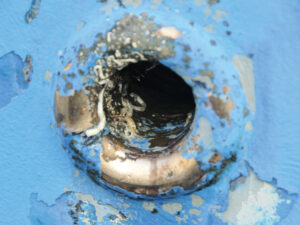
Algae grow in the water that often accumulates in diesel fuel tanks, where it settles to the bottom. When the boat is active, it mixes back into the fuel only to be strained out by the filter. The filter can remove only a finite amount of impurities before it loses efficiency. As it becomes clogged, it creates more and more vacuum between the filter and the engine as the fuel pump tries to deliver diesel. Eventually, a seal on the hose or filter will allow air in, or the engine simply starves for fuel. In either case, there’s no way to make the engine run again until the filter is changed.
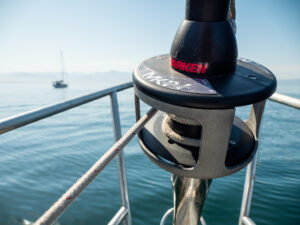
On Lyra, our Reliance 44 ketch, we can throw a valve to switch between dual Racor filters, an expensive option that is wonderful insurance. However, even if the filters are switched on the run, there can still be downtime before we’re back to 100 percent power. Wouldn’t it be better just to glance at a gauge to see if the filter needs changing prior to using the boat for the day or making a gnarly entrance? Being able to do so would also save money by eliminating unnecessary filter changes. As it happens, Racor sells a vacuum gauge that lets you do exactly that for about $130. But here’s how to build a similar system for about $30, and you can install it yourself in about an hour’s time.
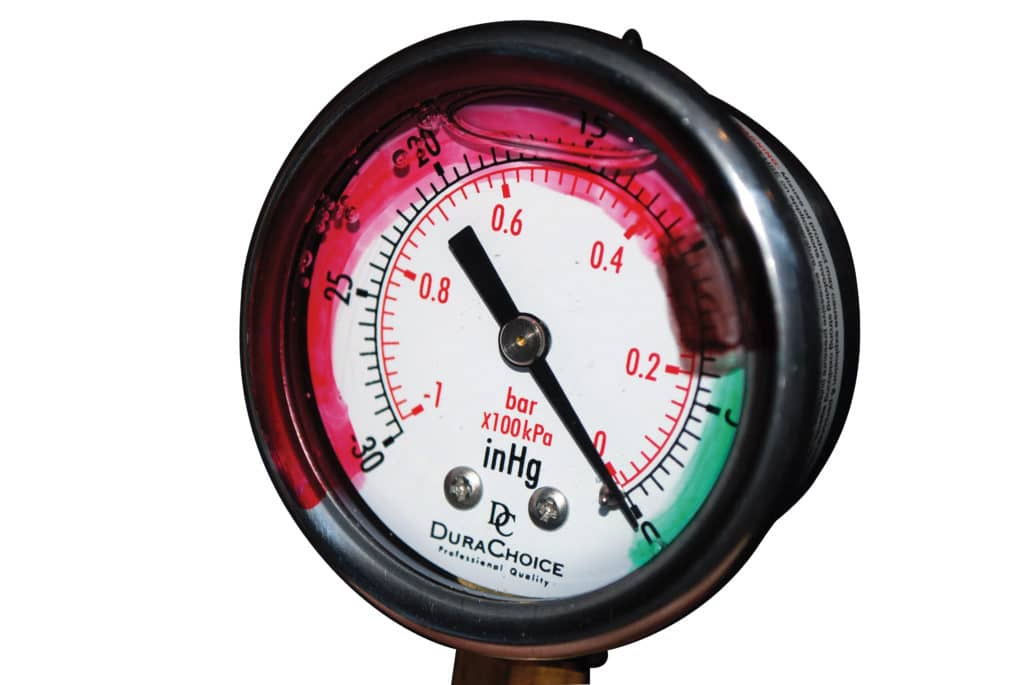
Once you’ve installed the new gauge, change your filter so you have a baseline to work with. Lyra‘s 44-horsepower Yanmar, pulling fuel up a 6-foot rise through a Racor 500 Series filter, develops between 4inHg and 5 inHg (inches of mercury, a common measurement of pressure) of vacuum with a clean element. The reading does not change appreciably with rpm changes. It will increase, however, as algae and other contaminants clog the filter.
Now, whenever we start up the engine, we check the fuel filter gauge before taking off. As long as the needle’s in the green, we can power along with confidence that at least that part of our propulsion system won’t cause us any problems.
Click through for a step-be-step guide.
Here’s What You’ll Need
• A DuraChoice 2-inch oil-filled vacuum gauge. The one I ordered included the specifications ¼” NPT, SS/Br – 30Hg – 0PSI, and came from Amazon for $12.12, including shipping, at the time I bought it. The gauge has a stainless-steel case, copper alloy wetted parts and a ¼-inch lower mount connection, and can be used with water, oil and air. The oil-filled gauge dampens vibration and gives you a cleaner reading.
• A ¼-inch NPT tee, two ¼-inch hose barbs and two stainless-steel hose clamps. You can get these at your local hardware store; they cost me $17.82.
All together, my fuel-filter monitoring system cost a total of $29.94.
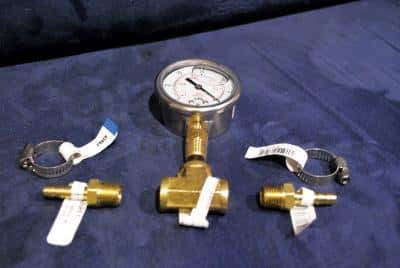
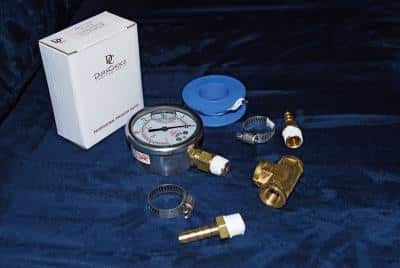
| |1. Assemble the six parts you’ll need to install the fuel filter pressure gauge on your sailboat.|
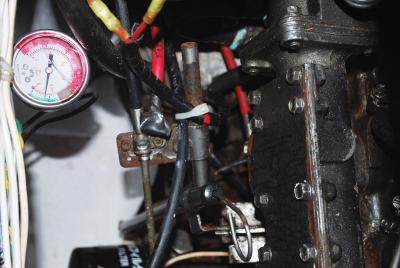
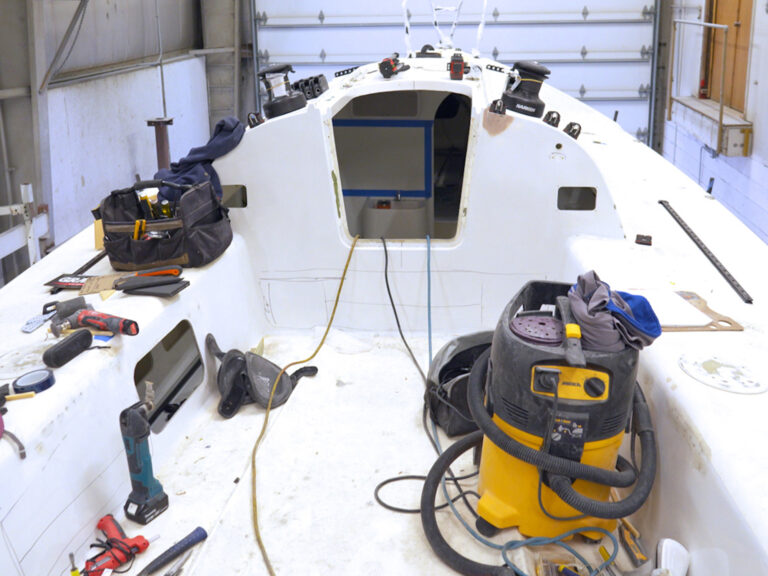
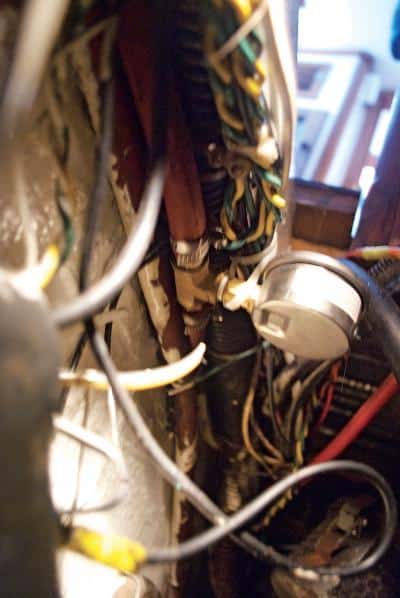
| |2. Follow your fuel feed line from the filter and locate the best place for the gauge. Lyra‘s is on the engine room wall to help avoid vibration. It is easily viewed through the hatch that we use to check on the engine. Make sure there will be room to cut the hose and go for it. Catch and dispose of any diesel that drains out.|
| |3. Put one wrap of Teflon tape or your favorite pipe dope on the male threads on the pressure gauge and the hose barbs. Be sure not to restrict the flow by covering the openings if you use tape.|
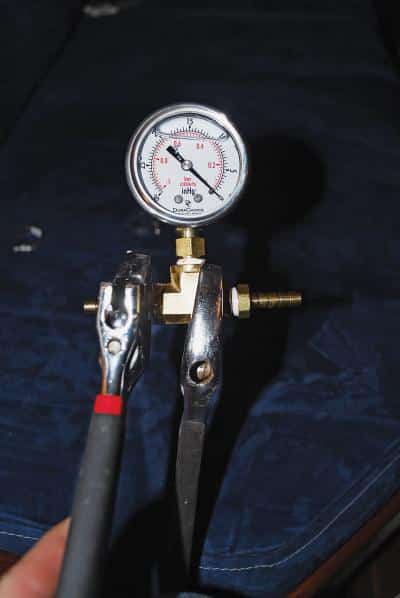
| |4. Using two open-end wrenches, screw the hose barbs and gauge into the tee fitting. Do not over-tighten.|
| |5. Put the hose clamps on the hose, insert the barbs into the fuel line and tighten the hose clamps. Then bleed the engine if necessary, start it up and enjoy your handiwork.|