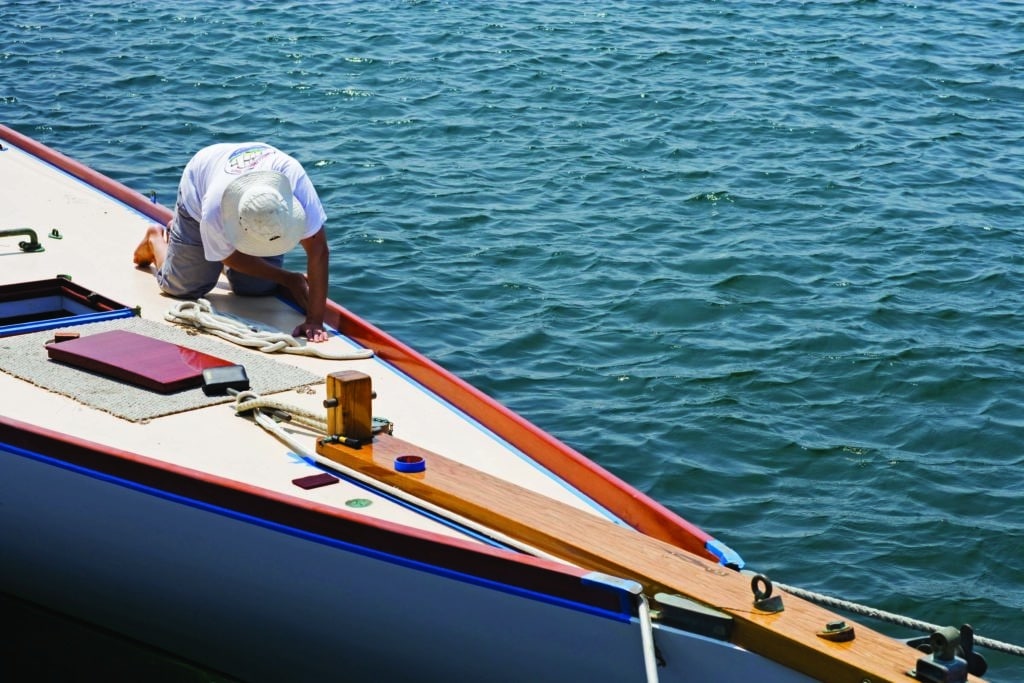
Gleaming brightwork is the eye candy that sets hopeless romantics dreaming about setting off over the horizon in a classic boat. But I know that transforming those fantasies involves a lot of work; with my partner, Capt. Rick Martell, I’m the co-owner of the 1935 Crocker ketch Land’s End.
The reality is that varnish takes steadfast maintenance. If you’d rather spend more time sailing than sanding, a hull constructed of modern materials with brightwork accents — deck boxes, companionway washboards, grab rails — may be the more practical way to go (apologies to Capt. Rick). Or choose from among finishes that lend a snappy look to wood trim but involve less work. Heads will still turn and you’ll be able to boast about the miles in your wake, too.
To get some basic pointers on proper varnish procedures, I sought out the advice of a professional varnisher. Michael Fletcher, of the yacht refinishing company Makai in Bristol, Rhode Island, cares for the likes of the Bruce King-designed White Hawk, the Herreshoff NY 50 Spartan and the W. Starling Burgess-designed Chips.
If anyone knows what it takes to keep tabs on a special fleet, it’s Mike. If the high-luster look is what you’re after, read on for his advice on how to turn your woodwork into artwork.
If you’re not in the professional varnishing business, and don’t have days on end to cater to trim and cabinetry, you’d still be wise to follow Mike’s suggestions while considering alternative products that involve less application effort.
Mike’s tips:
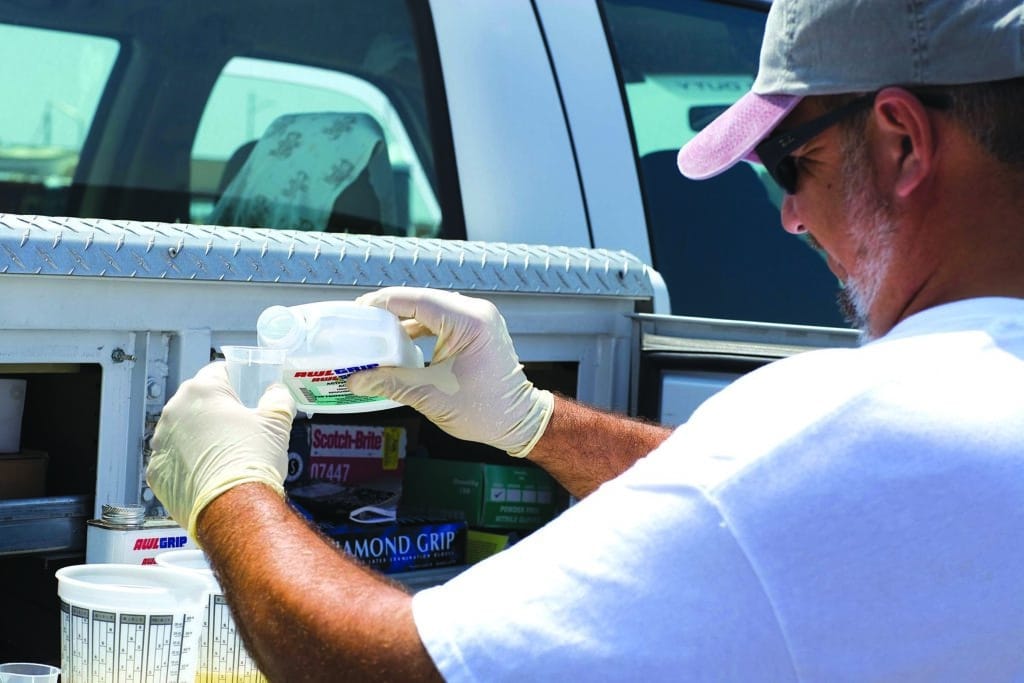
- Before sanding and masking, the surface to be varnished should be washed with Joy dish detergent and water to neutralize any contaminants so they aren’t sanded into the brightwork. Work in a clean area with clean tools.
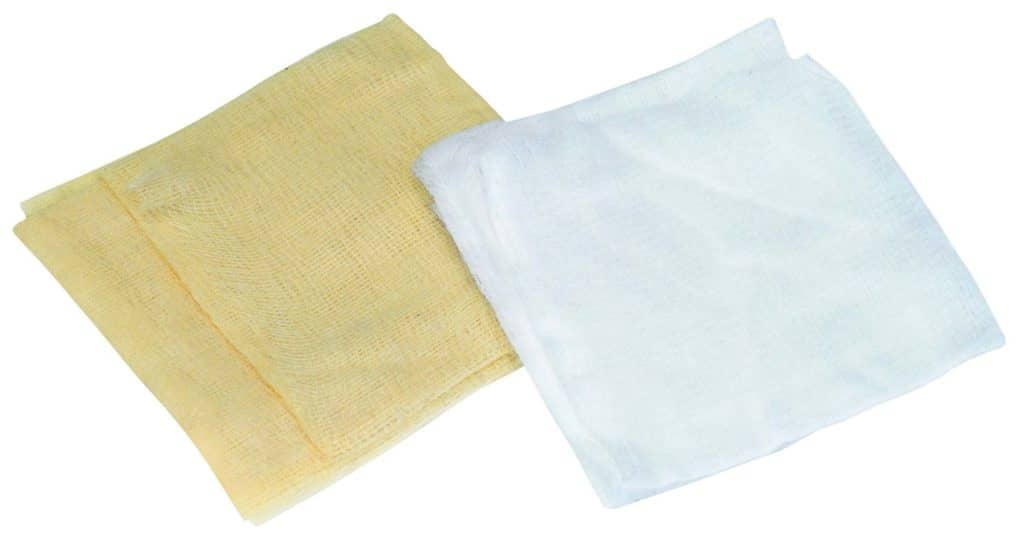
- After washing, let the surface dry. Between applying coats, use a vacuum, tack cloths or cheesecloths and solvent to rid surfaces of debris.
- Mask transition points on the boat. This is where paint meets varnish meets hardware. Use masking tape. If possible, remove hardware — cleats, oarlocks, etc. Take your time to mask and do a good job.
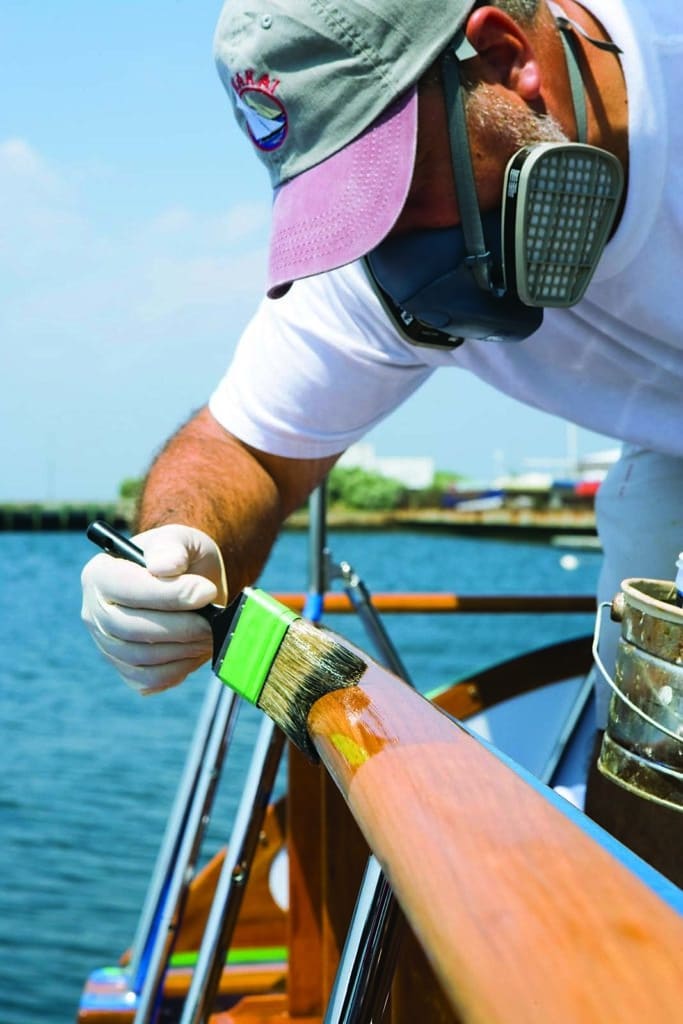
- Consider weather and wind conditions before varnishing. In summer, varnish early, before it gets too hot and the sea breeze kicks in. In fall, the window becomes shorter due to late afternoon cooling. Give your freshly varnished surfaces sufficient time to dry so that the evening dew doesn’t interfere with your anticipated glossy finish. In winter, varnish indoors.
- Choosing a one-part or two-part system is up to personal preference and product choice. Theoretically, two-part systems require more work up front but yield a more durable result and are meant to cut down on maintenance later. Some one-part systems help you keep the chore manageable by allowing application of multiple coats without sanding. Varnish alternatives are noted for their convenience of application but may not last as long in tropical marine environments.
- Carefully read the manufacturer’s instructions before you start, and don’t hesitate to call technical support.
- Thin the varnish enough to allow it to flow in any wind or heat conditions. Poke holes in the receiver trough at the rim of the varnish can so it drains back in. Take care to prevent any foreign matter from coming in contact with the varnish; pour varnish through a strainer to remove impurities, direct it to a clean paper or plastic pot.
- Between coats, sand or use 3M Scotch-Brite pads to give the next coat of varnish something to attach to.
- Before using new brushes, wash them with mineral spirits or paint thinner, and keep a few extra brushes in a clean container at the ready.
- After you’ve taken the time to varnish your brightwork, remember to take care of it. Wash with soap and fresh water after all outings, and follow up with a thorough wipe down with a chamois. Salt residue wreaks havoc with a beautiful varnish job and quickly reduces its longevity. If you don’t have the time for a complete washdown, then at least give your boat a proper rinse.
Varnishing Supplies
Tape
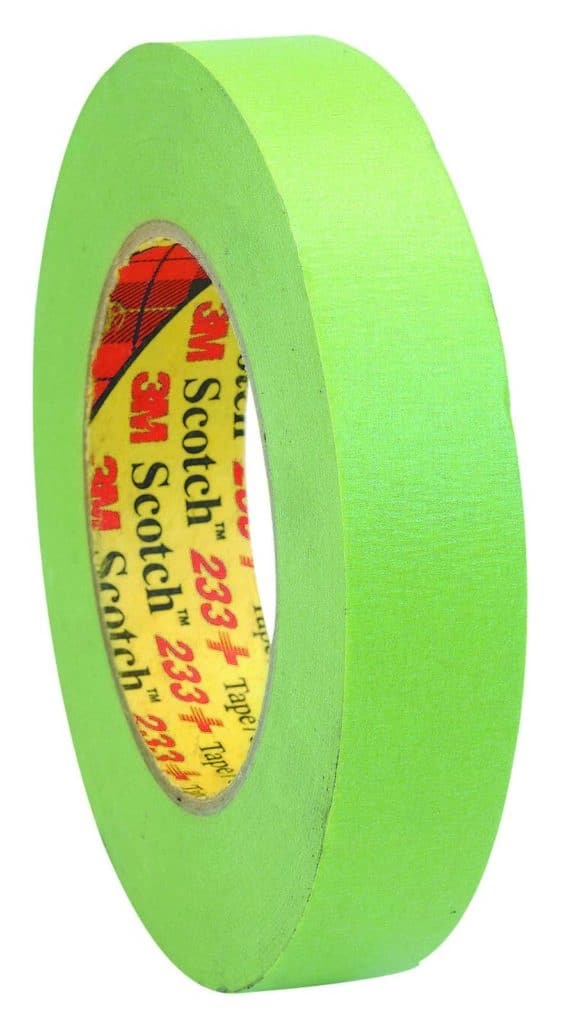
- 3M 233+ Masking Tape: Good for general masking, good for teak; water and solvent resistant. Can be torn by hand. Use indoors.
- 3M 256: Marine outdoor green tape that can be used with two-part varnish systems. Treated flat-back surface has smooth, sharp edge. Retains shape when applied on horizontal surface.
- 3M 2080 Scotch Blue Painter’s Tape: UV/sunlight resistant; low tack, holds strong, removes easily.
- 3M 2090 Scotch Blue painter’s tape: Removes cleanly from surfaces up to 7 days outdoors or 14 days indoors. Recommended for interior and exterior painting projects.
Surface prep
- 3M Scotch-Brite maroon (fine); gray (very fine)
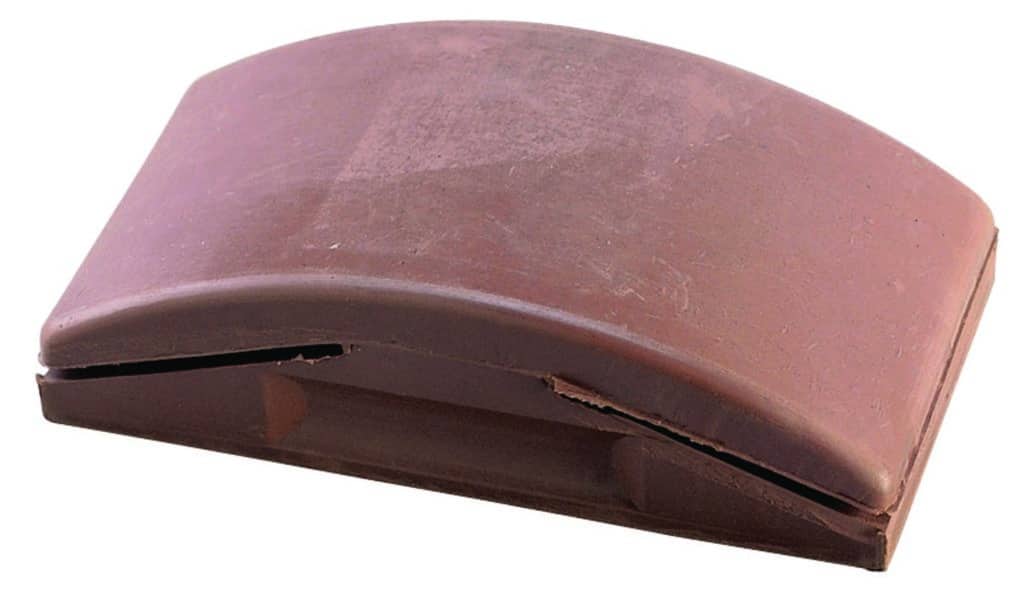
- 3M Rubber Sanding Block
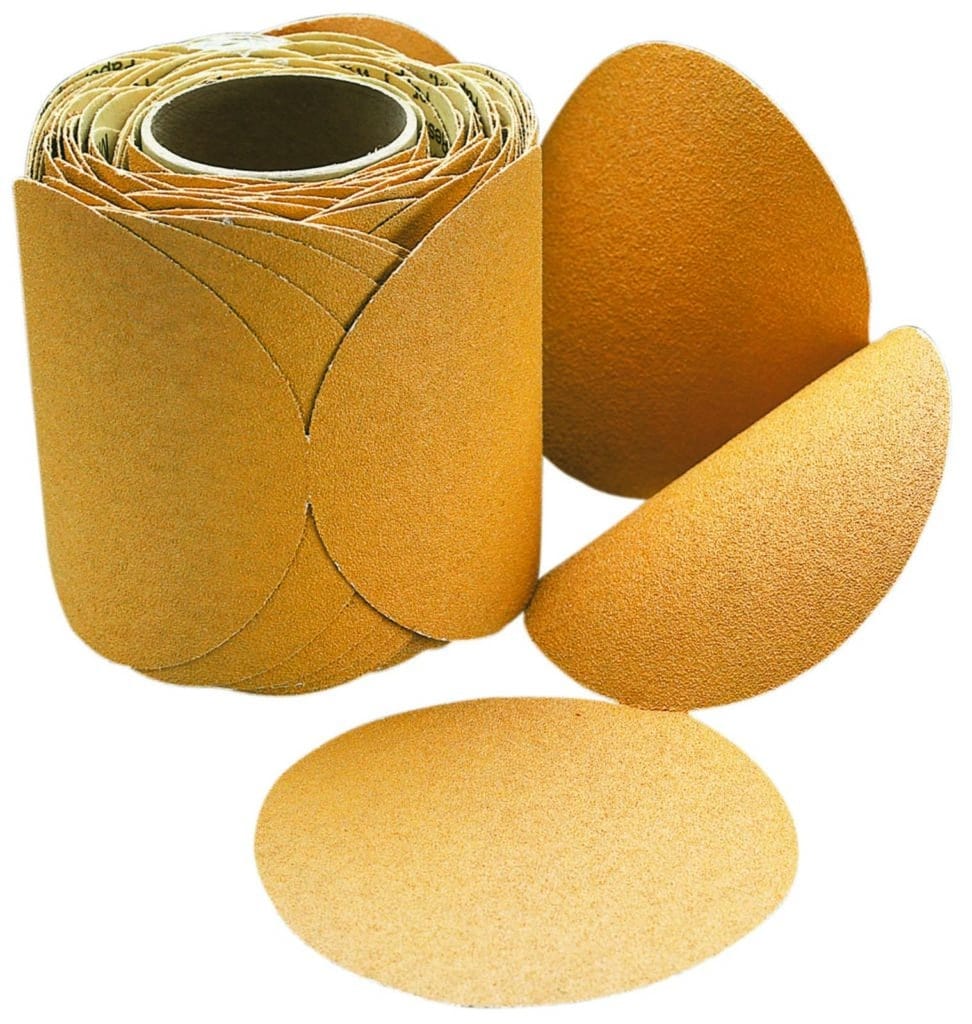
- 3M Stikit Gold Disc Roll Sandpaper
- Any sandpaper with 220, 320 grit
- Crystal tack cloth
- Seafit Tack Rags
- Disposable strainers
- 16 or 32 oz. plastic mix and measure containers or paper paint pots
- Razor blades
- Redtree Badger Hair Brushes
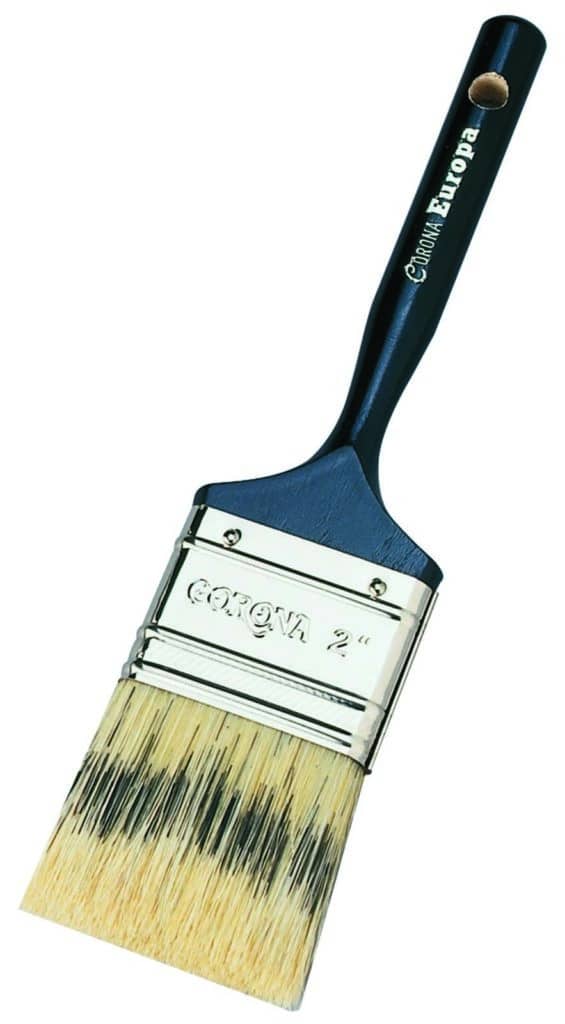
- Corona Marine Brushes
- Any brushes with natural China bristle
- Mineral spirits
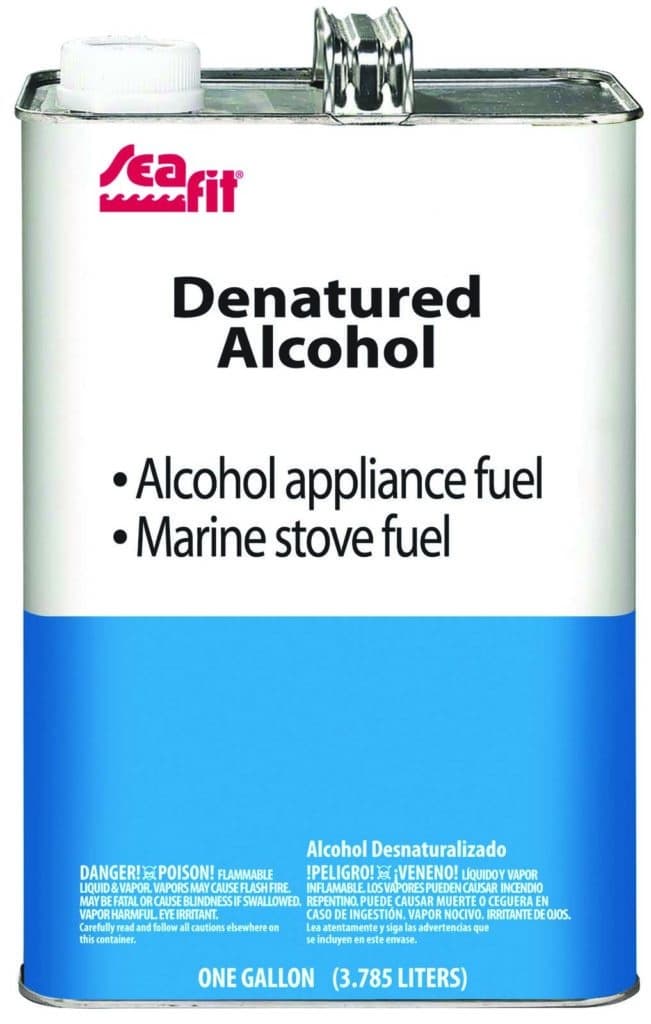
- Denatured alcohol
Elaine Lembo is CW’s deputy editor.

varnish.jpg
varnish_1.jpg
varnish_2.jpg
varnish_3.jpg
varnish_tape_mask.jpg
varnish_3m_disc_stickit.jpg
varnish_brush_europa.jpg
varnish_denatured_alcohol.jpg
varnish_paper_paint_strainer.jpg
varnish_rubber_sanding block.jpg