When we bought our used Sabre 34, Jackalope, some years ago, I didn’t pay much attention to the roller furler, except to note that it had one. Our previous boat, a vintage Ericson, had come with hank-on headsails, and while they worked well, I had no desire to go back to the days of dropping, flaking and bagging a big genoa every time we used the boat. In fact, eventually, after a few good dousings on the foredeck while switching to a smaller working sail, we invested in a Schaefer furler, which I installed on the Ericson one spring day, just before launching, with the help of a few friends.
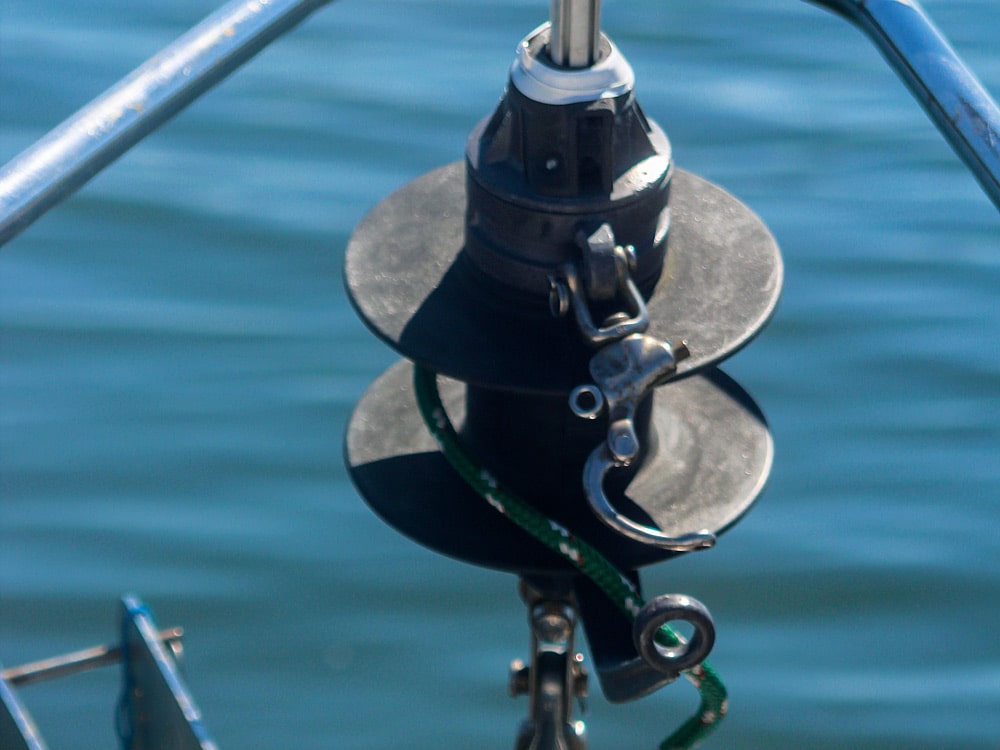
Most sailboats these days have a roller furler made by one of a handful of manufacturers that include Facnor, Furlex, Harken, Schaefer Marine and Profurl. While features may vary, the basic hardware and how it functions are similar. A rigid foil, or extrusion, with one or two slots for a sail’s luff tape, covers the headstay. There’s a line drum with a shackle for the foot of the sail at its base; up top, there’s a swivel to which the head of the sail and halyard are attached. The extrusion comes in sections, and inside each joint there’s some sort of fastener that doubles as a bushing to ensure the tube spins freely around the stay.
To go sailing, the crew simply pulls on the leeward sheet to unroll the jib. As the sail comes out, the furler line is wound up on the drum. To reduce sail or put it away, the sheet is eased as the furler line is pulled. The whole process is easily done singlehanded, and better yet, the work takes place in the safety of the cockpit.
And that’s exactly how the old Furlex furler on our Sabre worked — for a few seasons, at least. Then one day, it didn’t. Late on a breezy afternoon as we returned to the mooring, I went to furl the sail, but the furler drum wouldn’t budge. Going forward, I discovered that the furling line had somehow jumped the drum and become knotted under the furler. Oh, some salty phrases came to mind as I worked feverishly to sort things out, the sail flogging me about the head all the while.
Like a trick learned by an evil child, the line jumping off the furling drum became more and more common. In equal measure, it became increasingly harder to get the sail to unfurl. Finally, whatever mechanism was used to lock the foil in the top of the furling drum failed, so the whole extrusion would occasionally pop free and turn independently of the drum. Forced to drop the jib to the deck on a few occasions when conditions turned unmanageable, I even came to yearn for the hank-on sails of yore. At least they went up, and more importantly, came down easily. Clearly a long-term solution was needed. Time to call Schaefer again.
Getting Started
The first order of business when choosing a new furler is to determine the diameter of your headstay, the diameter of the clevis pins used to attach the stay to the bow fitting and mast, and the length of the stay, from pin to pin.
The first was easy. I dug out my Sabre owner’s manual, looked up the rig specs and then used a caliper to confirm that over the years, no one had altered the thickness of the headstay from the original 9/32 inch. Next, I measured the pins in the toggles that attached the furler to the bow: They were ½ inch.
The first was easy. I dug out my Sabre owner’s manual, looked up the rig specs and then used a caliper to confirm that over the years, no one had altered the thickness of the headstay from the original 9/32 inch. Next, I measured the pins in the toggles that attached the furler to the bow: They were ½ inch.
Finding the length of the stay was more of a challenge, since I had no eager volunteer to take one end of a tape to the top of the mast. Instead, I noted the length specified in the Sabre manual, and Schaefer supplied me with a new headstay that was a bit longer than needed. It had a swaged-on eye and turnbuckle at one end and was unfinished on the other. One of the last steps in the assembly process would be to cut the new wire to length and install a Sta-Lok eye. More on that later.
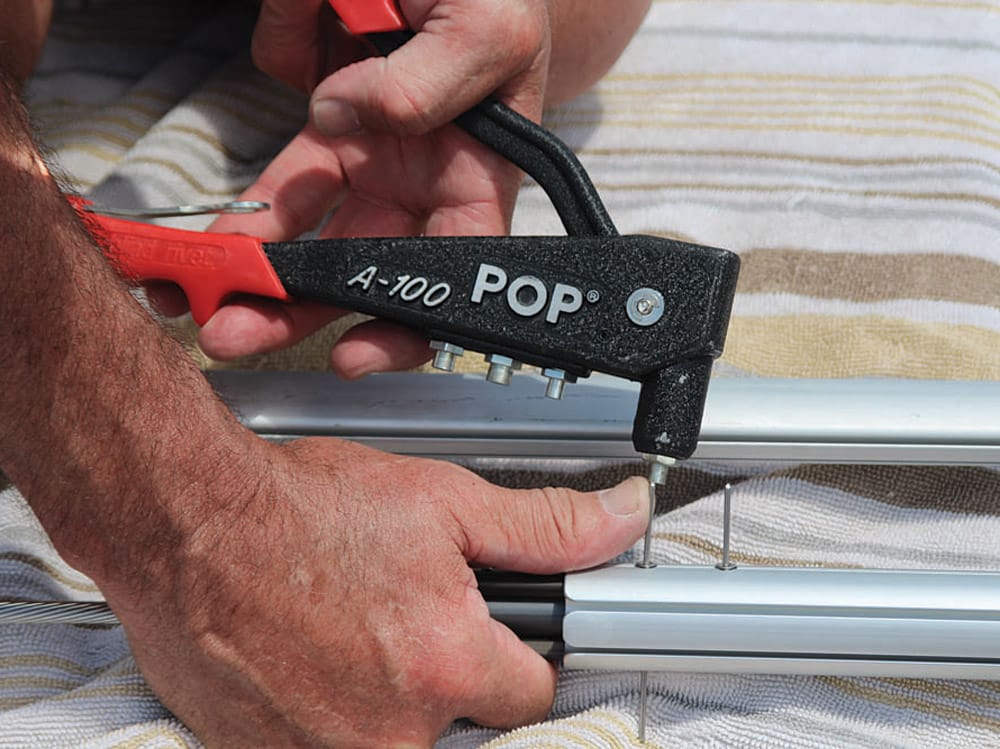
Then I gathered the tools I’d need. I purchased a 100-foot surveyor’s measuring tape at a local box store. The rest, I already had: a couple of large crescent wrenches; needle-nose, locking and regular pliers; a rivet gun with an 1/8-iXnch nose; a cordless drill, bits and a tap kit for contingencies; a hacksaw with a new blade; a bottle of permanent red Loctite thread-locker; screwdrivers; rigging tape; a large plastic bucket for tools and parts; and an old towel on which to work and keep small parts from falling between the boards of the dock where I’d do the install.
For crew, I used food and drink to entice my two CW office mates, Jen Brett and Herb McCormick, to leave work on a summer day. Joining us was my daughter, Rebecca, a mast climber from the time she was a child. When I installed the furler on the Ericson years ago, I asked one helper to be the keeper of the manual, and it worked well. This time, the chore went to Rebecca. My instructions to her were simple: Keep the booklet in hand, and read and reread each step aloud as we went along.
Then, I watched the video. Schaefer’s Fred Cook put together a quite detailed how-to video that explains in terms simple enough for even an English major to understand how to go about the job. I watched it from beginning to end a couple of times before and after reading through the equally thorough instruction manual. By the time I was done, I knew what all the parts looked like, what they were called, and had a reasonably solid notion of how they fit together.
The Big Day
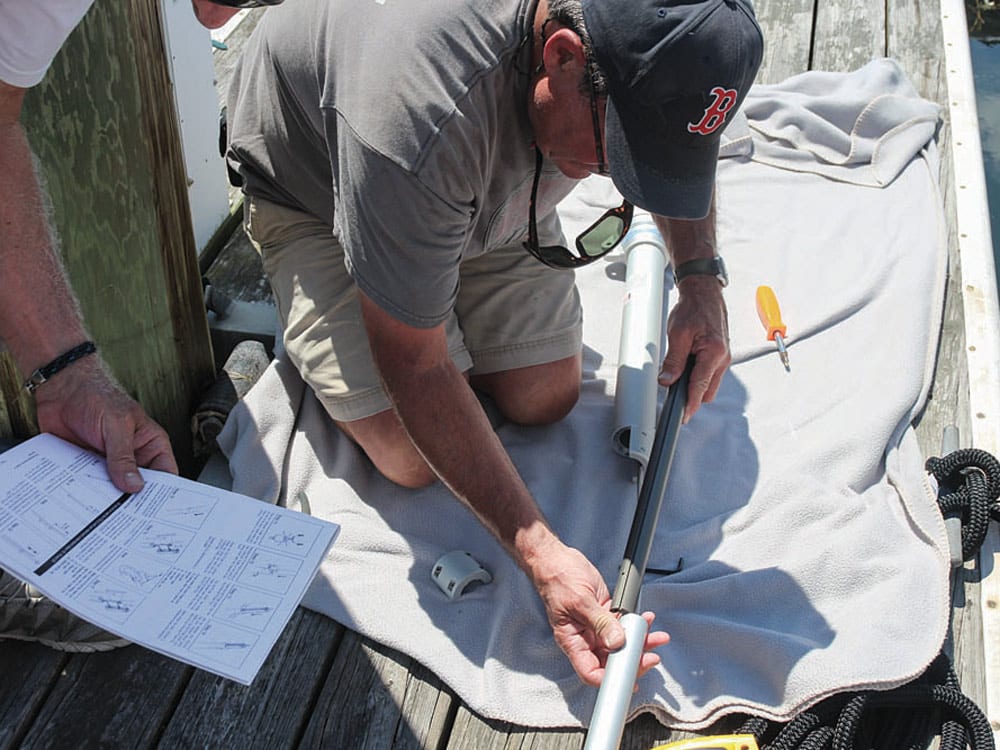
Furler Team Jackalope gathered at the boatyard at 0900. In the back of my pickup, I unpacked the parts box and removed the sections of furler extrusions from their cardboard tubes. As recommended in the video, we saved the tubes so that once on the dock, they could be folded in half and placed under the furler to make it easier to handle as we put it together.
With Jackalope tied to the dock, I grabbed a screwdriver and pliers and pried apart the Furlex’s line drum to reach the turnbuckle I assumed was inside. To my surprise, there wasn’t one, which meant the adjustable backstay did all the fore and aft tensioning of the fixed forestay. Who knew?
Before letting off the backstay, we secured the jib halyard to the bow cleat and tensioned it with a cabin-top winch. Then it was time for Rebecca to climb into the bosun’s chair with an assortment of tools for working aloft. I tied her onto the main halyard with a bowline, backing up the knot with the shackle for good measure. Then Herb and I hauled her to the top of the mast with the other cabin-top winch.
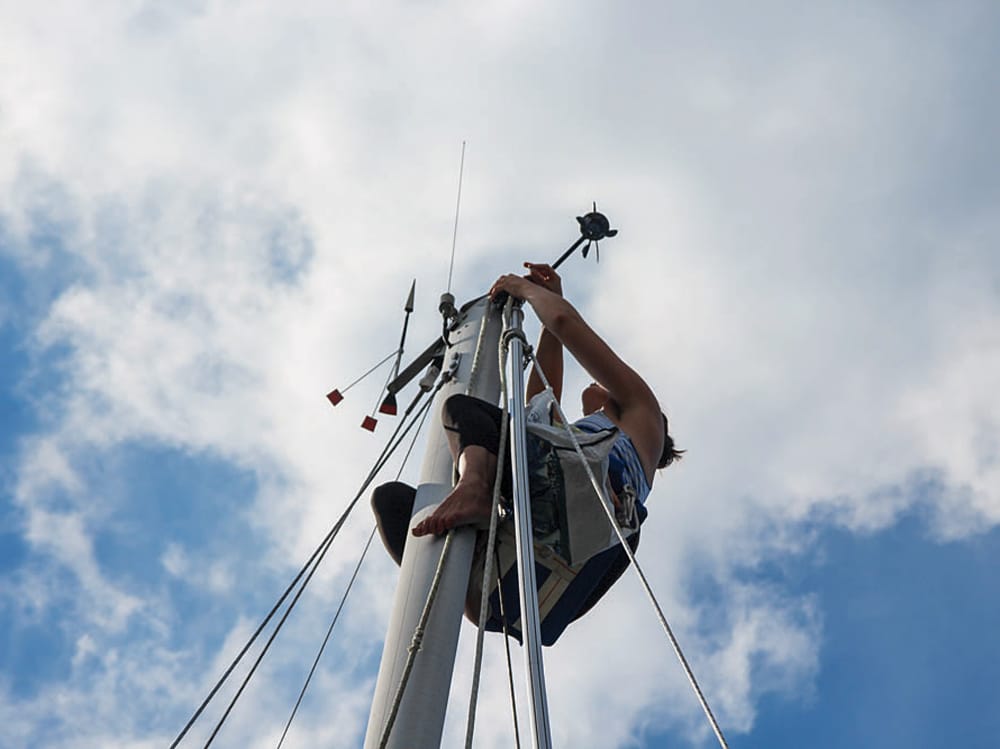
Up above, Rebecca used a couple of clove hitches to tie the spare jib halyard to the top of the furler. While I pulled the cotter pins to free the lower end of the furler from the bow, she did the same aloft. When we were ready, I passed the bottom of the furler to Herb, who walked it down the dock as I lowered the assembly with the halyard.
Rebecca was back on deck and ready with the installation manual in no time.
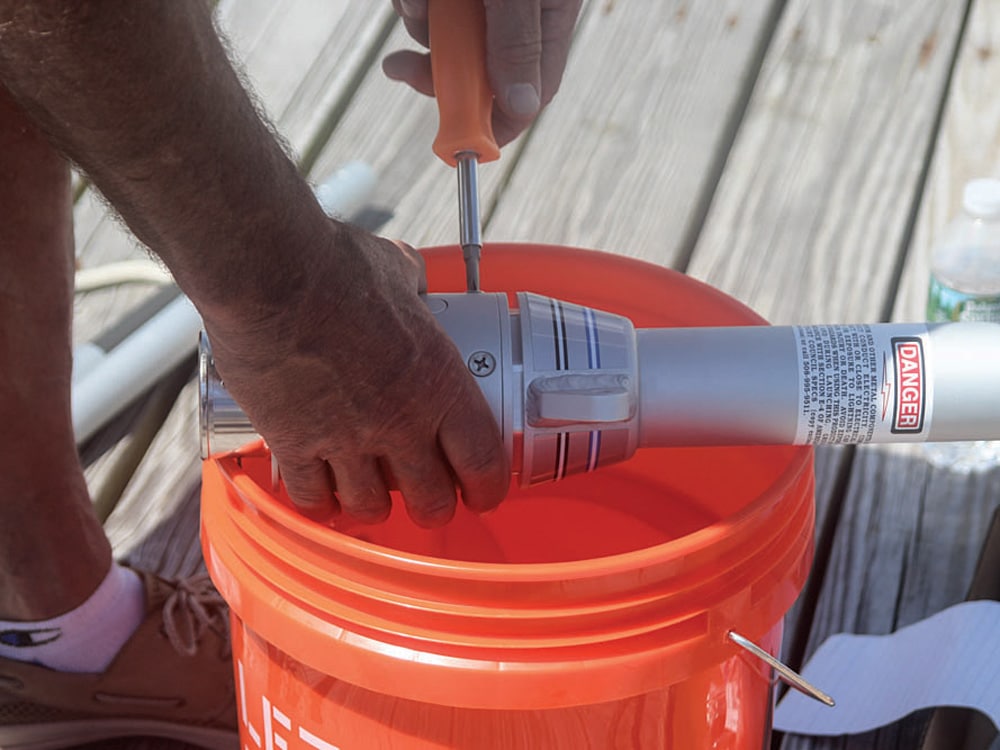
Before jumping in and riveting the extrusions together to build the new furler, Schaefer recommends dry-fitting them. Good advice. Right off the bat, I got things backward assembling the pieces of the furler drum and overlooked the fact that the first couple of foil tubes are different in size to accommodate the sail feeder — lessons learned without expensive consequence.
Once the furler drum assembly was complete, we continued working our way up the furler, step by step, as Rebecca read the manual aloud and Jen chronicled our progress with her camera. When the end cap was in place, we took the whole thing apart and began anew, this time playing with live ammo in the form of stainless-steel rivets.
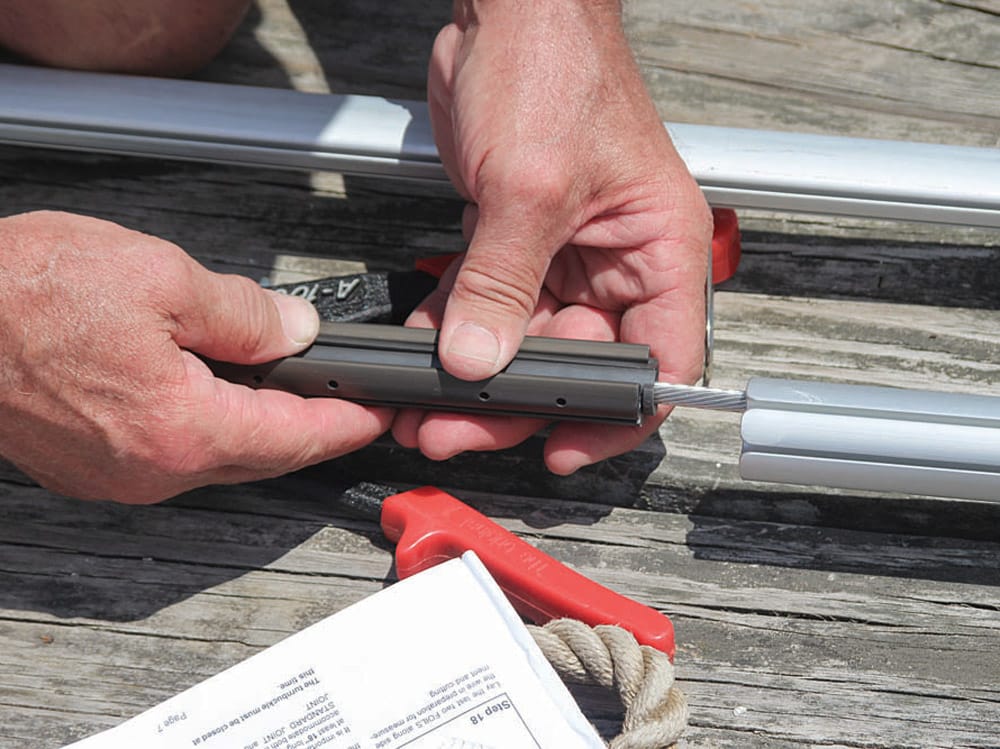
The tube sections were slid down from the top of the stay. To connect them, a two-piece inner joint had to be fitted around the stay and slid into either tube. Then eight rivets had to be popped, four on each side of the foil. I quickly realized that while ours was adequate, a better rivet gun with longer arms for more leverage would have worked better. I also found it easier to put all the rivets in place first, securing them with rigging tape if necessary, and then hit them with the gun.
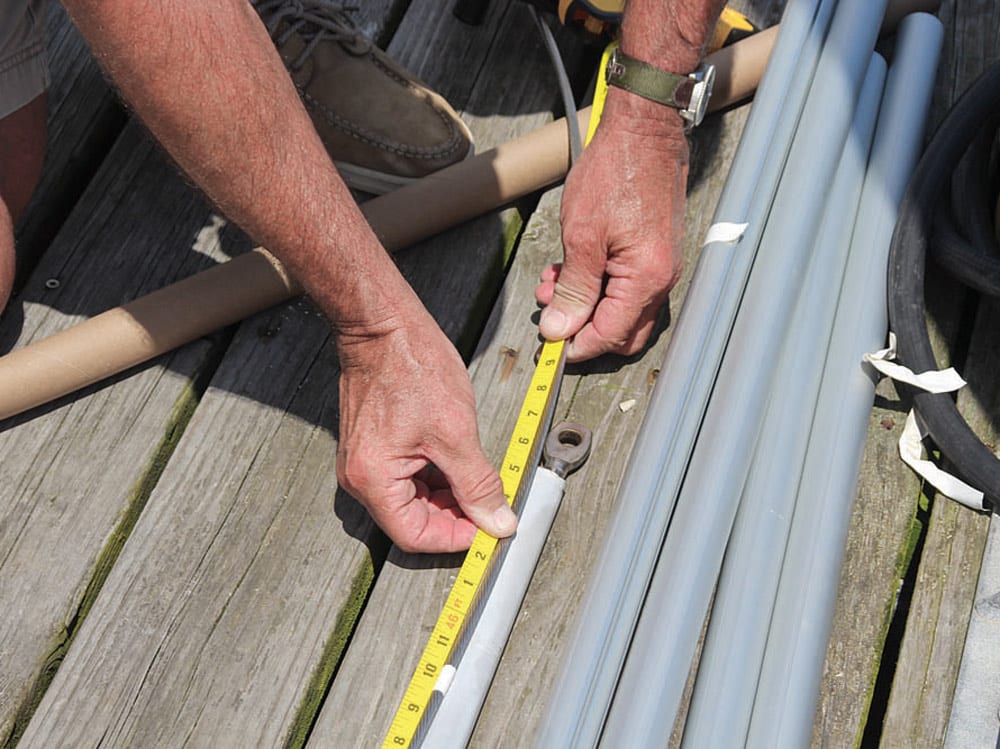
Section by section, we worked our way down the dock until we came to the last one, which, along with the stay, needed to be cut to the right length. Time to break out the measuring tape.
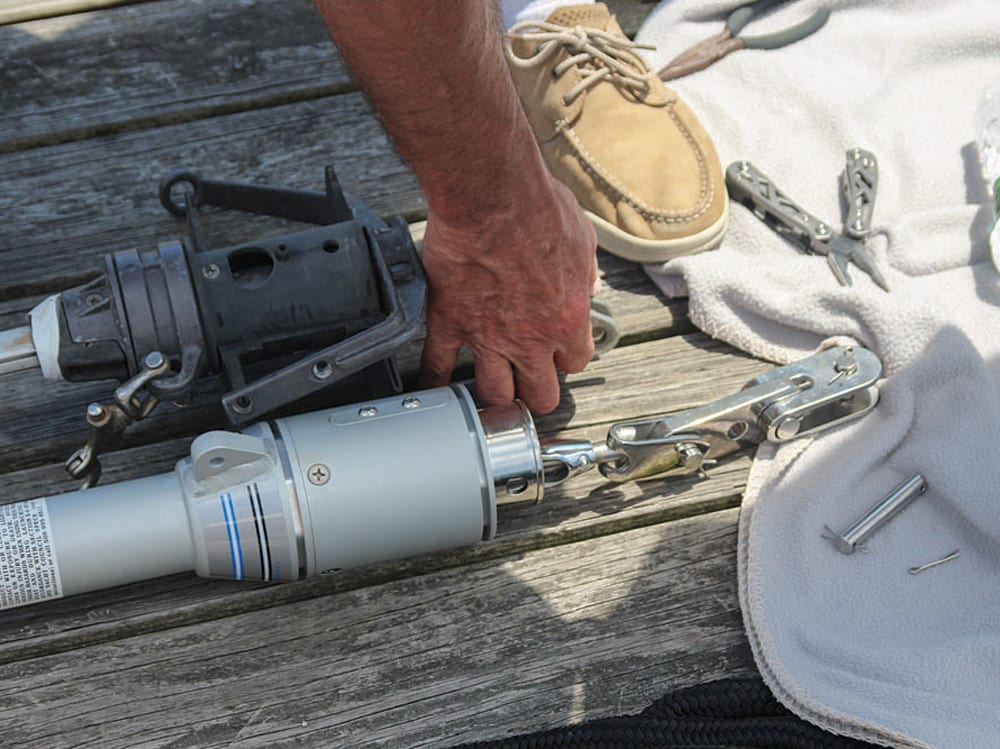
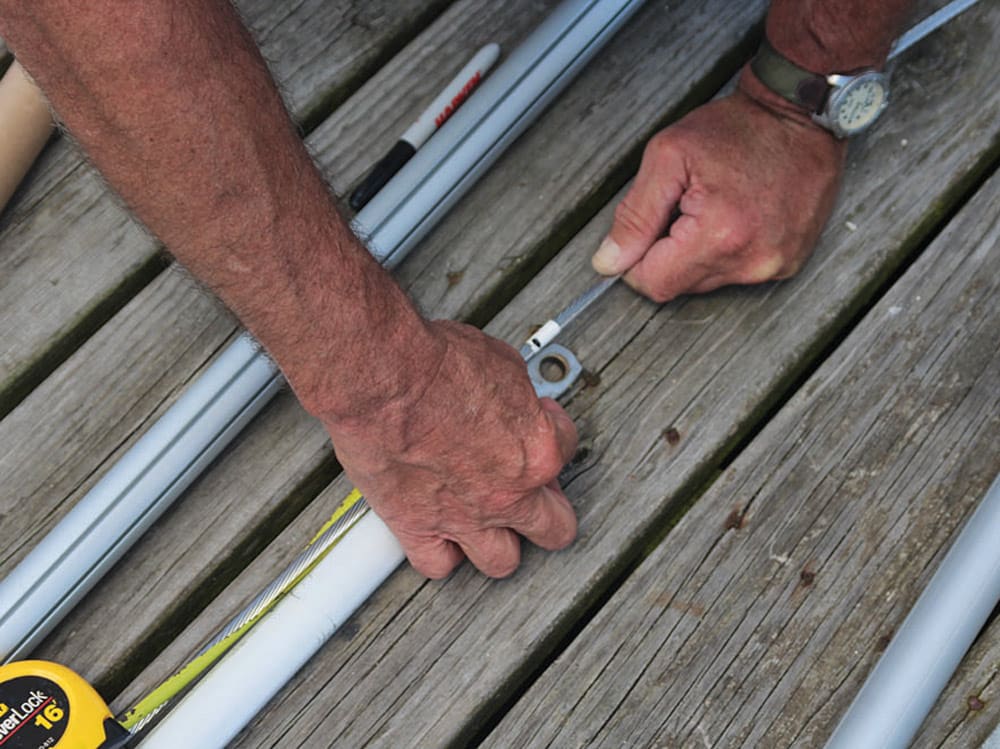
With the old and new furlers sitting side by side, I took a long screwdriver and ran it through the bottom eye of the old one, keeping it as perpendicular to the stay as possible. In that way, I could measure the distance from eye to eye accurately, the tape clearing the remaining hardware at the bottom of the furler.
The Schaefer manual includes a simple-to-use calculator table that accounts for the length taken up by the new furler’s bottom toggles (used to provide flexibility and prevent damage to the forestay) and the Sta-Lok fitting at the top. Fill in the numbers, and presto, you know where to cut the stay, and therefore the last piece of tubing.
Just to be sure, I marked the new stay where it would be cut, and where the eye of the Sta-Lok fitting would fall. Then I used the tape to remeasure the pin-to-pin lengths of both furlers, and then, for added insurance, lined them up directly side by side, pin to pin, to make sure everything looked right.
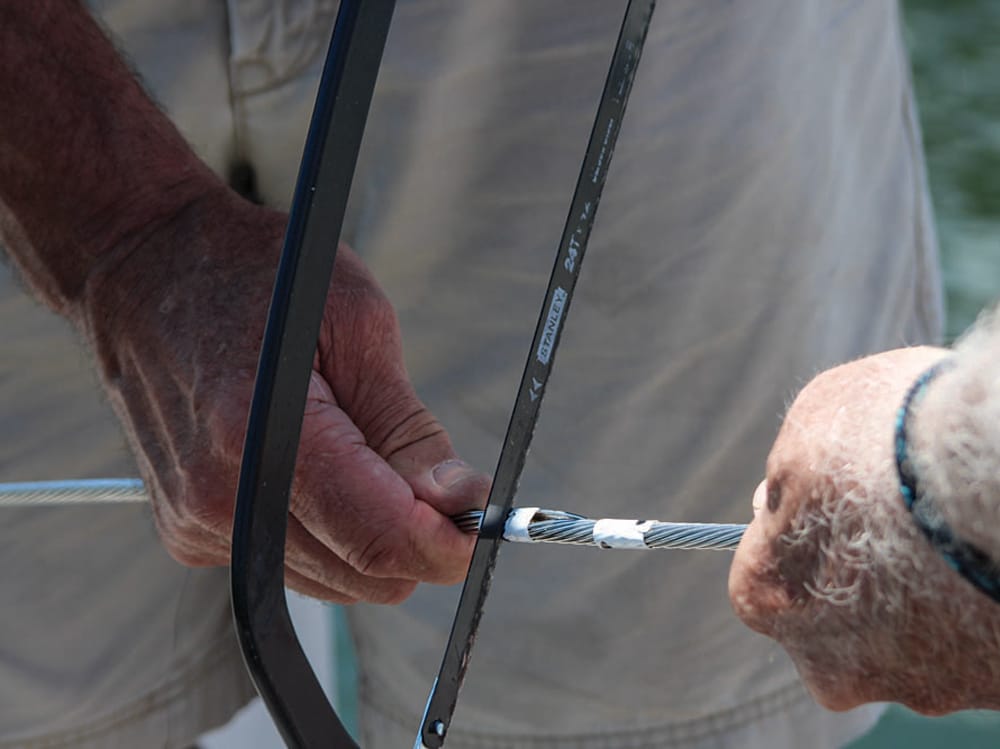
With the hacksaw, I cut through the marking tape on the wire, then took the last tube to a sturdy table and trimmed it too.
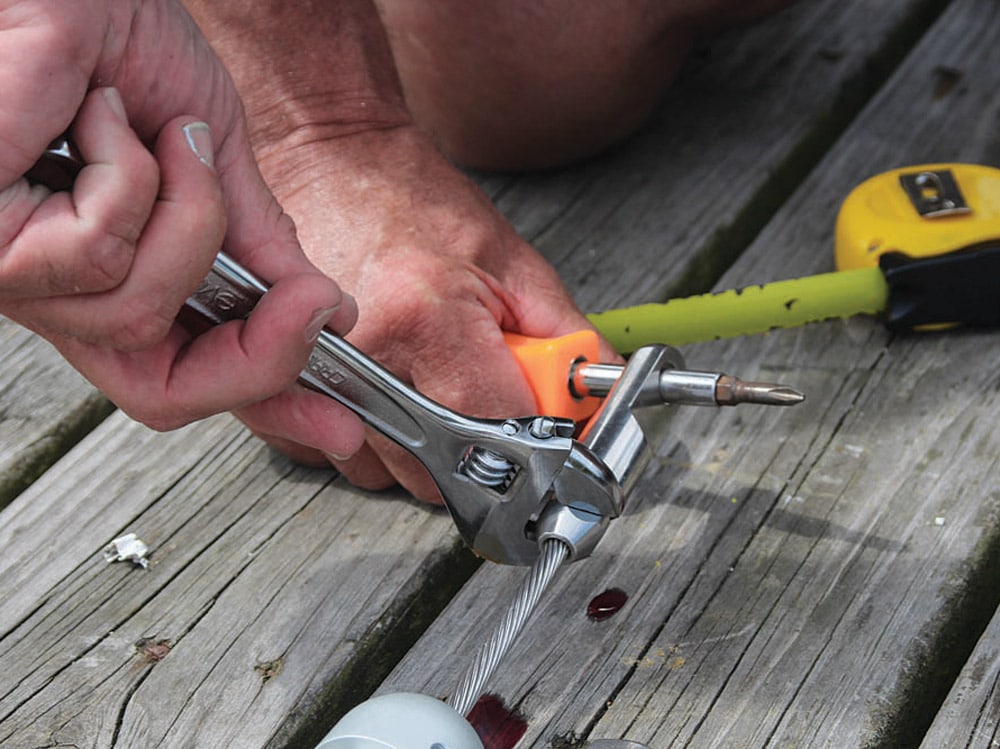
Back on the dock, I slid the last tube over the wire, added the top swivel and end cap, then installed the Sta-Lok eye, using the prescribed thread-locker to keep it from failing.
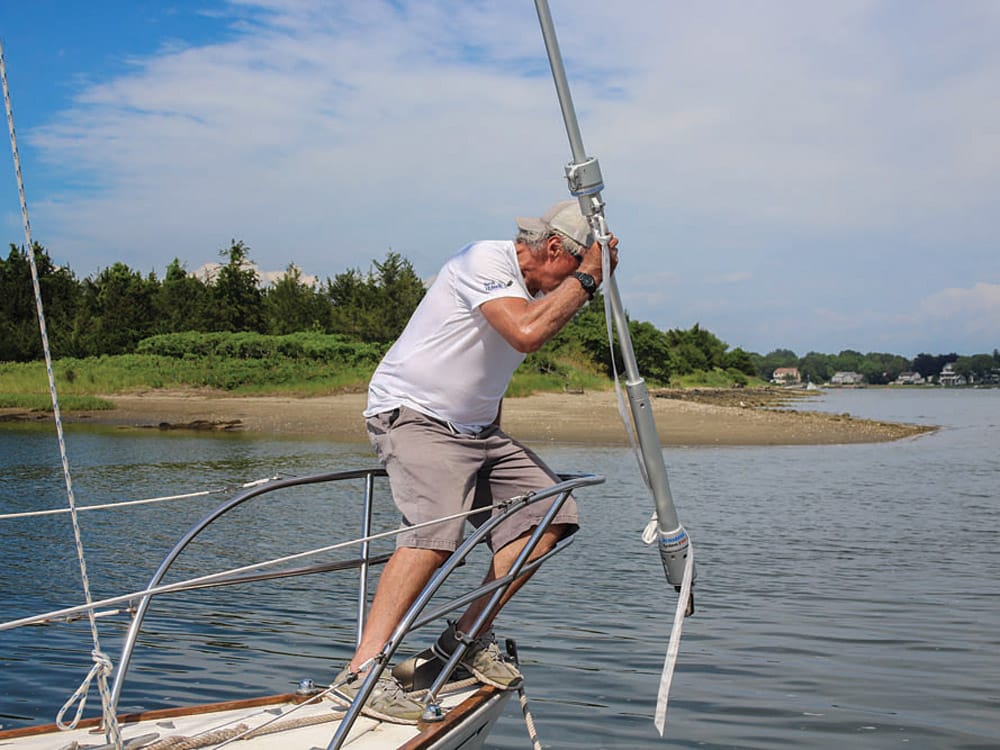
It was now about 1400 — so much for the estimated three-hour installation time. After a quick lunch break, we hauled Rebecca back up the mast. The spare halyard was tied back onto the new furler, then I pulled it aloft as Herb walked it down the dock.
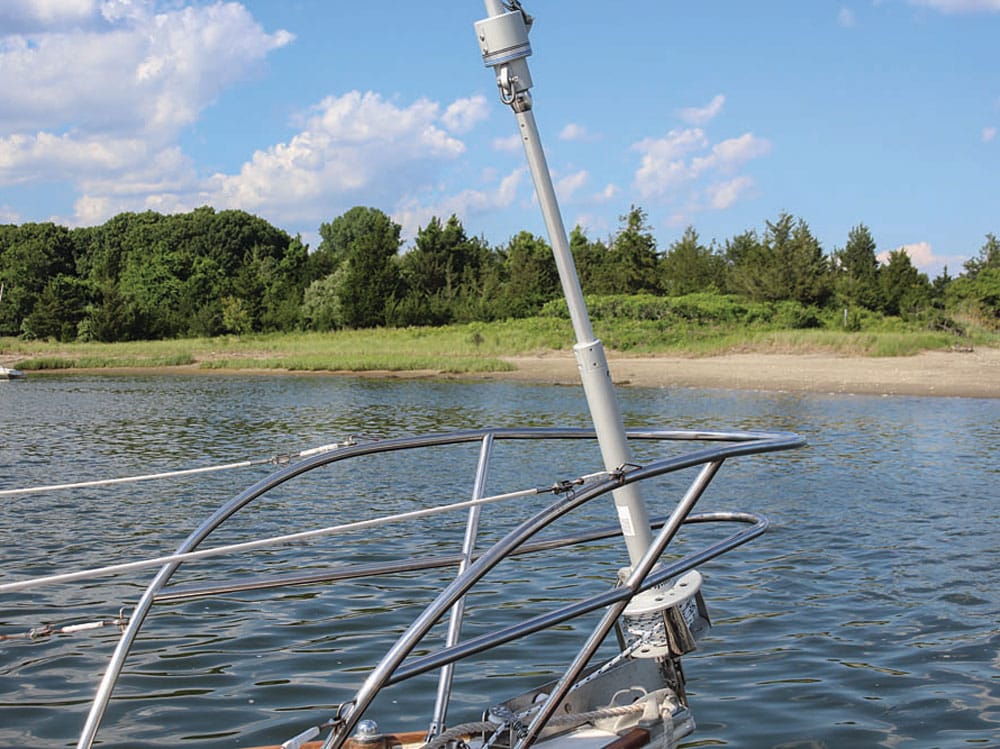
Once the new furler was in place and the backstay re-tensioned, just a couple of tasks remained. To ensure the halyard meets the upper swivel at the right angle and doesn’t wrap around the foil — parallel to or slightly aft of the angle of the headstay — Schaefer recommends installing a halyard restrainer on the mast. It is essentially a bail that the halyard runs through as it leaves the masthead shiv. Rebecca went aloft armed with a hammer, center punch, drill, bit and tap. Holding the restrainer in place, she marked the bolt holes with a marker and then drilled and tapped them so she could screw the restrainer’s fasteners into place. On deck, I attached the furling line to the drum, and voila, it was Miller time.
All the prep work, reading the instructions multiple times, and watching and rewatching the video paid off. Everything went together properly, there were no unexpected parts left over and the new furler fit perfectly.
The real test, of course, came the first time we took Jackalope for a sail. With a gentle tug on the sheet, the entire sail unrolled. In a bit of breeze, I was able to furl the sail by hand, no winch needed. Ditto, when it was time to put the sail away and head for the barn. There are many ways to make sailing easier, safer and more enjoyable. Having a reliable furler, in my mind, ranks right up there at the top.
Mark Pillsbury is CW’s editor.