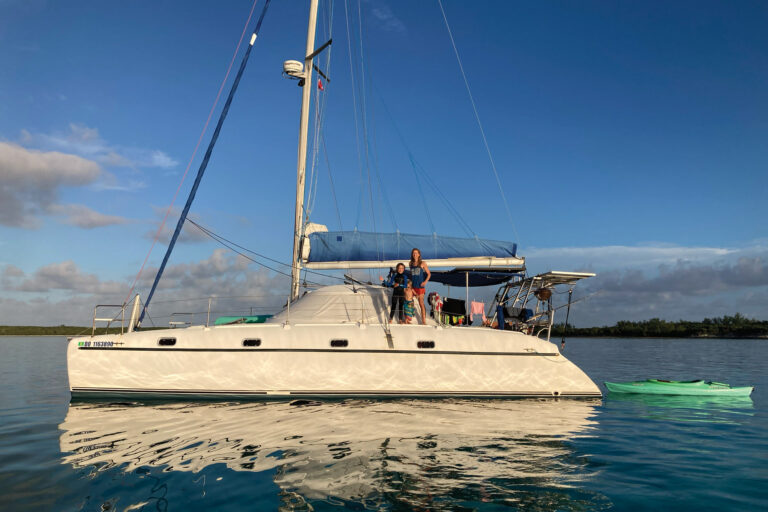
We were a thousand miles from land, bound for the Marquesas from San Diego. My wife, Alisa, and I had bought Galactic, our 45-foot cutter, less than three months before. Our two boys, 4-year-old Elias and 1-year-old Eric, were at home in the new boat, and we all reveled in the simple routines of family life amid the solitude of the open ocean. The dream was alive.
We had come to the squalls and calms that marked the beginning of the doldrums. Reacting to a drop in boat speed, I went forward to shake a reef out of the main. After the reefing line and halyard were slack, the wind held the drooping sail firmly against shrouds and spreaders. Still getting used to handling this boat that was so much larger than our old 37-footer, Pelagic, I gritted my teeth and cranked on the halyard winch.
The halyard came tighter until the sail popped free suddenly — much too suddenly. It hadn’t been the friction of the rig that was keeping the sail from going up. Rather, a batten car had been stuck on the lazy jacks. And I had cranked the halyard hard enough to rip the head of the fouled sail right through the luff.
The dream wasn’t dead. But it would be on hold until I could fix the sail.
When I first laid it out on deck, things looked grim. The beautiful foil shape of the new sail was gone, replaced by the tattered edges of very expensive-looking tears. But after two hours of work with simple tools, and another hour to let the 5200 adhesive dry, the sail was again carrying us toward palm-fringed anchorages.
A year and a half later, a sailmaker in Tasmania looked at the repair, with 9,000 miles on it by that time, and told us there was no point in redoing the job — his repair would be prettier, but it wouldn’t be stronger. If you want to tackle long-distance cruising, you have to free yourself from the need to fall back on shore-based help to keep your boat going. And no other component of a traveling boat combines vulnerability with necessity the way that sails do. Luckily, sail repair is the sort of maintenance that is made for the do-it-yourself approach. Modern sails might be high-tech foils made with advanced techniques, but when they tear, they’re just expensive ripped cloth. And putting them back together basically involves the same stitching and gluing techniques that you’d use to repair any torn cloth. Here are the techniques and equipment that we’ve used to keep our sails going during seven and a half years of voyaging around the Pacific.
The Repair Kit
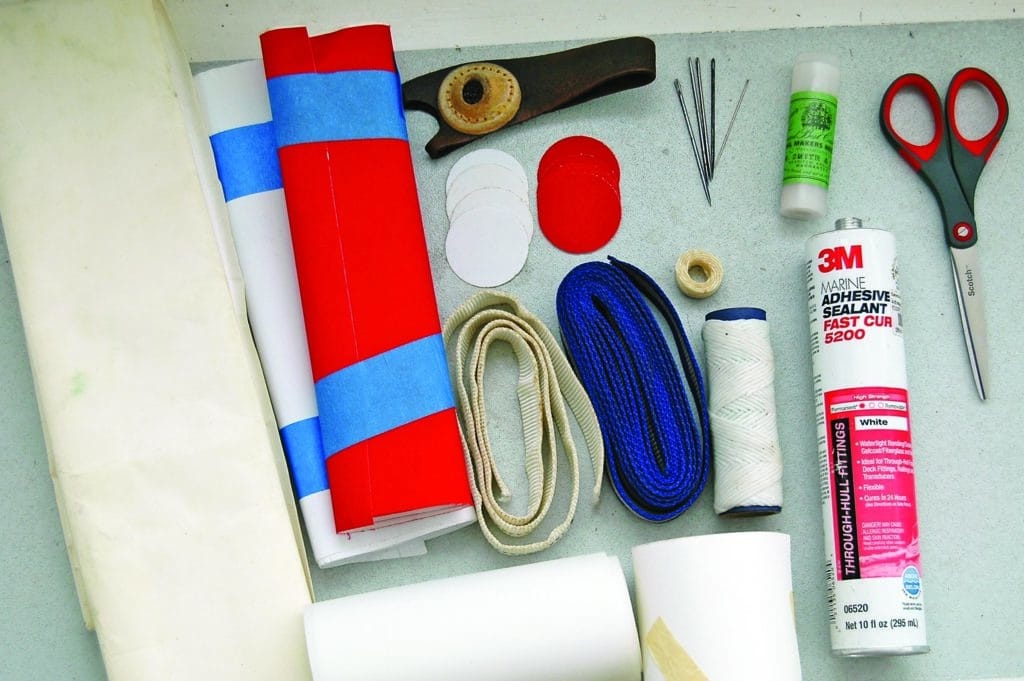
Sail damage is like so many other contingencies: When things go wrong, having the right tools and supplies on board gives you a huge step up in dealing with the problem. When we started out on Pelagic, we had the foundation of the sail repair kit that the previous owners had accumulated over their nine-year circumnavigation. It was heavy on the basics: waxed twine, a selection of sail needles, a sailor’s palm, sharp scissors, spare webbing and a big swatch of Dacron sticky-back.
To this foundation we’ve added ripstop sticky-back for the spinnaker, some Dacron tape and 3M 5200 adhesive, acetone, West System epoxy, exam gloves, a grommet kit and a Sailrite sewing machine. With these tools and the skills to use them more or less to our advantage, we feel confident in tackling any repair that is likely to come along.
Stitching
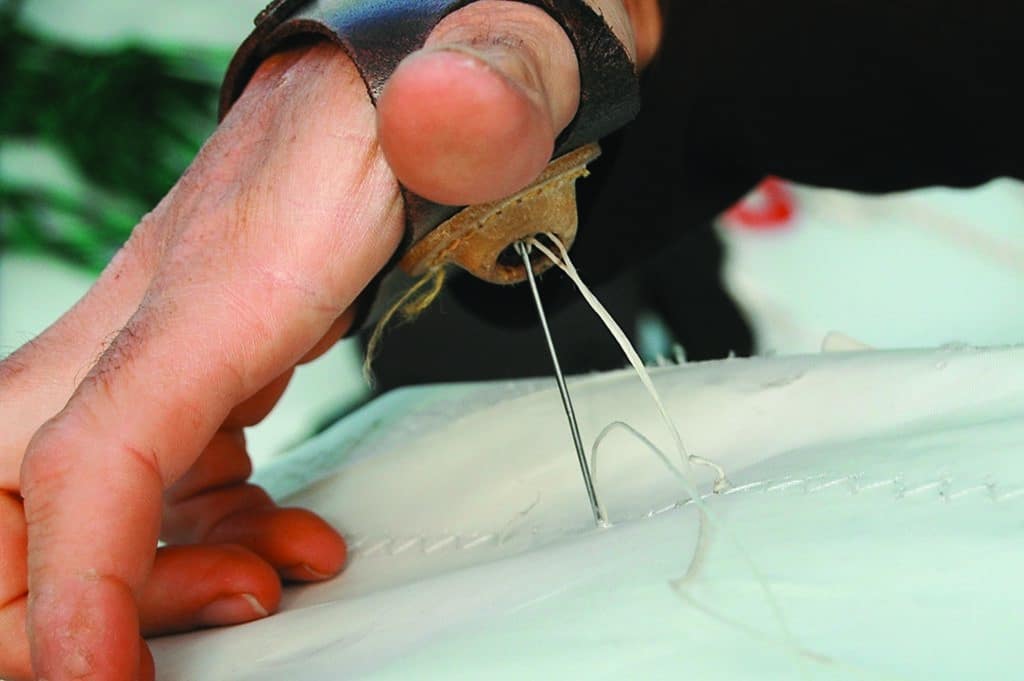
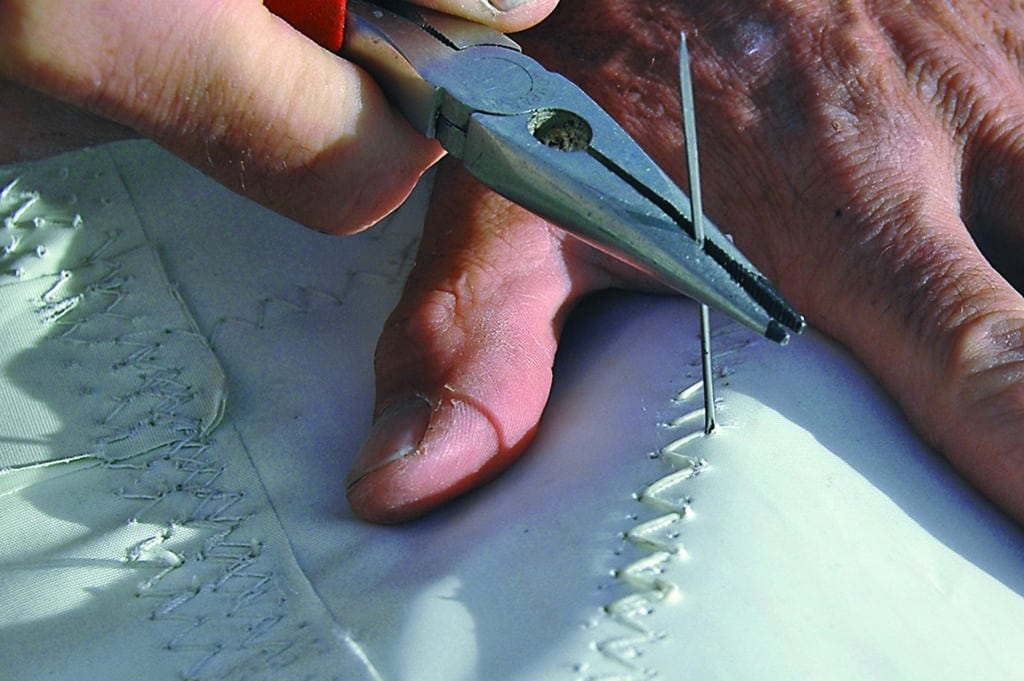
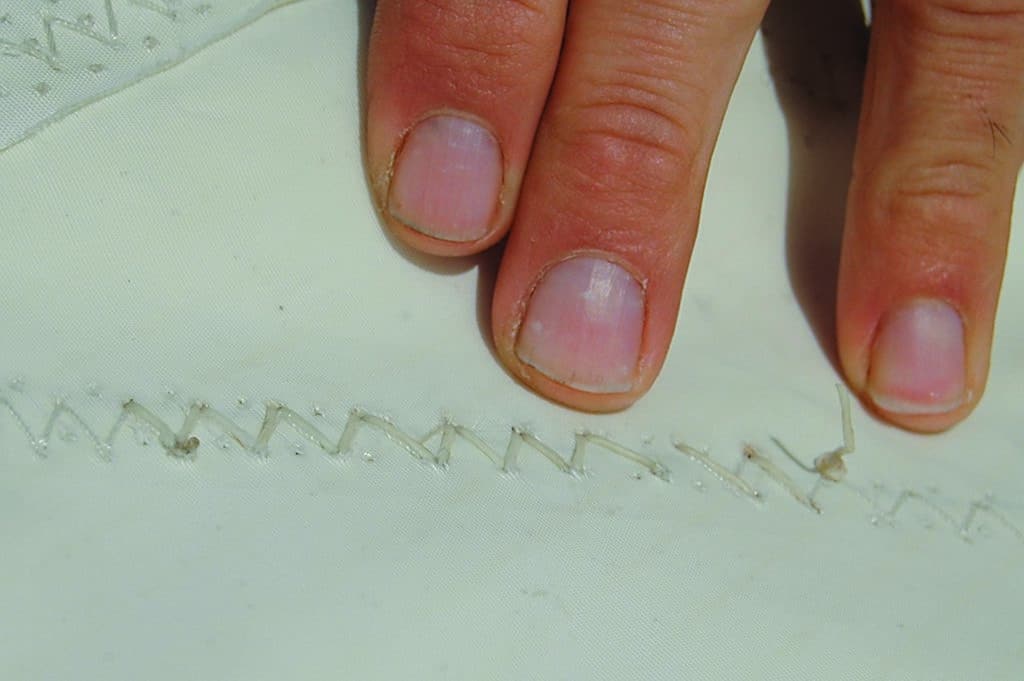
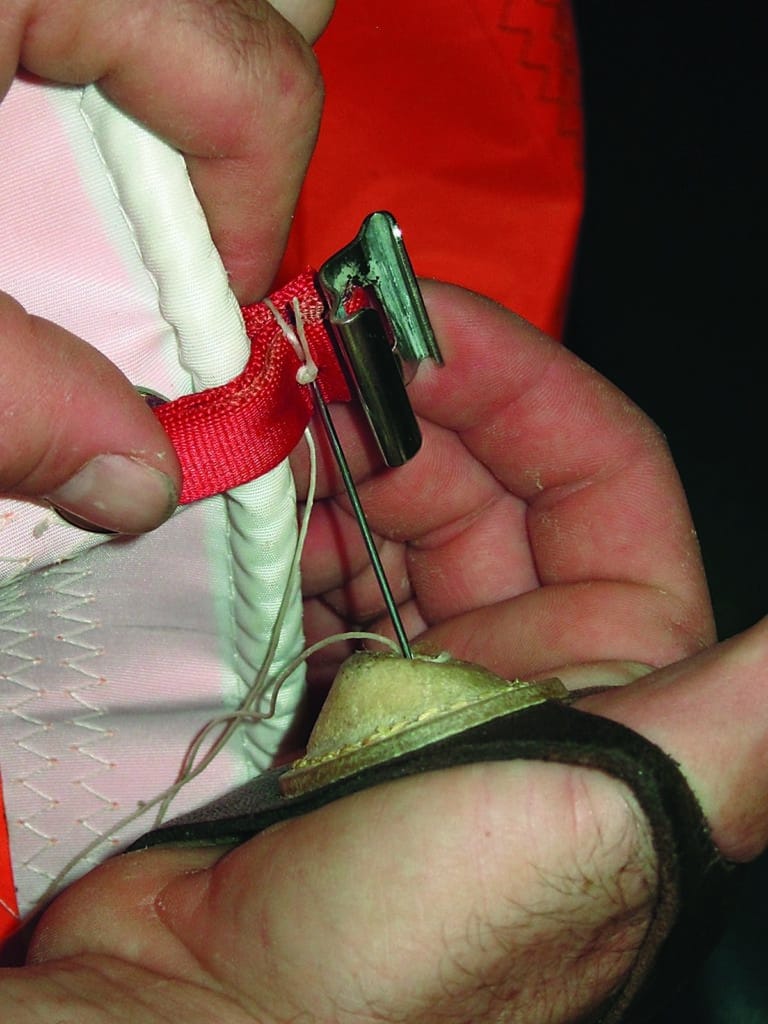
Being able to stitch a sail by hand is a foundational skill for any sailor. It’s a great fix for when the original stitching has failed due to chafe, or for any situation where a short section of seam has given way. And it’s easy enough: If you’re following an existing zigzag stitch, you make one pass to stitch on one set of diagonals, then reverse direction and fill in the other set. The sailor’s palm allows you to force the needle through multiple layers of fabric, and pliers may be helpful for pulling the needle through. Tight stitches ensure a strong repair, and melting the knots at each end with a lighter keeps anything from coming loose.
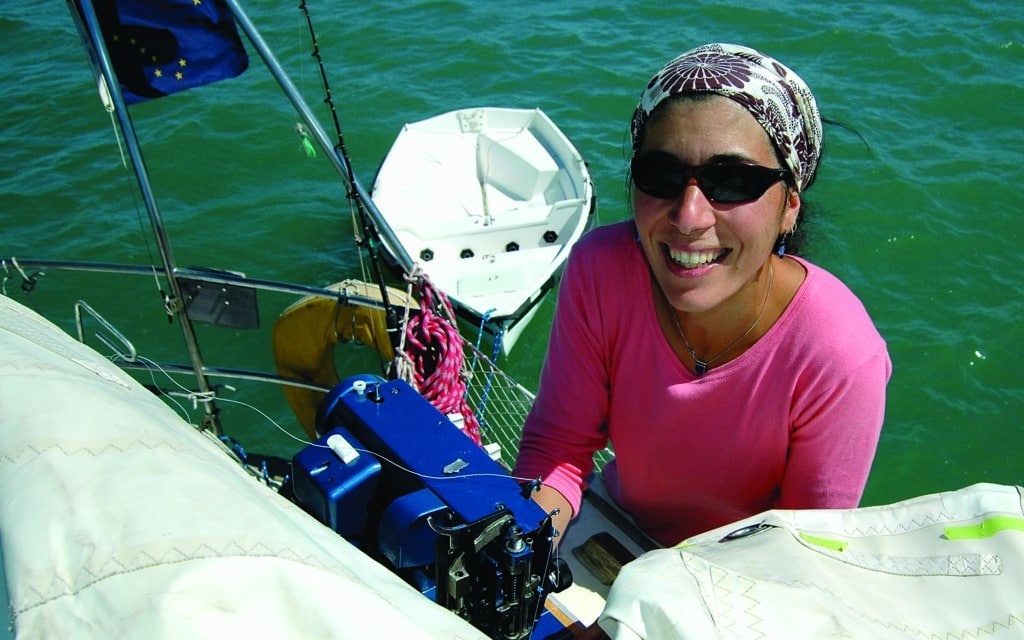
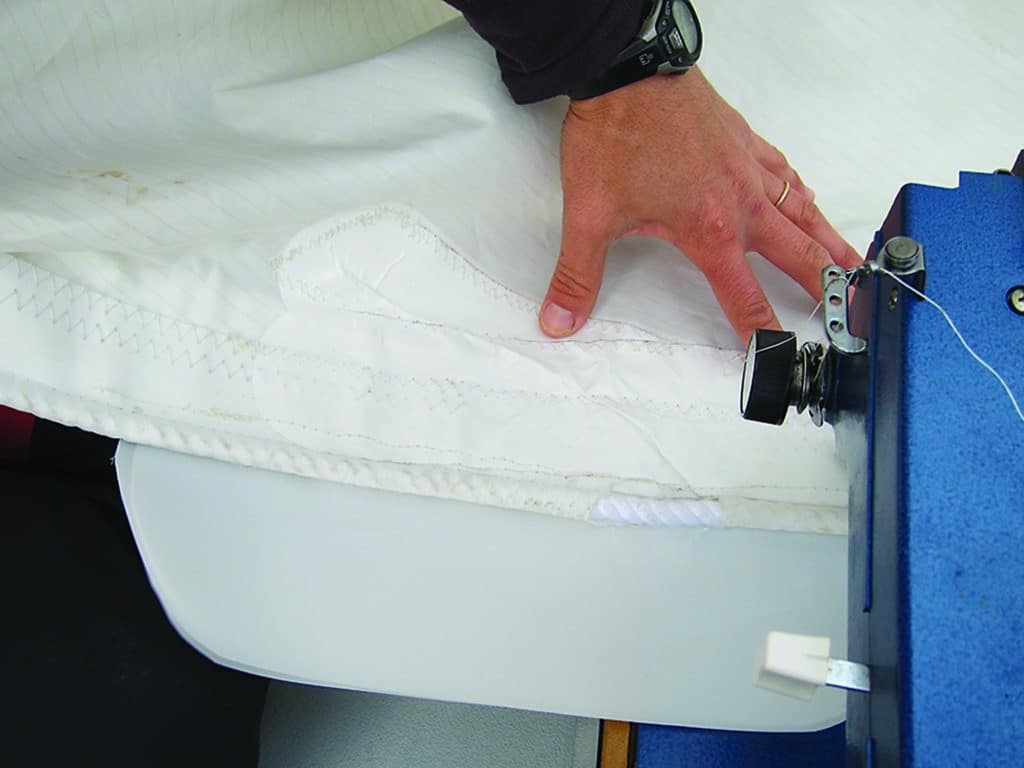
We’ve carried the sewing machine on both of our cruising boats, and it makes a huge difference for big stitching jobs. Repairs that would take hours by hand require only a few minutes. The savings are enough to justify all the time that it takes to dig the machine out of storage and then pack it away again. However, the sewing machine does eat up massive storage room, and many sailors we know decide not to carry one. We’ve used ours much more for projects like deck awnings than for the sails. So for sail repair, the machine is best seen as a bonus to have around, rather than a necessity.
Patch and Glue
Stitching is a great skill to have, but for many bigger jobs, it is either too slow or not as good a fix as other techniques.
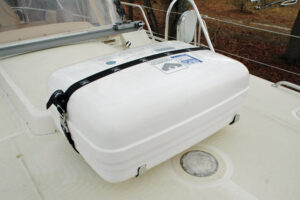
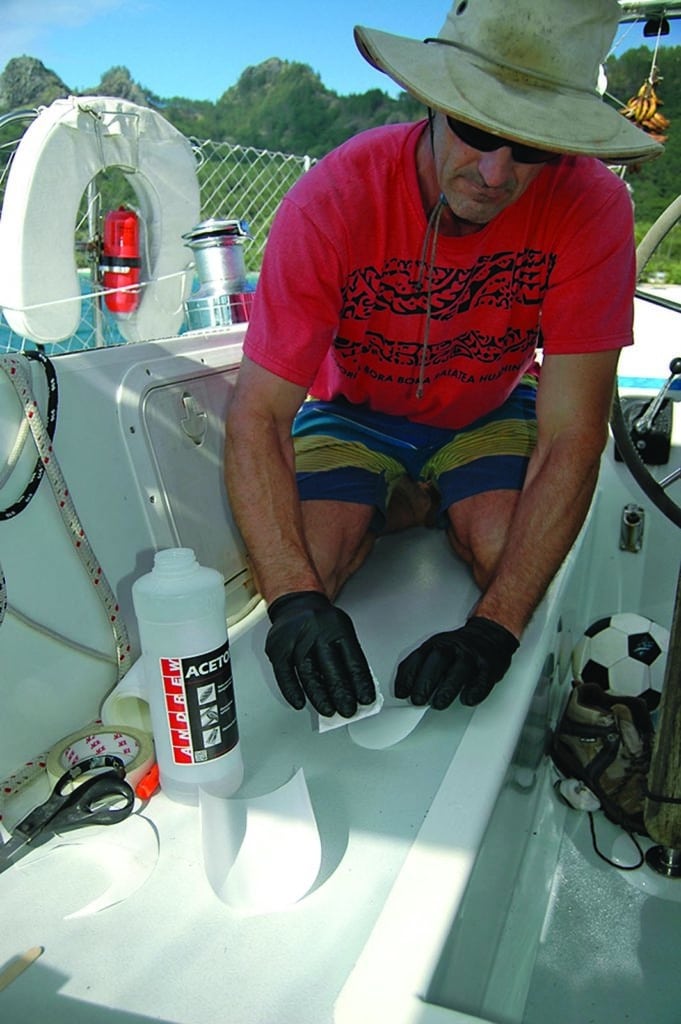
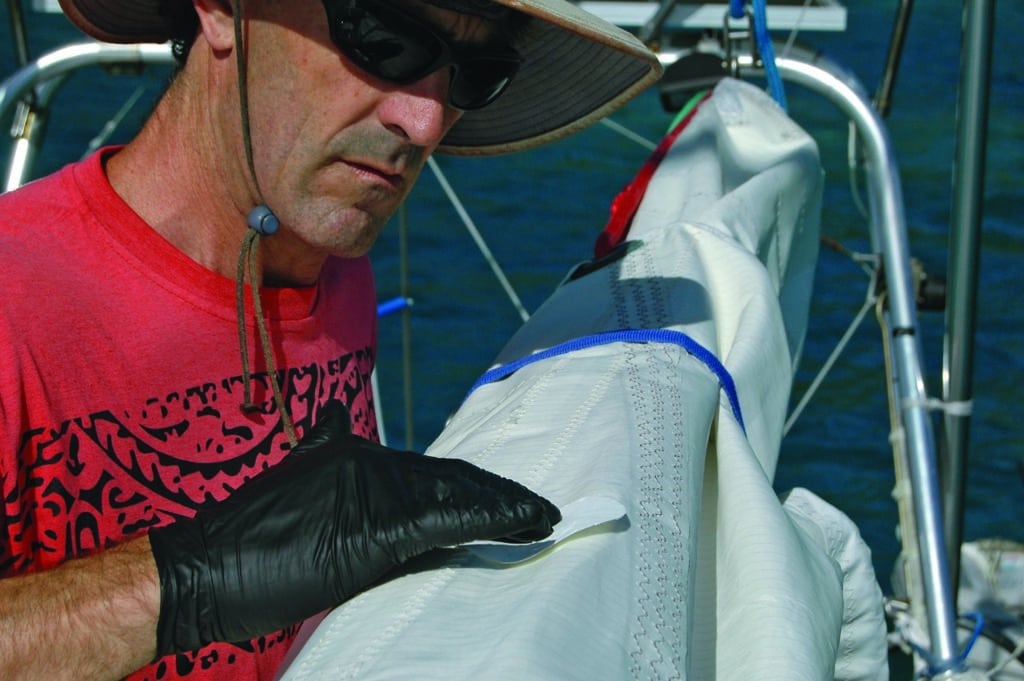
One of the most common types of sail damage is a tear to the sun protection on roller-furling headsails. In this case, you don’t necessarily want to put new holes into your sail to stitch up the tear, and you definitely don’t want to take the time to do so. Instead, a piece of sticky-back is the five-minute fix (if you don’t count the time for taking the sail down and putting it back up). Cut the corners of the patch round to keep them from peeling off the sail, clean the area around the repair thoroughly with acetone, and, once the patch is in place, rub from the center to the edge with a scissor handle or something similar to make sure that it’s firmly adhered.
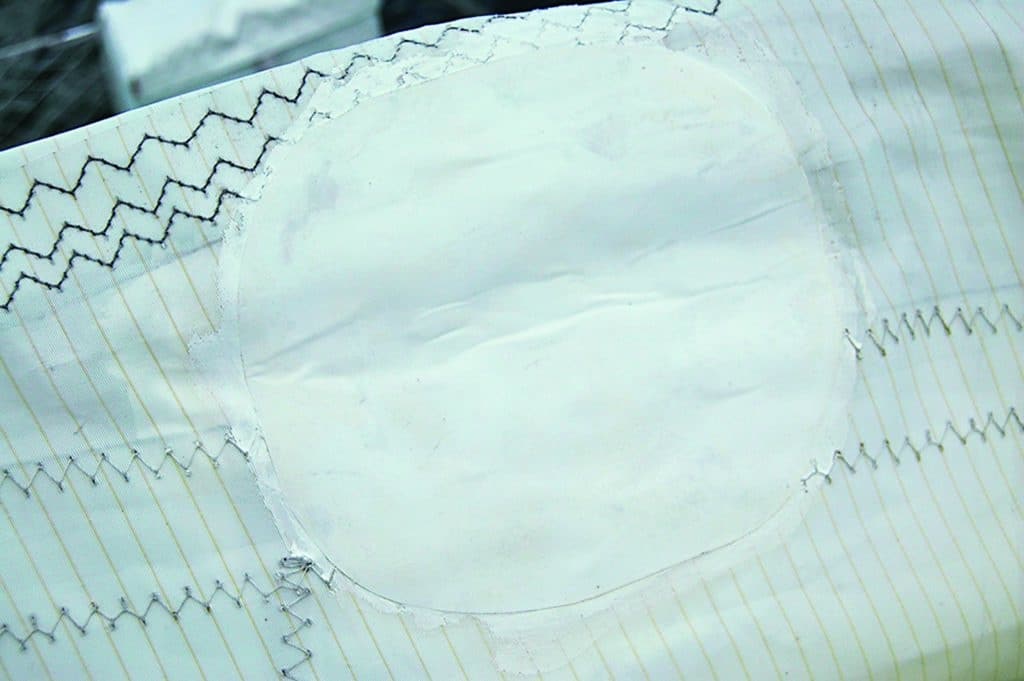
Sticky-back patches are also the answer for small holes in the actual fabric of the sail. In this case, use patches on either side of the sail, an inch or two larger than the tear in all directions. The two patches should be offset slightly so they aren’t perfectly lined up with each other. In this way, the load will be spread out around the repair. Carry ripstop sticky-back to match the colors on your spinnaker or other downwind sail, and small, pre-cut round patches, which can be handy for small holes in nylon sails. Patching really comes into its own with larger, structural repairs that are beyond the stitching skills of most of us. In this situation, the answer is a non-adhesive patch, held in place with fast-cure 3M 5200.
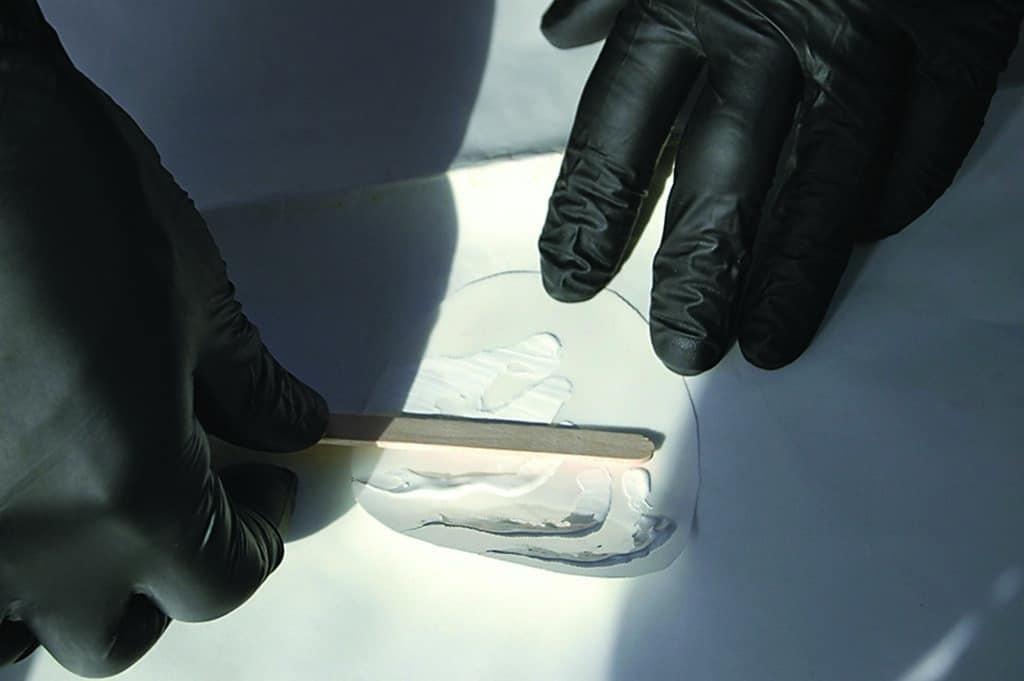
It seems almost too good to be true, but 5200 is the go-to for these bigger jobs. As long as you can control the mess, it allows you to make permanent, full-strength repairs quickly at sea. Because I pay for our sailing life by working as a marine biologist, I’ve got a scientist’s fondness for data, and there’s hard data backing up the claims for 5200 as a sail adhesive. In The Complete Guide to Sail Care and Repair, author Dan Neri reports on loading tests that show 5200 repairs to be stronger than machine stitching. (This is a really valuable book for anyone covering miles in a sailboat; it describes a lot of the techniques I mention here in much more detail. You can find it online for about $150.)
On Galactic, I’ve used 5200 for a variety of sail repairs: to fix that ripped mainsail head in the doldrums; to attach a chafing patch to the spot where our genoa rubs on the bow pulpit; to reinforce tired webbing at the head of our genoa in the Tuamotu Islands; and, in the Gambier Archipelago, to repair a hole where a reefing line had crunched into the main. All of these repairs were made in remote places, and the last was just before the 3,000-mile passage onward to Chile. Using 5200 allows someone without a sailmaker’s skills to make full-strength repairs in the middle of nowhere.
The application is straightforward and follows many of the same steps for smaller patches with sticky-back. Seamstick basting tape around the edges of the patch can be useful for keeping the 5200 from squeezing out around the repair. Applying pressure is important, as pushing the 5200 deep into the sailcloth is key to getting a strong repair. Wear gloves to keep the stuff off you, and take whatever measures you can to protect your work area and to keep the damaged sail from flapping around in the breeze.
Hardware
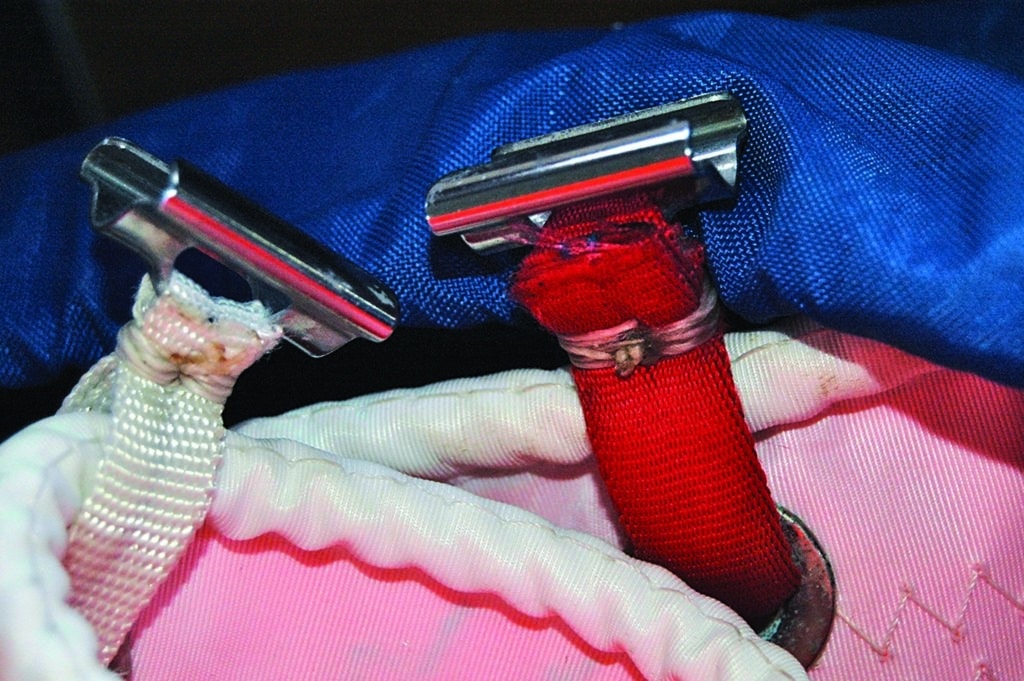
Cloth is the most vulnerable part of your sails, but it definitely isn’t the only component that will need occasional emergency repairs. Failure of the webbing connection to mainsail luff slides is also a common problem, and a traveling boat that uses its slab reefing often will eventually wear out the webbing attachments to the reef tack rings. In either case, webbing, twine, a needle and a sailor’s palm are all you need to set the problem right. If you happen not to have the correct size of webbing, Spectra cord can attach a slide equally well. These are permanent repairs that take less than an hour all up and never require a visit to the sailmaker.

A trouble point for many boats with full-length battens is the connection point between the batten and the luff track on the mast. On Galactic, slatting of the main in light winds tends to pop the stainless studs out of the plastic batten pockets. My fix has been West System epoxy (along with 5200), a go-to for any sailor of grand ambitions and limited practical skills. I thicken the epoxy with the strongest adhesive thickener that West makes, and the resulting bond between the stud and its stripped-out hole has been strong enough to see us through thousands of miles of ocean sailing.
Care for Your Sails
All this is much easier, of course, if you avoid damaging your sails in the first place, and a sure sign of competence in a sailor is a constant awareness of what is going on with the rags.

We have learned to take the mainsail down when it begins to slam in light air. We’re also more careful when reefing than we used to be. When our mainsail was new, the fabric folded down neatly beneath the cringles when we reefed, but now the fabric is softer and can easily get sucked into the reefing lines — the cause for that necessary 5200 repair in the Gambier. So now I make sure the fabric is clear before hauling down on the reefing line.

Likewise, I make a point of managing flutter with the leech cords. Roller-furling staysails are vulnerable to chafe from genoa sheets, and we use a cover on our staysail to protect it. We are also religious about covering the main as soon as we’re at anchor; it’s amazing how many boats will sit around with an uncovered main. After all, sails are at the heart of the dream. Keeping them in good shape is just a way of buying yourself more time to go wherever the wind blows.
Mike Litzow is the author of South from Alaska: Sailing to Australia with a Baby for Crew. If you have questions about sail repair, get in touch at his blog, thelifegalactic.blogspot.com.