Learn to splice dyneema like a pro for use on your boat with this step by step photo guide.
By
Cruising World Staff
Updated: June 30, 2016
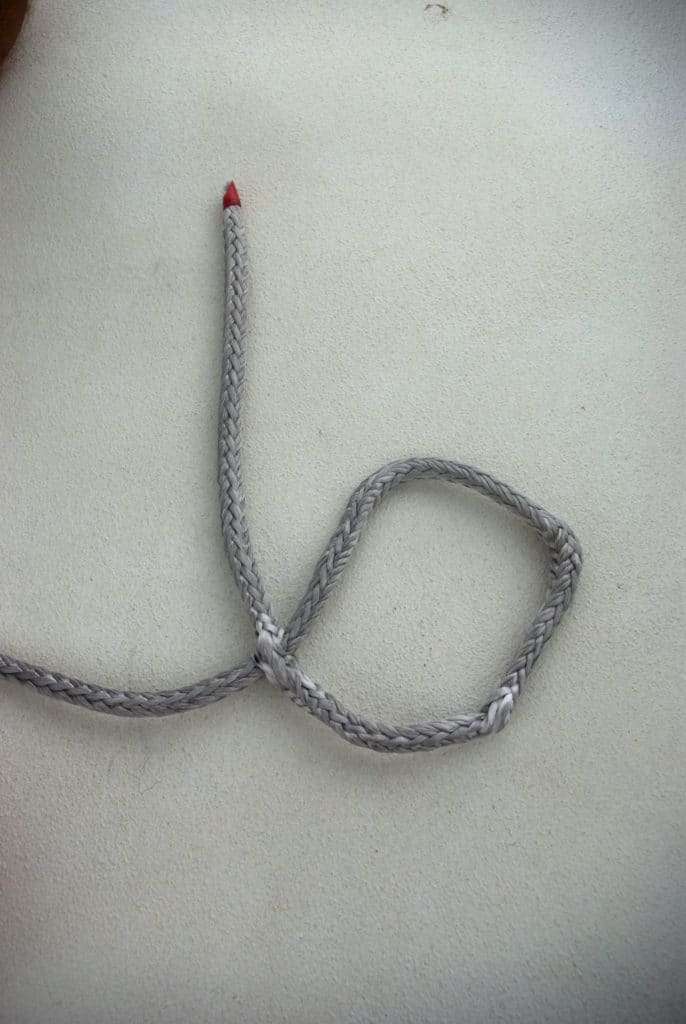
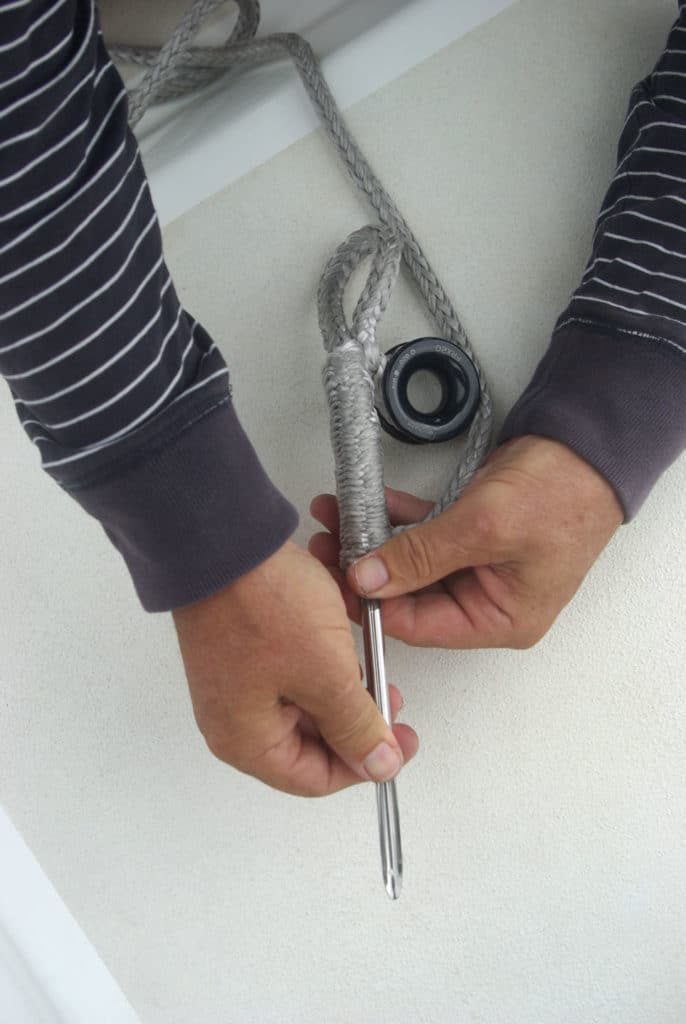
Step 1: Measure approximately
the length of your fid (ours was
30 centimeters) from the bitter
end of your line, and make
a small mark. This will be the
“tail” that gets buried in the final
step. Make another mark that’s
approximately three times the
diameter of your line from your
first mark (in our case, about
24 millimeters). This will be
referred to as “A.”Heather Francis
Step 2: Since Dyneema doesn’t
burn well, rather than melt its
end, wrap the bitter end tightly
with tape and cut through the
tape and line at a 45-degree angle.
This makes it easier to work the
end of the line through the braid
when completing the splice.Heather Francis
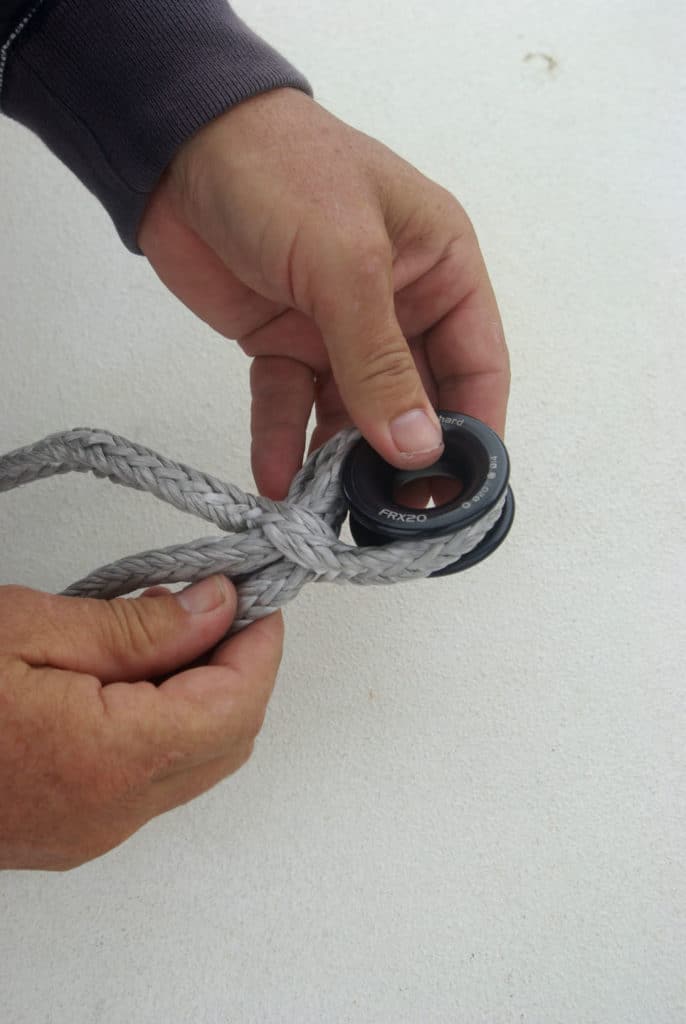
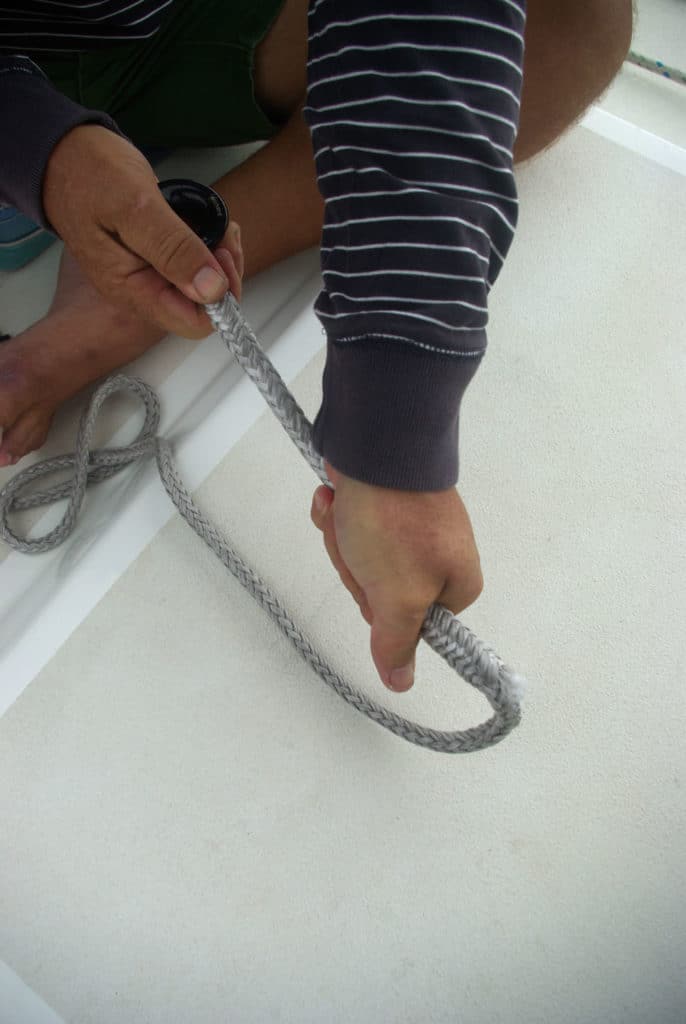
Step 3: Form the required eye
size by capturing your thimble
or ring, making sure that A is
held tightly at the bottom of the
eye. Make a corresponding mark
on the other side of the eye.
This will be referred to as “B.”
Remove the ring.Heather Francis
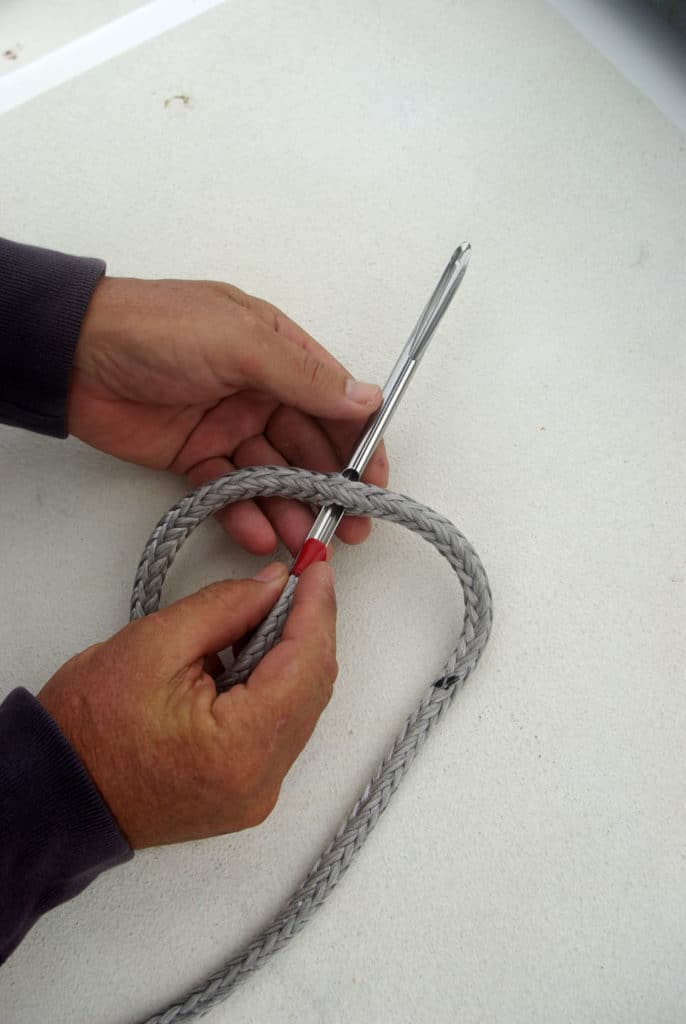
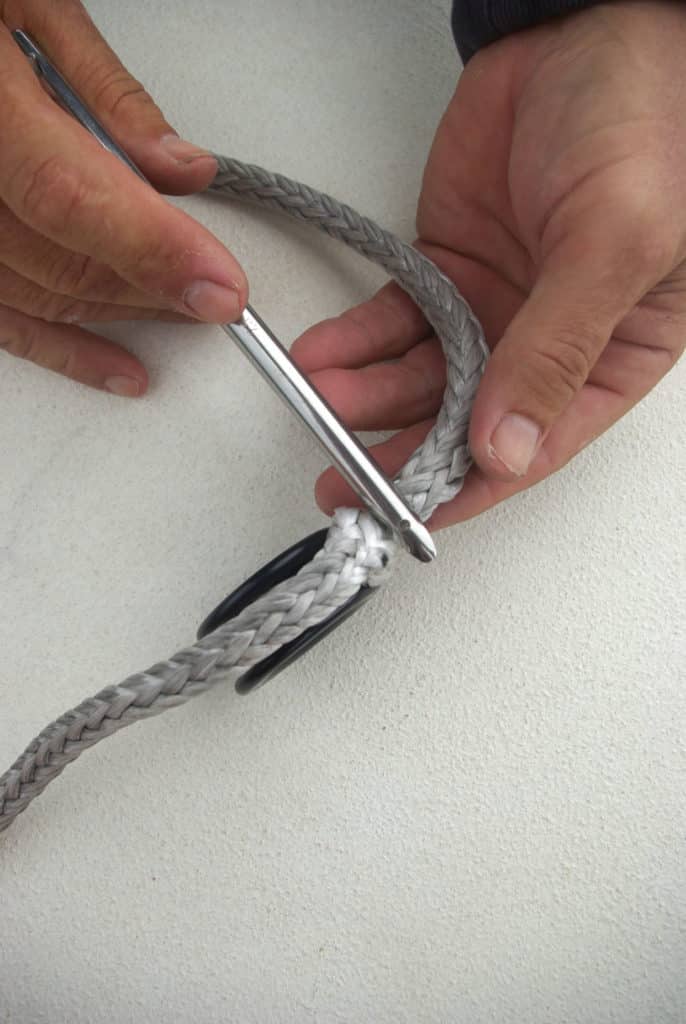
Step 4: Attach the bitter end to
the fid. At mark A, find the center
of the Dyneema line and
gently work the end of the fid
through the braid. Be careful not
to snag any fibers as you pass the
fid’s point through. Pull the fid
and bitter end through the line.Heather Francis
Step 5: Now remove the fid and
pull the end up tightly so the line
is rolled inside out. This will create
a small hole in the Dyneema.Heather Francis
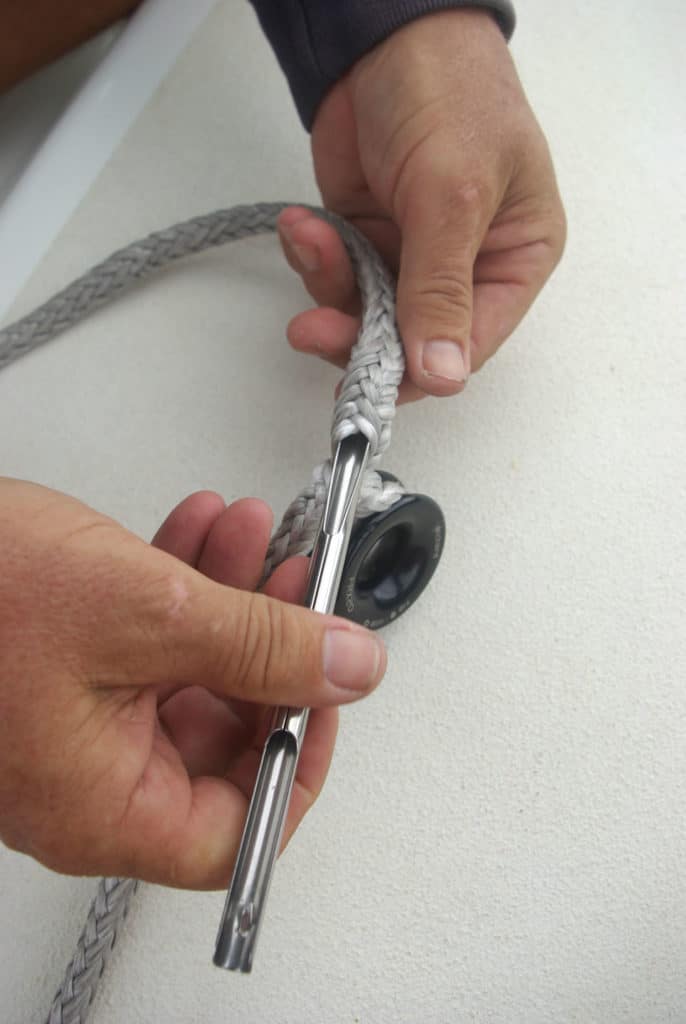
Step 6: Repeat this process at
mark B by carefully working the
fid through the line and pulling
the fid and the bitter end
through again. Make sure to
enter the line on the same side
as Step 4.Heather Francis
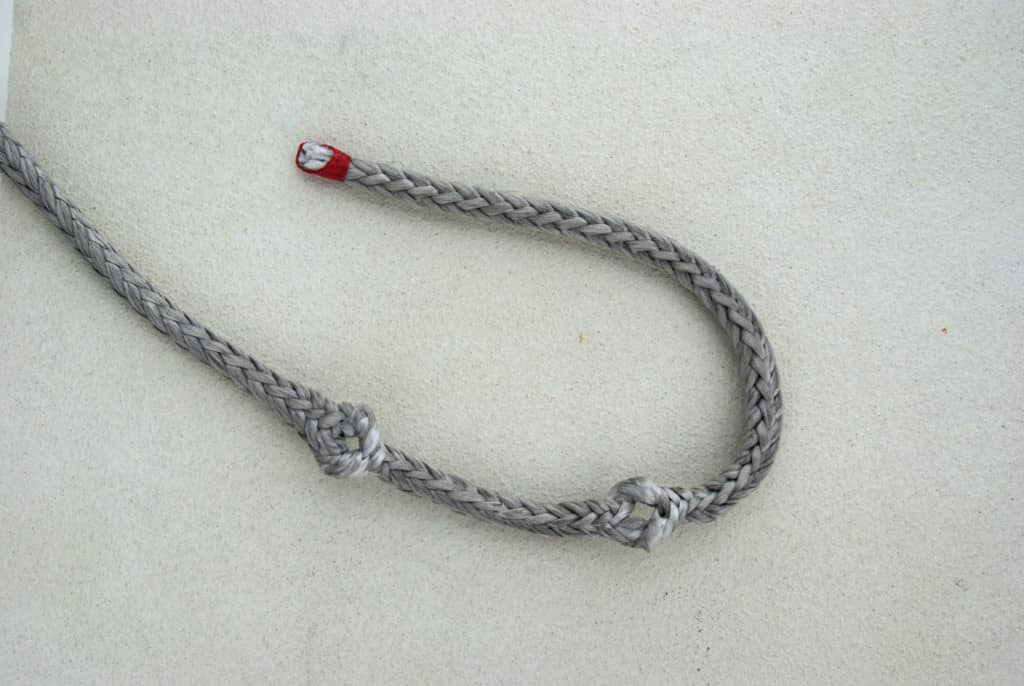
Step 7: Again pull the end up
tightly, so the Dyneema is turned
inside out for a second time. You
should be left with two clean and
obvious openings in the line that
face the same direction.Heather Francis
Step 8: Turn the opening A rightside
out by folding the line and
passing it back through the opening.
Be sure to work from back
to front, or in the opposite direction
as you did in steps 3 and 4.Heather Francis
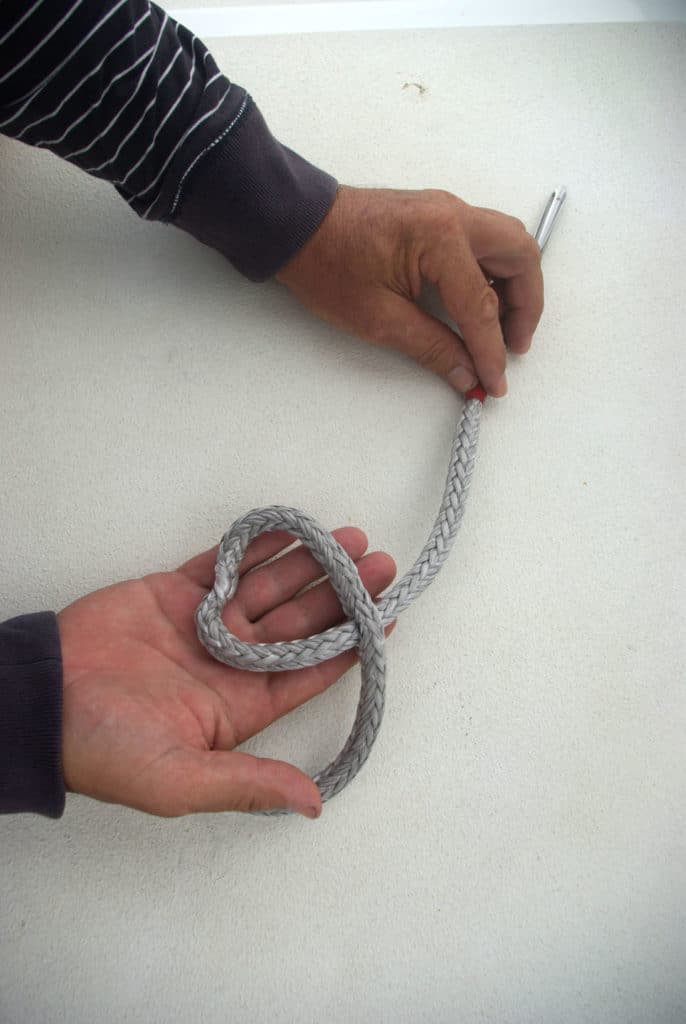
Step 9: Work opening B completely
through opening A. You
will have a large loop that contains
the opening B and intersects
the Dyneema at opening A.Heather Francis
Step 10: Turn opening B rightside
out by carefully easing the
short section back through the
opening, again working from
back to front.Heather Francis
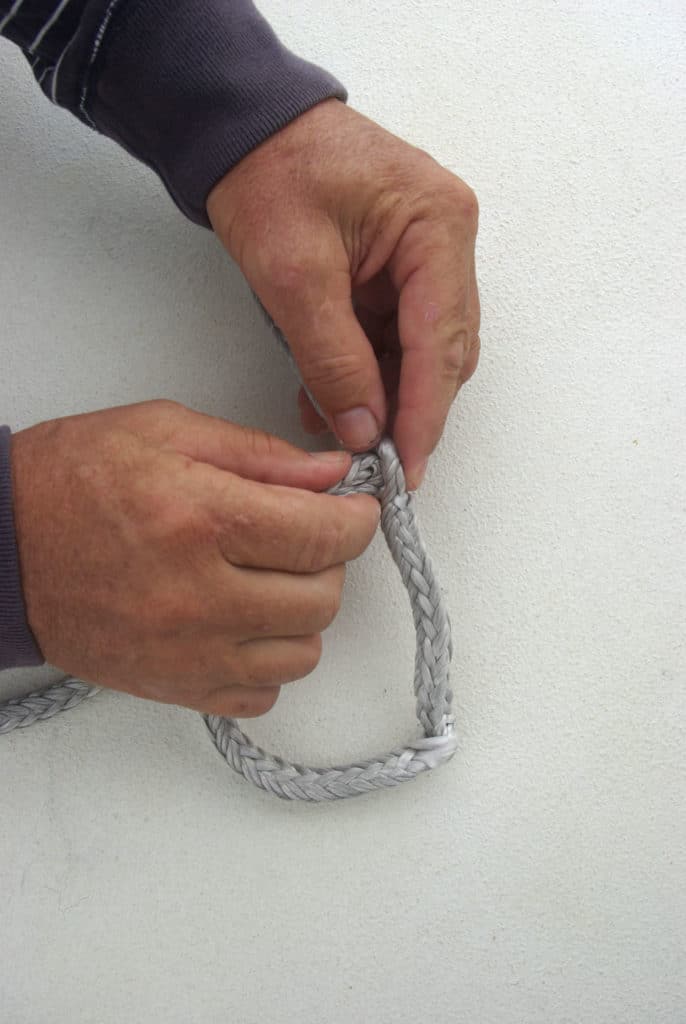
Step 11: A small loop will be
formed when opening B butts
against opening A. This is the
eye, or where the ring will be
held captive.Heather Francis
Step 12: Ease the ring (or thimble)
into the eye. You may need
to pass a little more line through
opening B so there is enough
slack to work the Dyneema over
the outer rim of the ring.Heather Francis
Step 13: Pull the long, or standing,
end of the line completely
back through opening A and pull
tightly. You may need to ease
and twist the line so it lies flat.Heather Francis
Step 14: Attach the bitter end
to the fid and insert the fid into
the hollow core of standing line,
approximately a fid’s width from
where the bitter end exits.Heather Francis
Step 15: Be careful to pass
between the braid pattern and
not to snag individual strands.
Work the fid down through
the hollow core a little over the
length of the fid, bunching the
line up on the fid as you go.Heather Francis
Step 16: Carefully exit the line
between the braid, and pull the
fid and bitter end through the
center hollow and out, leaving
the line bunched up.Heather Francis
Step 17: Remove the tape from
the bitter end and cut the strands
with a sharp blade at an extreme
angle. Fan out the strands. This
will reduce the bluntness of the
tail, creating a nice taper and a
smoother line when finished.Heather Francis
Step 18: Bury the tail by working
the bunched-up line toward
the cut bitter end, massaging or
milking the line as you go.Heather Francis
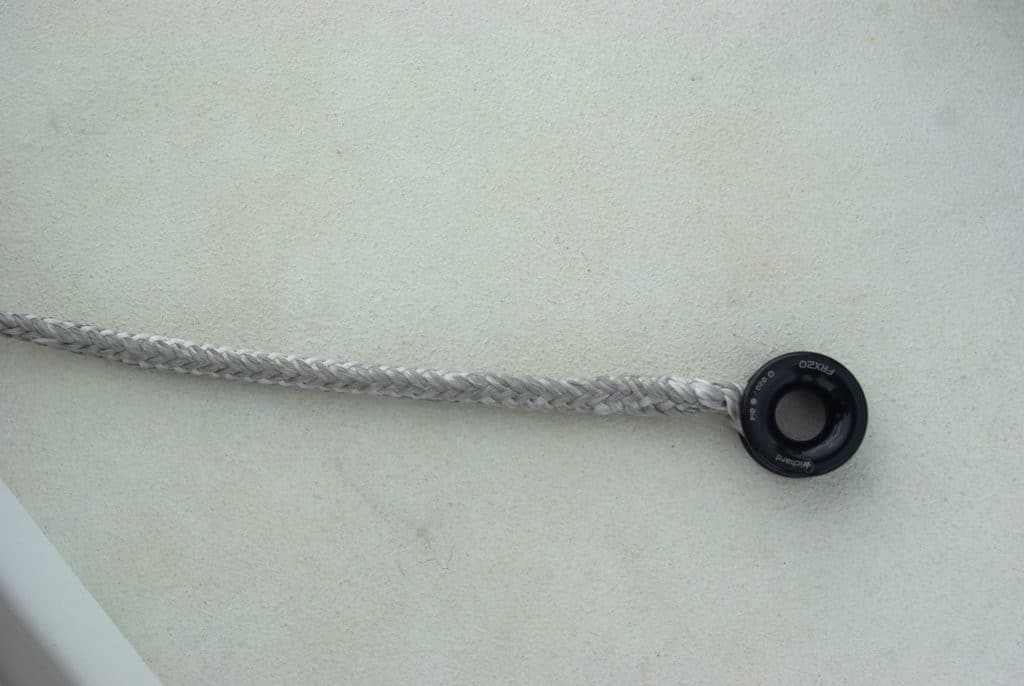
Step 19: Once the tail is buried,
hold the ring and pull the standing
end. The locked Brummel
eye splice is complete.Heather Francis
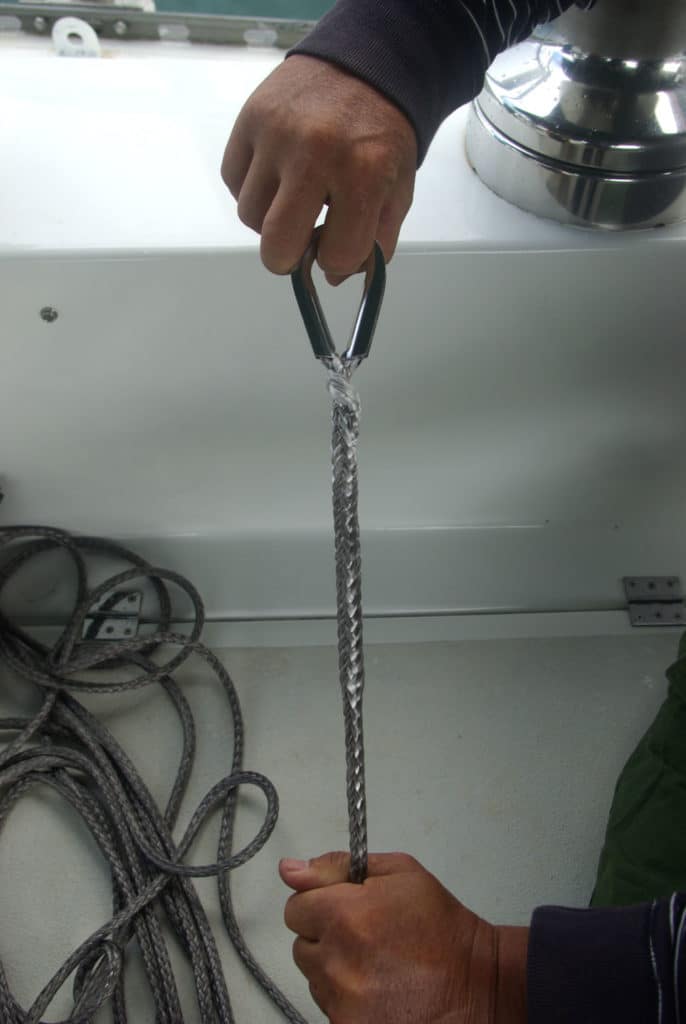
Step 20: Follow the same procedure
to splice an eye for a thimble.
On Kate, the thimbles are used to
attach the inner forestay and running
back stays to the mast.Heather Francis