Last month, I discussed “the big three” critical tasks every vessel owner needs to be able to perform: belt replacement, raw-water pump service, and fuel-filter service/fuel-system bleeding. This month, we’ll take a deep dive into fuel filters.
Internal combustion engines—and diesels in particular—rely on a handful of factors to run properly. They need compression, which is created by the pistons moving upward in the combustion chamber (in diesels, compression is what initiates combustion).
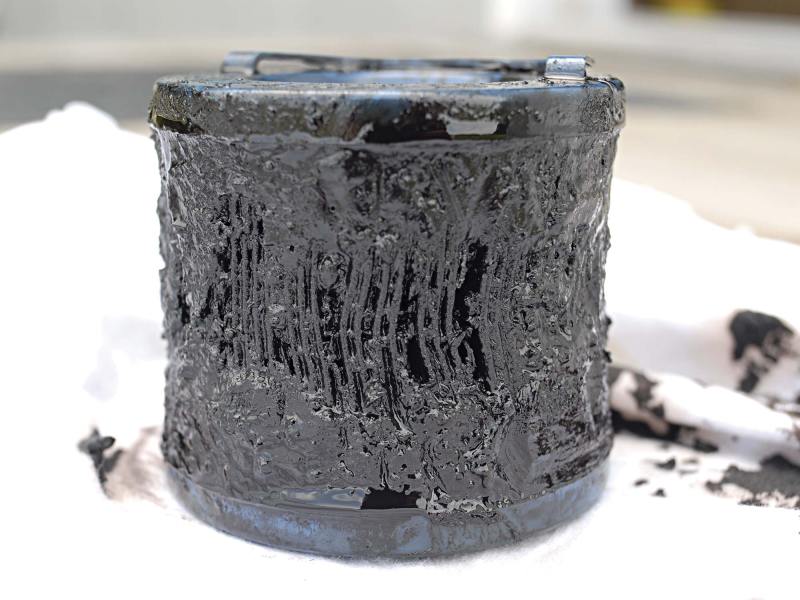
These engines also need air to facilitate the combustion process. Finally, they need clean fuel because the fuel system has a high-pressure injection pump whose tolerances are often measured in ten-thousandths of an inch. Dirt and debris wreak havoc on pumps and injectors, which is why virtually all diesel-engine manufacturers specify the use of a primary fuel filter in addition to the on-engine secondary filter.
Servicing these filters, in most cases, is relatively easy. Along with changing the filters, the next-most-important goal is preventing air from being ingested into the fuel system.
Most sail auxiliaries use pump-line-nozzle fuel-injection systems, which have been around since the advent of the diesel engine. It’s a system that is simple, robust, reliable, and requires no electricity, with the exception, in some cases, of a fuel solenoid. The system is not self-bleeding, which means if air makes its way into the fuel, the engine will stop. It won’t start until that air is manually removed, usually via fuel-system disassembly. If you have such a system, knowing how to purge air is mandatory. In this case, the proverbial ounce of prevention is worth the pound of cure: If you keep out the air when changing filters, bleeding won’t be necessary.
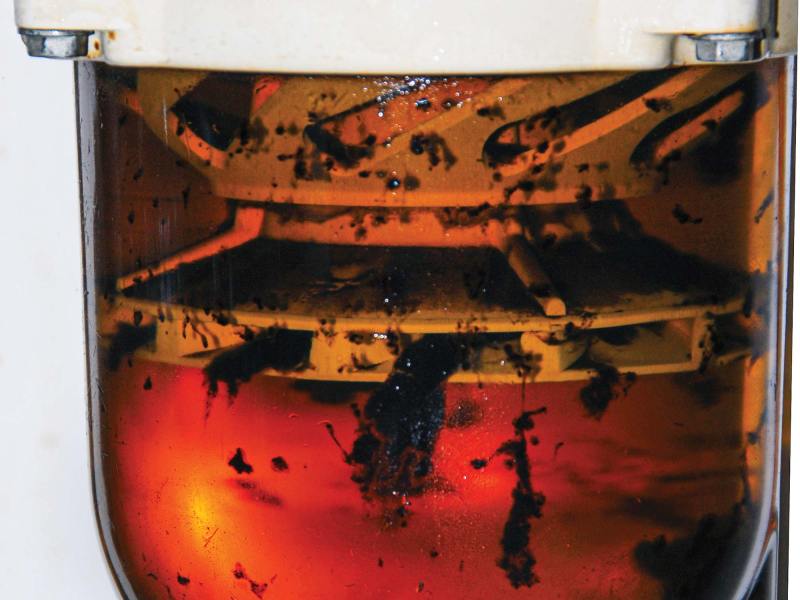
When replacing the primary off-engine filter, if the fuel is heavily contaminated, you might need to wash or clean out the sediment or sight bowl, which in turn might require some disassembly. Depending on your primary filter model, this may be accomplished with no tools, or it might require removing some fasteners to drop the bowl. Either way, be prepared to get at and clean the parts that are exposed to fuel, other than the filter element, which you will replace. If “washing” is required, you can use clean diesel fuel or aerosol brake cleaner, a lint-free rag, and a soft bristle brush.
Ideally, this task should be done outside or, if inside, in a well-ventilated area. If you have access to compressed air, that’s even better for blowing dirt off, or out of, parts. Be sure to wear safety glasses for this entire service.
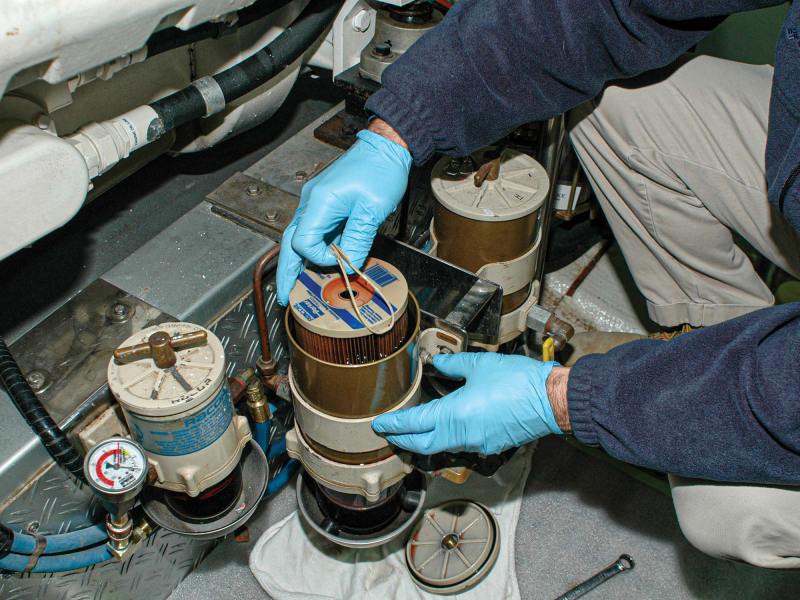
For primary filters with drop-in elements, you may pre-fill the filter housing with clean fuel, from a separate container or by gravity from your tank, provided that the filter element is in place. This technique prevents any unfiltered fuel from bypassing the filter element. Fill the housing to the brim, avoiding as much air entrapment as possible. Otherwise, you can draw fuel into this filter using the engine’s lift-pump priming lever; that must be done with the filter fully assembled.
For secondary filters of the spin-on or sandwich variety, most engine manufacturers direct you to install the filter empty, then prime it once again using the lever on the engine’s lift pump. This is the safest approach because it reduces the possibility of dirt entering the outlet side of the filter, where it can then be transported by the fuel into the injection pump.
Once both filters are fully reassembled and purged, start the engine and advance the throttle, in neutral, to a high idle of at least 1,200 rpm for two to three minutes. Doing so will allow the engine to pass small amounts of air without stalling. Then bring the rpm back to low idle and let it run for another 10 minutes to be certain that it won’t stall later—likely, just as you are backing out of a slip or weighing anchor on a windless day.
Steve D’Antonio offers services for boat owners and buyers through Steve D’Antonio Marine Consulting.


