

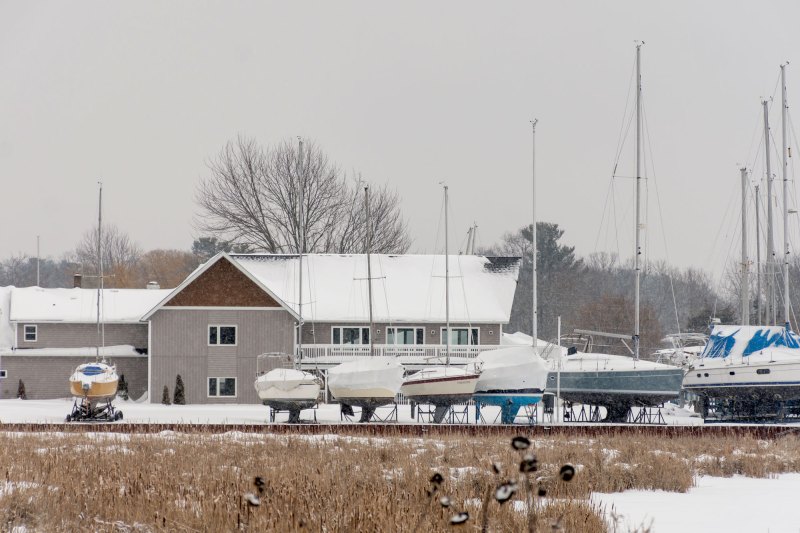
There is a day every spring when a sailboat stops being stored and starts being trusted again. The day the Travelift straddles the hull. The day the slings tighten. The day the keel lifts off the jack stands that have held the boat upright through four months of cold, contraction and quiet decay, and the water comes up to meet it.
That day is a reckoning. Everything you deferred last fall, every fitting you told yourself you’d address in spring, every hose clamp you looked at and decided was probably fine—all of it comes due the moment the hull is wet. The sea doesn’t grant extensions. It simply finds the weakest point you left behind and makes its argument there.
The offshore sailor knows this. It’s why commissioning has never really been about chores. It’s about a contract you renew each year between you and your boat. The terms are straightforward: You do the work while the boat is on the hard, forensically and without shortcuts, and the boat carries you safely beyond the breakwater. Skip a clause and you’ll soon find yourself renegotiating the terms offshore, in conditions you didn’t choose, with tools you may not have.
What follows is that contract, written out. Hull to masthead, mechanical to digital, safety gear to regulatory compliance. The checklist is divided into what must happen before the slings move, and what can wait until you’re in the water with shore power and a full day (or days) ahead of you. The distinction matters. Every item in phase one is there because it cannot be properly inspected, repaired or verified once the boat is afloat. Every item in phase four is there because it can.
Our advice? Work through it in order, giving it the time it deserves. And when the Travelift sets down the hull and the dock lines come taut for the first time this season, you’ll know exactly what you’ve put under the waterline, and what you haven’t.
Before the Slings Move
The seacock seized on a Tuesday in May, in the middle of the inner harbor, 40 yards from the fuel dock. The engine raw-water intake, a bronze seacock that hadn’t been exercised since the previous August, had welded itself shut with a calcium-and-corrosion grip nothing short of a pipe wrench was going to break. The engine overheated. The day ended at the yard. The season very nearly didn’t start at all.
It didn’t have to happen that way.
Every through-hull is a loaded gun, and the only safe time to inspect it is while the boat is still on the hard. The forensic work that prevents a moment like that is unglamorous: It happens in a boatyard on a cold April morning, with a headlamp, a flashlight and the willingness to get flat on your back under a keel. For the 2026 season, the stakes for skipping that work have only risen. Boatyard labor rates are at historic highs, environmental regulations are tightening in every coastal jurisdiction, and the complexity of onboard systems has multiplied the number of ways a vessel can quietly fail over a winter on the hard.
The answer isn’t to panic. It’s to prioritize. What follows is a field-tested protocol built around a single organizing principle: The boat must be watertight, mechanically sound and structurally trustworthy before the Travelift arrives. Everything else—the teak oil, the varnish on the coamings, the calibration of the new AIS transceiver—is a post-splash project. Get the critical-path work done first. The horizon will still be there.
The Subsurface Sentinel: Hull and Through-Hulls
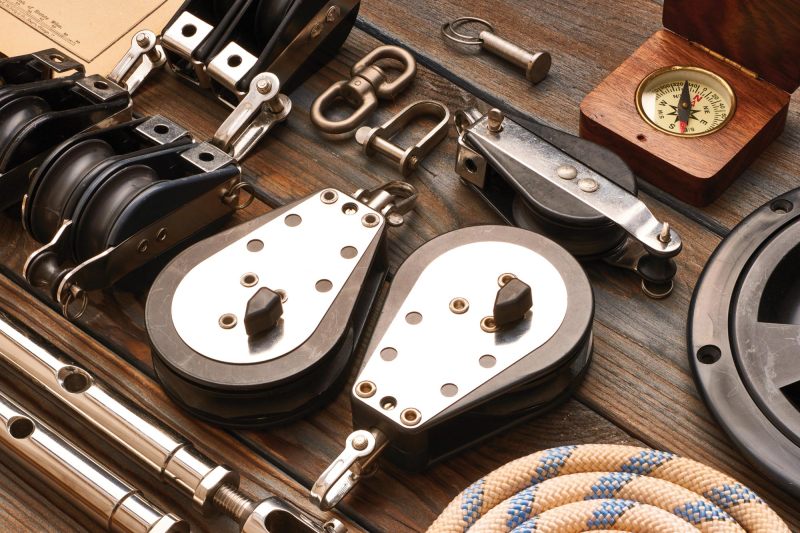
There is no more consequential binary on a sailboat than the seacock. Open or closed. Working or seized. It asks nothing of you until the moment it asks everything. Your first task this spring is a complete forensic audit of every opening below the heeled waterline. Work from a written inventory if you have one, because a through-hull hidden behind a locker panel or under a sole board is exactly the one that will fail.
Actuate every valve through its full 90-degree arc. The handle should move with firm, smooth resistance, not frozen indifference or the alarming looseness of stripped threads. If a handle is seized, resist every instinct to reach for a cheater bar. A snapped valve stem on the hard is a morning’s repair; a snapped valve stem underway is a Mayday. Budget the time now.
While you’re down there, look for what the trade calls “pink death.” Healthy bronze wears a dull green verdigris patina: natural, protective, nothing to lose sleep over. But a fitting that has gone pink or bright copper has suffered dezincification, meaning the zinc has leached out of the alloy, leaving a porous, brittle shell that can fail under a dock line’s worth of impact load. If you find pink metal, replace it before the crane arrives. No exceptions.
Check your backing blocks while you’re at it. The American Boat & Yacht Council’s standards require a seacock to withstand a 500-pound static load. If your backing material is rotting timber or delaminating plywood, this is the year to upgrade to G10 epoxy sheet. It machines easily, it doesn’t rot, and it doesn’t compress. The cost is trivial. The peace of mind offshore is priceless.
Waking the Iron Beast: The Diesel Ritual
The sound you want on the first key-turn of spring is the rhythmic, settling thrum of diesel combustion. The sound you don’t want is silence, followed by the smell of overheating insulation and a growing awareness that something is wrong with the raw-water circuit.
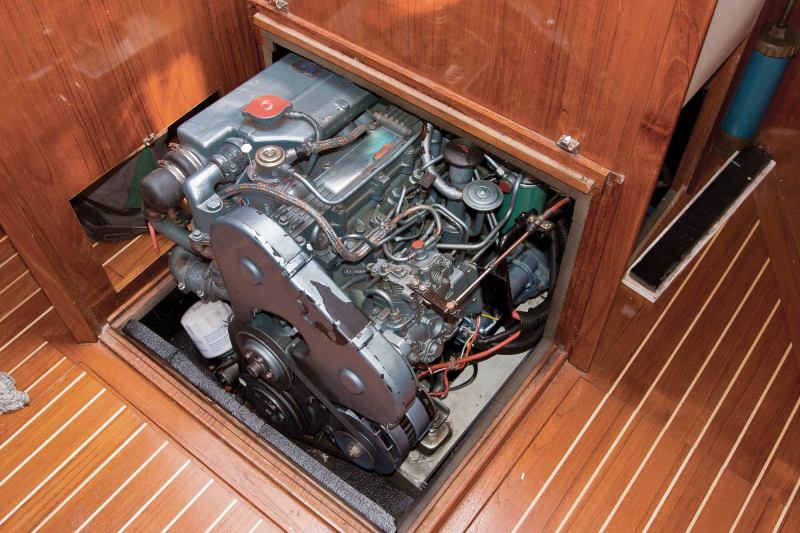
Spend 20 minutes on the engine compartment before you touch the key. Bring a high-lumen headlamp and look for winter brittleness: hoses that have lost their suppleness, belts with a glazed sheen from months of cold and inactivity, and clamps showing the early blush of rust. If your engine gateway feeds a multifunction display, then a quick scroll through the engine data page before the first start can surface voltage anomalies or sensor faults that developed over winter. That’s useful intelligence before you crank it.
If you didn’t change the oil last fall, do it before you crank the engine. Acidic sludge forms as moisture reacts with combustion byproducts over a winter, and that chemistry does nothing good to cam lobes and main bearings. If your marina has transitioned to HVO (hydrotreated vegetable oil), the renewable diesel that’s spreading through the cruising grounds, inspect your primary Racor bowl carefully. Higher-biocontent fuels are more hospitable to microbial growth. Dark slime in the bowl means you need to drain and treat the tank before you go anywhere.
And before you ever turn the key, rotate the crankshaft, if accessible, two or three times by hand using a socket on the crank nut. You’re distributing a thin film of oil onto dry cylinder walls. It takes 90 seconds. It extends the life of your rings measurably, and it’s the kind of thing you either learn early or learn expensively.
Four fluid colors matter in a sailboat’s engine compartment, and each tells a different story. Jet-black pooling under the engine block points to the crankcase. Check the pan gasket and filter seal, and don’t start the engine until you’ve found the source. Bright red (or amber, depending on your gear) is transmission fluid. Inspect the cooler lines and front seal before you put the engine in gear. The color that should stop you cold is milky white: Emulsified oil and water is a head gasket or heat exchanger breach until proven otherwise, and the engine stays off until you know which it is. Blue or green means coolant. Check hose clamps and manifold gaskets, and pressure-test the system before you trust it offshore.
Sails and Standing Gear: The Full Inventory
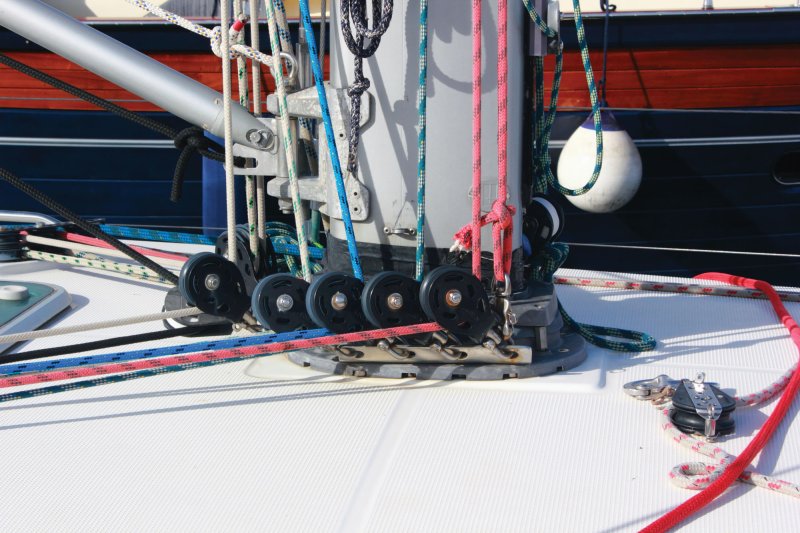
High-tech membrane sails have extended useful life across the board, but a sail is only as reliable as the stitching holding its UV cover together and the swivel at the head of the furler. Pull your headsail out of its bag on a clean patch of grass before it goes back up the forestay. Give yourself room to actually look at it.
Run a fingernail along the stitching on the UV cover at the clew and foot, where the sail takes the most flogging exposure. If the thread flakes or cracks, it’s UV-degraded and one summer squall away from a full-length split. That’s a sail loft repair before the season starts, not a field fix offshore. Check batten pockets for chafe, and ensure the Velcro closures are clear of the salt crystals that turn them useless over winter.
For the standing rig, 2026 has brought a decisive industry shift away from the wooden bosun’s chair toward the arborist-style climbing harness for going aloft. The harness distributes load across the whole torso, keeps your hands free, and doesn’t let you invert the way a chair can if a halyard goes slack unexpectedly. If you stored mast-up, then going aloft now, before launch, is your best opportunity to inspect terminal gear in controlled conditions. Check the furling swivel for hunting or sticking, which are leading indicators of halyard wrap and the kind of mast failure that ruins more than just the season.
Finish with the running rigging. Crunchy sheets are salt-loaded; a soak in fresh water with a capful of fabric softener restores the suppleness that modern rope clutches demand. Lines that remain stiff after soaking are telling you something about their service life. Listen.
Steering and Digital Hardening
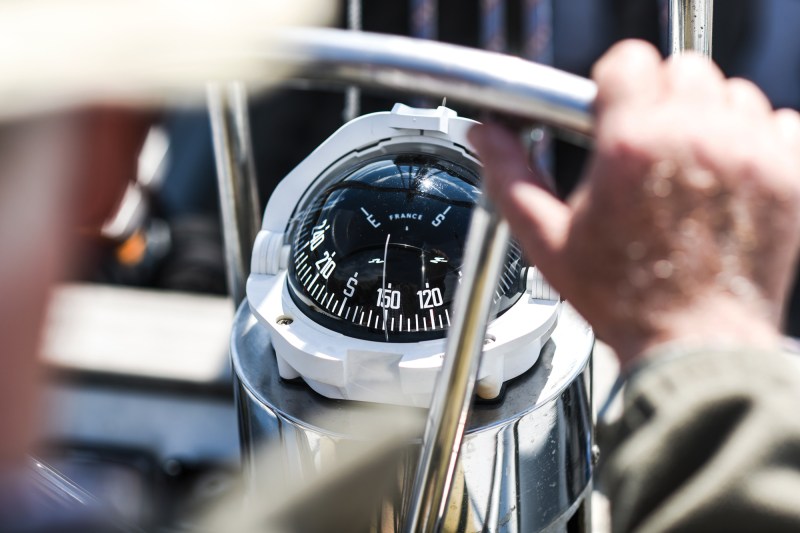
Stand at the helm while the boat is still on the stands, and spin the wheel lock to lock. It should be a quiet, fluid rotation with no flat spots, no notchiness and no mysterious resistance at the same point in each arc. Any irregularity traces back to a dry bearing, a misaligned quadrant sheave or, in cable systems, to meaters—broken wire strands that signal imminent failure.
The cotton ball test remains the simplest diagnostic in the locker: Drag one slowly along the full length of your steering cables. A snag means a broken strand. Broken strands mean a cable replacement. A cable that parts offshore, in a seaway, during a gybe is a survivable situation that you will not enjoy.
The digital helm needs hardening, too. NMEA 2000 vulnerabilities identified last season have been patched in firmware updates that many sailors still haven’t applied. If you’ve upgraded to an Ethernet-based OneNet backbone, verify that your applications are securely paired and that your display update rate is clean before you leave the dock. A laggy chart plotter in a crowded anchorage is an inconvenience. A laggy chart plotter in a narrow channel at night is something else.
Structural Integrity and Life Support
True offshore readiness requires moving beyond the surface and into the boat’s literal and figurative “bones.” Before the Travelift arrives, perform a visual audit of the keel-to-hull joint while the boat is suspended in the slings.
Look specifically for the “smile.” It’s a hairline crack at the forward leading edge of the joint that suggests the keel is hanging away from the hull. This isn’t just a cosmetic issue; it’s a warning of compromised internal floors or failing keel bolts. Back in the bilge, you must torque these bolts to manufacturer specifications, keeping a wary eye out for “waisting.” That means hidden crevice corrosion that thins the bolt where it passes through the laminate. A bolt that looks pristine in the bilge can be a structural ghost, ready to fail under the lateral loads of a heavy seaway.
Beyond the structural issues, secure the vessel’s electrical and biological health. As marinas become “hotter” with stray current from high-draw EV chargers and aging infrastructure, your galvanic isolator acts as the lone gatekeeper for your underwater metal. A failure here, often the invisible result of a lightning strike, will cause your new anodes to vanish in weeks, leaving your through-hulls and sail drives to dissolve via electrolysis. Use a multimeter to verify continuity across the isolator terminals. Without it, you are effectively unprotected.
Also address the potable water system as a pillar of offshore health rather than a mere convenience. Winter dormancy encourages the growth of stubborn biofilms in the tanks that simple flushing won’t touch. Perform a full chlorine shock treatment, followed by a thorough flush and the replacement of all charcoal and 1-micron filters. If you are running modern UV-C LED sterilization units, verify the “lamp-on” hours, ensuring your primary life-support system is as reliable as the hull itself before you leave the dock.
The Emergency Kit: 2026 Standards
Work through the grab bag last, but work through it completely. In 2026, the U.S. Coast Guard’s signal requirements have moved decisively toward electronic visual distress signals: LED eVDSDs that meet the standards and eliminate the storage, disposal and shelf-life headaches of traditional pyrotechnics. Check the “replace by” date on the lithium batteries inside.
Every crew member going offshore should have a personal AIS-MOB or personal locator beacon tethered directly to their PFD, not stored below. The oral-tube test for inflatable life jackets is non-negotiable: Fully inflate the bladder by mouth and let it sit for 24 hours. Any deflation means a bladder replacement. A life jacket that fails its oral-tube test is not a life jacket. It’s just an expensive vest.
Update your medical kit. Hemostatic gauze and a properly applied CAT tourniquet have become the standard of care for offshore trauma management. If you don’t know how to apply either, then learn. The Red Cross offers a wilderness first-aid course. So does Divers Alert Network. There is no good reason to leave the dock without this knowledge.
Ready for the Season
Once the boat is in the slip and the battery bank has absorbed a full 24-hour shore-power charge, the delayable tasks can begin: the interior deep clean, the varnish on the coamings, the unrolling of Sunbrella canvas that’s been in the lazarette since October. Consider those the rewards for a disciplined pre-launch season.
But the real reward isn’t the varnish. It’s the moment two days later when the first mild breeze of May comes off the water and there is nothing between you and the horizon but open time and a boat that you’ve verified, end to end, is ready for whatever comes.
That seacock will open when you need it to. The engine will start. The rig will hold. The rest, as always, is up to the sea.
Sustainability and Compliance
The regulatory tide has turned for 2026. What was voluntary best practice last season is becoming a condition of your slip lease this one.
Gray-Water Hygiene: While Federal No-Discharge Zones remain focused on sewage, local “clean marina” protocols in high-traffic anchorages now restrict the use of harsh detergents. Ensure that every soap on board is PFAS- and phosphate-free before you fill the tanks.
Bottom Paint: Copper-based antifouling with certain leach rates is now restricted in several coastal jurisdictions. If you are transitioning to a silicone slick-film coating, remember that these require a clinical level of hull prep and a specific temperature window for primer adhesion.
Battery Chain of Custody: Most 2026 yard contracts now require a certified recycling receipt for all battery swaps, particularly for LiFePO4 banks. Boatyards are increasingly treating spent lithium cells as universal waste. Keep your paperwork, as the fines for improper disposal are no longer being waived.
Essential Commissioning Checklist
This checklist prioritizes the critical path, meaning work that must be completed while the boat is on the hard. The checklist separates those items cleanly from post-splash projects.
Phase 1
The No-Go List (must be complete before the Travelift arrives)
- Through-Hulls and Seacocks: Actuate through full 90 degrees. Inspect for “pink death” (dezincification). Verify G10/GPO3 backing blocks.
- Underwater Drivetrain: Shake the prop shaft to check cutlass bearing play. Verify sail drive diaphragm date (replace beyond seven years).
- Anodes: Ensure bright metal-to-metal contact on all zincs. Transition to aluminum anodes if required by yard or water salinity.
- Bottom Paint: HEPA-vacuum sanding dust only. Apply low-leach or slick-film coating within the temperature window.
- Rudder and Steering: Verify no lateral play in rudder bearings. Complete cotton-ball scan of all steering cables for snags.
- Hull Integrity: Inspect for osmotic blisters. Remove tannin “mustache” staining with oxalic acid wash.
- Plumbing Safety: Confirm every below-waterline through-hull carries dual 316-SS clamps and a tethered emergency plug.
Phase 2
Spar and Rigging Audit (best performed while the boat is stable on stands)
- Standing Rigging: Inspect swages for rust bleeding. Check chainplates for deck-joint leaks or crevice corrosion at the tang.
- Masthead and Tangs: Go aloft on an arborist harness. Check sheaves, wind transducer wiring and VHF antenna connection.
- Running Rigging: Soak crunchy lines in fresh water with fabric softener. Inspect halyards for UV cover chafe at masthead sheave.
- Sail Inspection: Check genoa UV cover stitching at clew and foot. Verify batten pocket Velcro is clear of salt and grit.
- Friction Management: Clean mast track with acetone. Apply dry-film lubricant (McLube or equivalent) to all bearing blocks.
Phase 3
The Iron Genny Waking Ritual (mechanical reliability and fuel hygiene)
- Oil and Filter: Change if not done in fall. Confirm transmission fluid color (red means healthy; black means change immediately).
- Fuel System: Check Racor bowl for HVO/biodiesel microbial growth. Replace primary and secondary filters.
- Cooling Circuit: Inspect impeller (replace if beyond two years). Flush heat exchanger. Check engine-block zincs.
- Hand-Turn: Rotate crankshaft two or three times by hand before the first electronic start of the season.
- Belts and Hoses: Check for winter brittleness. Confirm the alternator belt has ½-inch deflection at midspan.
Phase 4
Systems and Compliance (post-splash, once you are safely in the slip)
- Battery Load Test: Perform after a full 24-hour shore-power charge cycle.
- Bilge Logic: Test pumps in manual and automatic modes. Verify high-water alarm triggers correctly.
- Electronics Hardening: Patch NMEA 2000 firmware. Recalibrate AI-routing safety depths and radar gain.
- Potable Water: Flush antifreeze. Shock system with mild bleach solution. Replace all charcoal filters.
- Sustainability: Stock PFAS-free, phosphate-free soaps. Verify gray-water valves are configured for No-Discharge Zone compliance.
Emergency Kit Audit
- Signaling: Replace expired pyrotechnic flares with a U.S. Coast Guard-approved LED eVDSD. Check battery “replace by” date.
- PFDs: Inflate orally and hold for 24 hours. Check carbon-dioxide cylinder dates and rearm kits.
- AIS-MOB/Personal Locator Beacon: Test battery status. Verify MMSI registration is current and correct.
- Trauma Kit: Confirm QuikClot gauze is in-date. Verify CAT tourniquet integrity.
The First-Passage Toolbag
Spring commissioning ends at the dock. The first offshore passage begins it again. These are the tools that belong within reach the moment you clear the breakwater, grouped by the problems they actually solve.
Diagnostic and Digital
- Non-contact infrared thermometer: Track heat exchanger temps, stuffing box friction and alternator housing heat on new engine work. Find hot spots before they find you.
- NMEA 2000 diagnostic reader: Pocket-sized network troubleshooter for sensor drops and gateway conflicts in a complex electronics backbone.
- High-Color-Rendering-Index LED headlamp: Color rendering index matters in an engine room. It’s what separates red transmission fluid from pink coolant at 0200.
Friction and Fastener Management
- Torque wrench (small drive): Composite seacocks and carbon components carry manufacturer torque specs. Guessing is not a maintenance strategy.
- Lanocote or Tef-Gel: Apply to every stainless fastener going into an aluminum spar. The galvanic potential between those two metals, accelerated by salt water, is unforgiving over a season.
- Dry-film lubricant pen: Precision application on sail tracks and blocks without the contamination risk of aerosol overspray.
Rigging and Sail Repair
- Ceramic blade folding knife: Holds an edge longer than steel, won’t rust in a damp cockpit pocket, and cuts Dyneema cleanly on the first stroke.
- Speedy Stitcher with waxed twine: For UV covers and batten pockets that passed visual inspection but then failed on the first overnight.
- Self-amalgamating silicone tape (high-temperature rated): The universal fix for split pins, weeping hose joints and exposed electrical connections. Carry two rolls.
Mechanical Quick-Fix
- Correct-size cap filter wrench: Not a strap wrench. The cap wrench is sized for your specific oil and fuel filters. The difference between a clean swap and a housing you’ve just cracked.
- Battery terminal brush and protector spray: Hidden oxidation? Two minutes at the terminals now prevents a no-start scenario at the fuel dock.
- Universal impeller puller: Because two screwdrivers and a prayer is how you damage a modern high-efficiency pump housing.
- Multimeter with amp-clamp: Indispensable for tracking parasitic draws on a lithium bank and verifying your high-output alternator is actually delivering current, not just spinning.