Advertisement

Installing Backing Plates

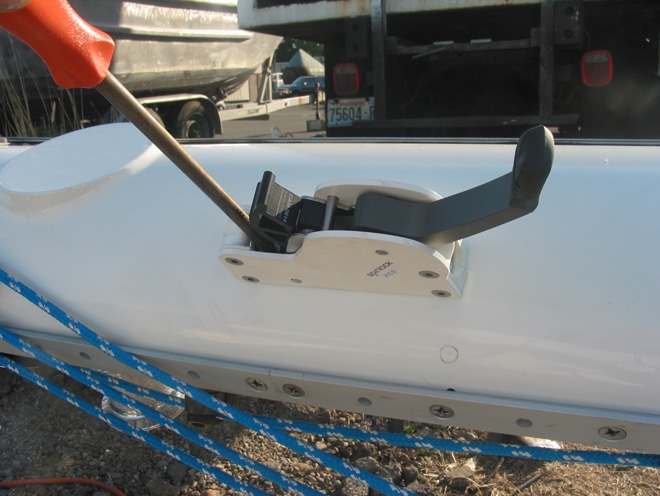
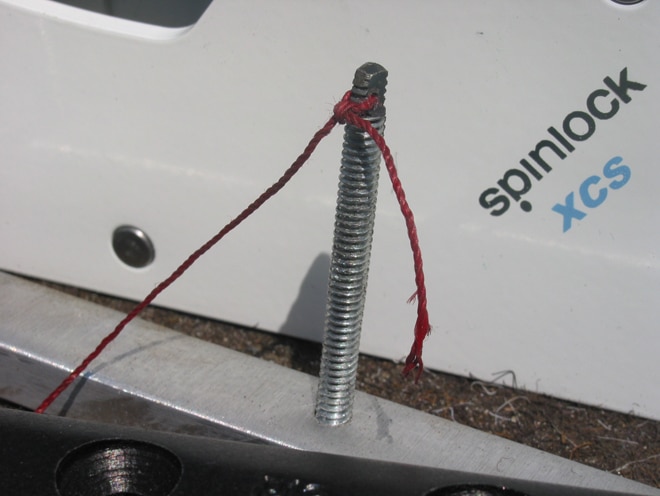
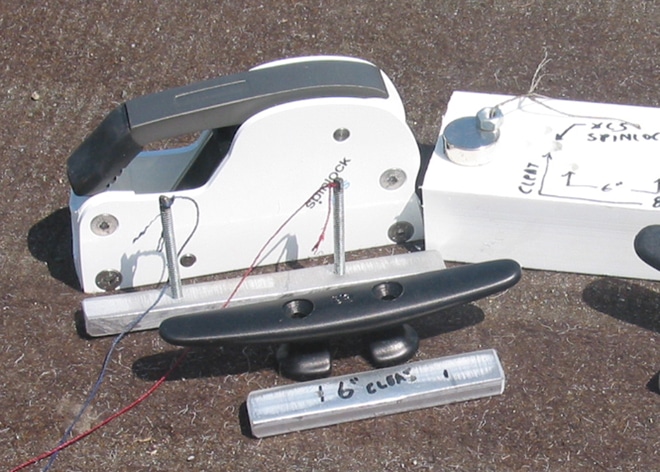
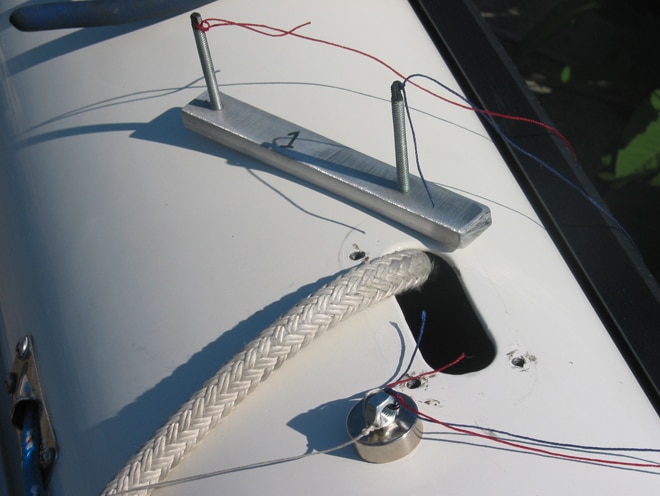
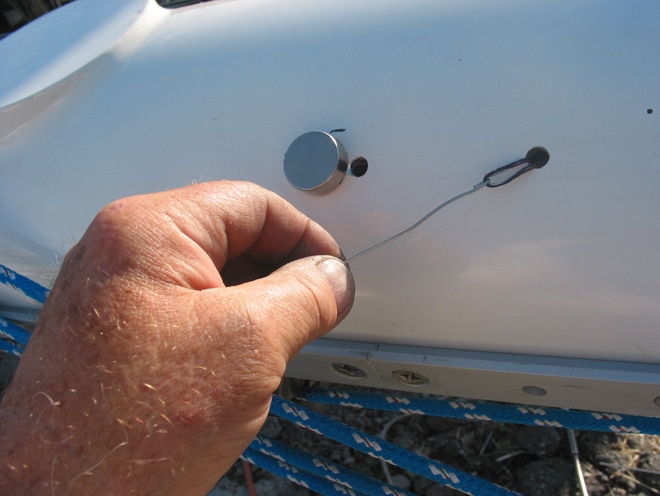
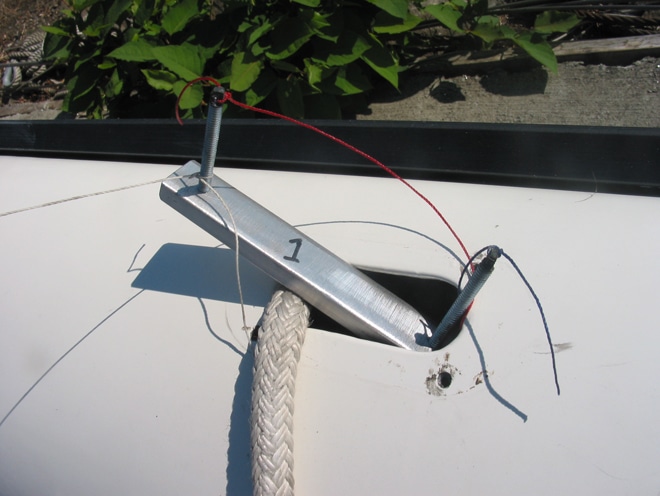
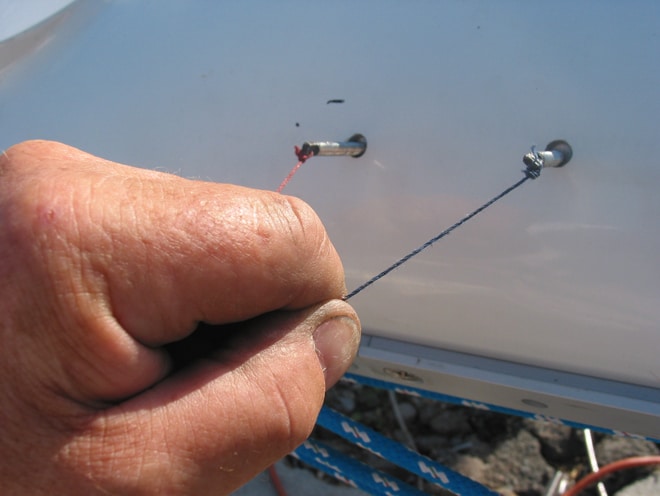
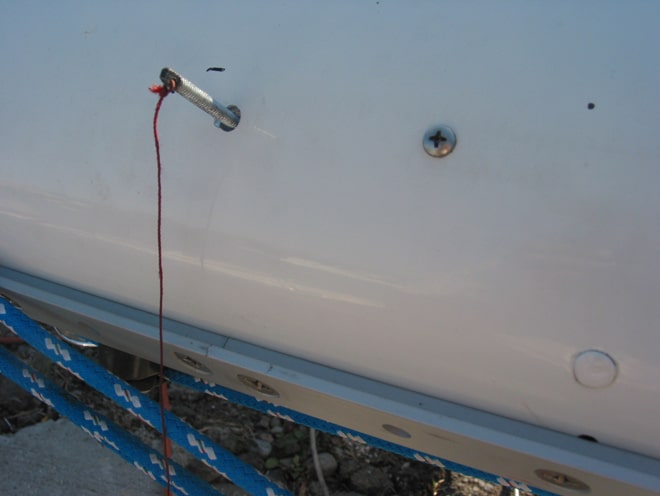
Installing new backing plates where hardware and fittings are mounted on your rig is easier than you might think.

crw0211_stander02.jpg

Step 1: Find two pieces of thread stock to use as “alignment rods” that are at least 1 inch long and measure 75 percent or less of the diameter of the machine screws you’ll use to mount the hardware. The material can be brass, steel, or stainless steel. Or you can cut the head off a machine screw. Then use a file or grinding tool to make a tab at one end of the thread stock. Drill a hole in the tab, then tie a length of seizing twine through it. This will let you pull the alignment rods through the mounting holes from the inside of the mast. Jeffrey M. Stander

crw0211_stander03.jpg

Step 2: Fabricate the aluminum stock to be used for the backing plate. Use a rectangular piece of aluminum that’s 1/2 inch thick by 3/4 inch wide with a length that’s at least 1.5 inches greater than the maximum distance between the mounting holes. Use a marine grade alloy like 6061, which has some corrosion resistance. Then carefully drill and tap two holes for the alignment rods. These holes must match exactly two of the hardware-mounting holes. If the hardware has more than two mounting holes, the rest of them will be drilled and tapped once the backing plate is in place. Use the hardware itself as a template for locating the holes. Note that we’re making threaded holes for the alignment rods, not for the final mount. The edges of the aluminum plate that faces the inside of the mast should be rounded to conform to the inside curvature of the mast. Either a file or a belt sander can do the job easily. Jeffrey M. Stander

crw0211_stander04.jpg

Step 3: Thread the alignment rods into the backing plate. Tie a length of seizing twine to each tab at the ends of the alignment rods. If the holes aren’t symmetric and the backing plate must be aligned in a specific direction, use colored twine to mark which rod comes out of which hole. Jeffrey M. Stander

crw0211_stander05.jpg

Step 4: This is the fun part. Tie both messenger lines to a steel nut. Thread the nut into an opening in the mast, and using an extra-strong neodymium magnet, drag the nut toward the mounting holes. Use a wire hook to fish each line from inside the mast. Then simply cut off the nut, but be sure to hold on to the end of the line that’s connected to the rod. The nut will either be lost down the mast or you can use the magnet to drag it back to the opening where it entered. Jeffrey M Stander

crw0211_stander06.jpg

Step 5: Insert the backing plate into a halyard exit or other opening, and use the two lines to pull it toward the mounting point. You may need to have a third piece of line to keep tension on the backing plate as you ease it toward its destination. Jeffrey M. Stander

crw0211_stander07.jpg

Step 6: Use the messenger lines to pull the alignment rods through the holes. This usually goes fairly easily. You now have the backing plate in place. Jeffrey M. Stander

crw0211_stander09.jpg

Step 7: While firmly holding on to one of the alignment rods, remove the other rod and replace it with a regular round-head machine screw. Tighten that down, then do the same with the rod that you’ve been holding. The backing plate is now bolted to the mast with temporary undersized screws. Jeffrey M. Stander

crw0211_stander08.jpg

Step 8: The backing plate needs to be held in place without the hardware being attached. You can drill a hole through the mast and plate and install a long aluminum pop rivet (shown above); only one is necessary. Or you can use a blob of adhesive, such as 3M 5200, that will glue it to the inside of the mast. Or simply drill and tap right through the mast and backing plate to accommodate a small machine screw to hold the backing plate in place. Jeffrey M. Stander

crw0211_stander010.jpg

Step 9: Now that the backing plate is in place, all that remains is to drill and tap for the final fasteners. Remove the temporary screws one at a time and redrill and tap for the final threaded hole. Be careful at this stage because you don’t want to break the tap! Use tapping fluid and, preferably, a new tap. Jeffrey M. Stander

crw0211_stander011.jpg

Step 10: Clean the tapping debris from the holes and mount the hardware. Don’t forget the anti-seizing compound; you must use this whenever you attach dissimilar metal fasteners, such as stainless steel into aluminum. Jeffrey M. Stander
Advertisement
Advertisement