
My wife, Tenley, and I do a lot of coastal cruising in New England, mostly short 6- to 20-mile hops on our 1972 Pearson 36, Snoek. I did a refit to Snoek in 2016 in my backyard that was chronicled in a series of CW articles, and we have since done tons of great cruising on her. One thing I installed in the original refit was an Engel 12-volt DC/110-volt AC free-standing cooler that draws about 3 amps when it kicks (it runs off the Solbian dodger-mounted solar panels) and is super-efficient. It’s perfect for chicken, fish, milk, butter and other perishables. But where do we keep the beers and soft drinks cold?
That was something we still needed to address.
At first we used the original built-in ice chest to starboard, but insulation technology in 1972 wasn’t so dialed in; a block of ice would last about 12 hours on a good, cool day in June but not on a scorcher in August. I suggested to Tenley a proper compressor-style refrigeration system for the old ice-chest space, but “the boss” said: “No, I like using ice. Let’s improve that system some and keep our little boat simple.” Music to my ears.
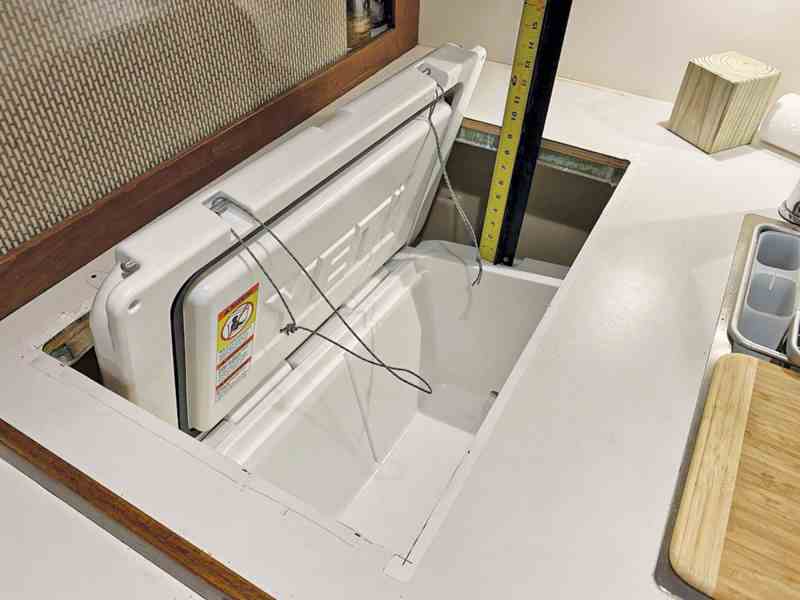
I did some research and figured out that there was enough room in the original ice-chest space to fit a Yeti Tundra 45 cooler without having to rebuild the whole galley countertop. I did have to enlarge the access hole to the ice chest by about 3 inches on the long side and about 2 inches on the short side. This was done with a jigsaw. I then filled the exposed foam edges with wood strips that I epoxied in place with Thixo Flex. I then filled, faired and painted it. It looked like new.
Next, I built a subfloor in the bottom of the ice-chest space from Starboard, first measuring it with a cardboard template. I then cut it to fit with cleats on the side of the box fastened with stainless self-tapping screws. Obviously, the Yeti cooler had to be lashed down in the space, and this was achieved with 1/8-inch, low-stretch Spectra tie-downs through newly drilled holes in the top lip of the cooler. I looped the Spectra through two side holes directly below the Yeti in the starboard subfloor.
RELATED: Brewing Beer on a Boat
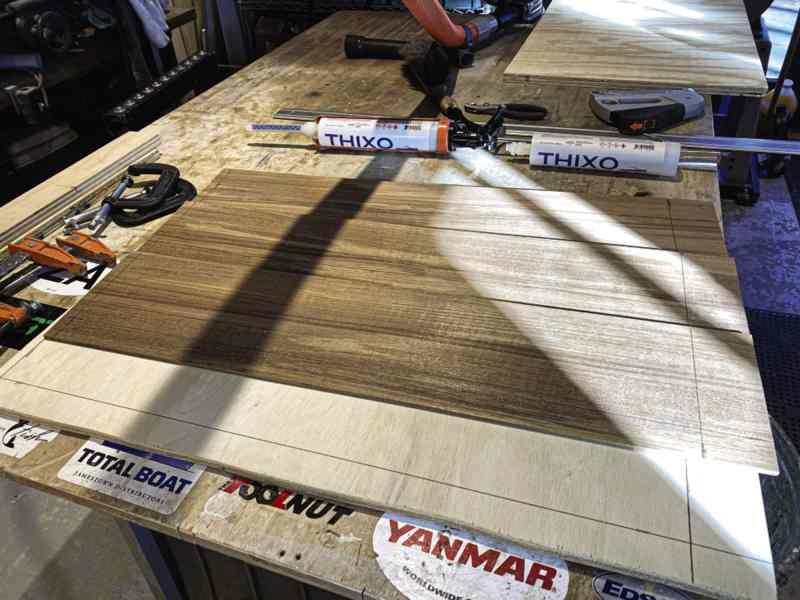
The last thing I had to do was make a new, larger lid for the Yeti’s access hole. I used a piece of 3/8-inch plywood (varnished on all four edges and the bottom), and with more Thixo epoxy, glued a veneer of ¼-inch teak to the top. The teak was then oiled to seal it from spills and the hard environment of the galley.
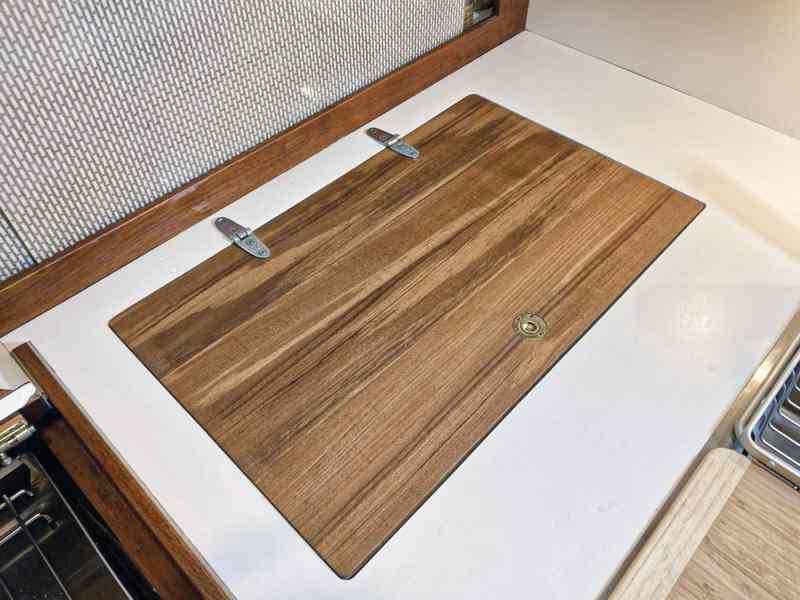
To sum it all up, it works like a champ, and the ice lasts for days with no worries about keeping the house batteries topped off—just the occasional trip to get a bag of ice and another 12 pack of beer. The two items seem to last about the same time!
Award-winning marine photographer Onne van der Wal is a frequent contributor to CW. His most recent Rizzoli coffee-table book is Sailing America. For more on his work, visit his website.


